Where has the time gone? Halloween is a week away. If you’re still not sure what to dress up as try DIYing your own costume.
You don’t have to be super crafty to make your own Halloween costume. When you think outside the box cloth it can be easy to create a unique and inexpensive look. DIYing or customizing your Halloween costume gives you the chance to add your own touch. When you’ve bought your costume out a bag there’s always a chance someone else could be wearing the same one. Then you could instantly find yourself in a who wore it better showdown. And nobody wants that.
Here’s a list of tips and places to look for inspiration for DIY Halloween costumes. Some of the suggested costumes were created inexpensively by myself or friends.
Shirt Printing Company

Use a shirt printing company to print the logo of your favorite beverage or food on a piece of clothing. Most companies just require a high vector file version of the image. You can purchase the clothing item to print on from the printing company or bring your own clothing to print on. Then you can add or make your own accessories.
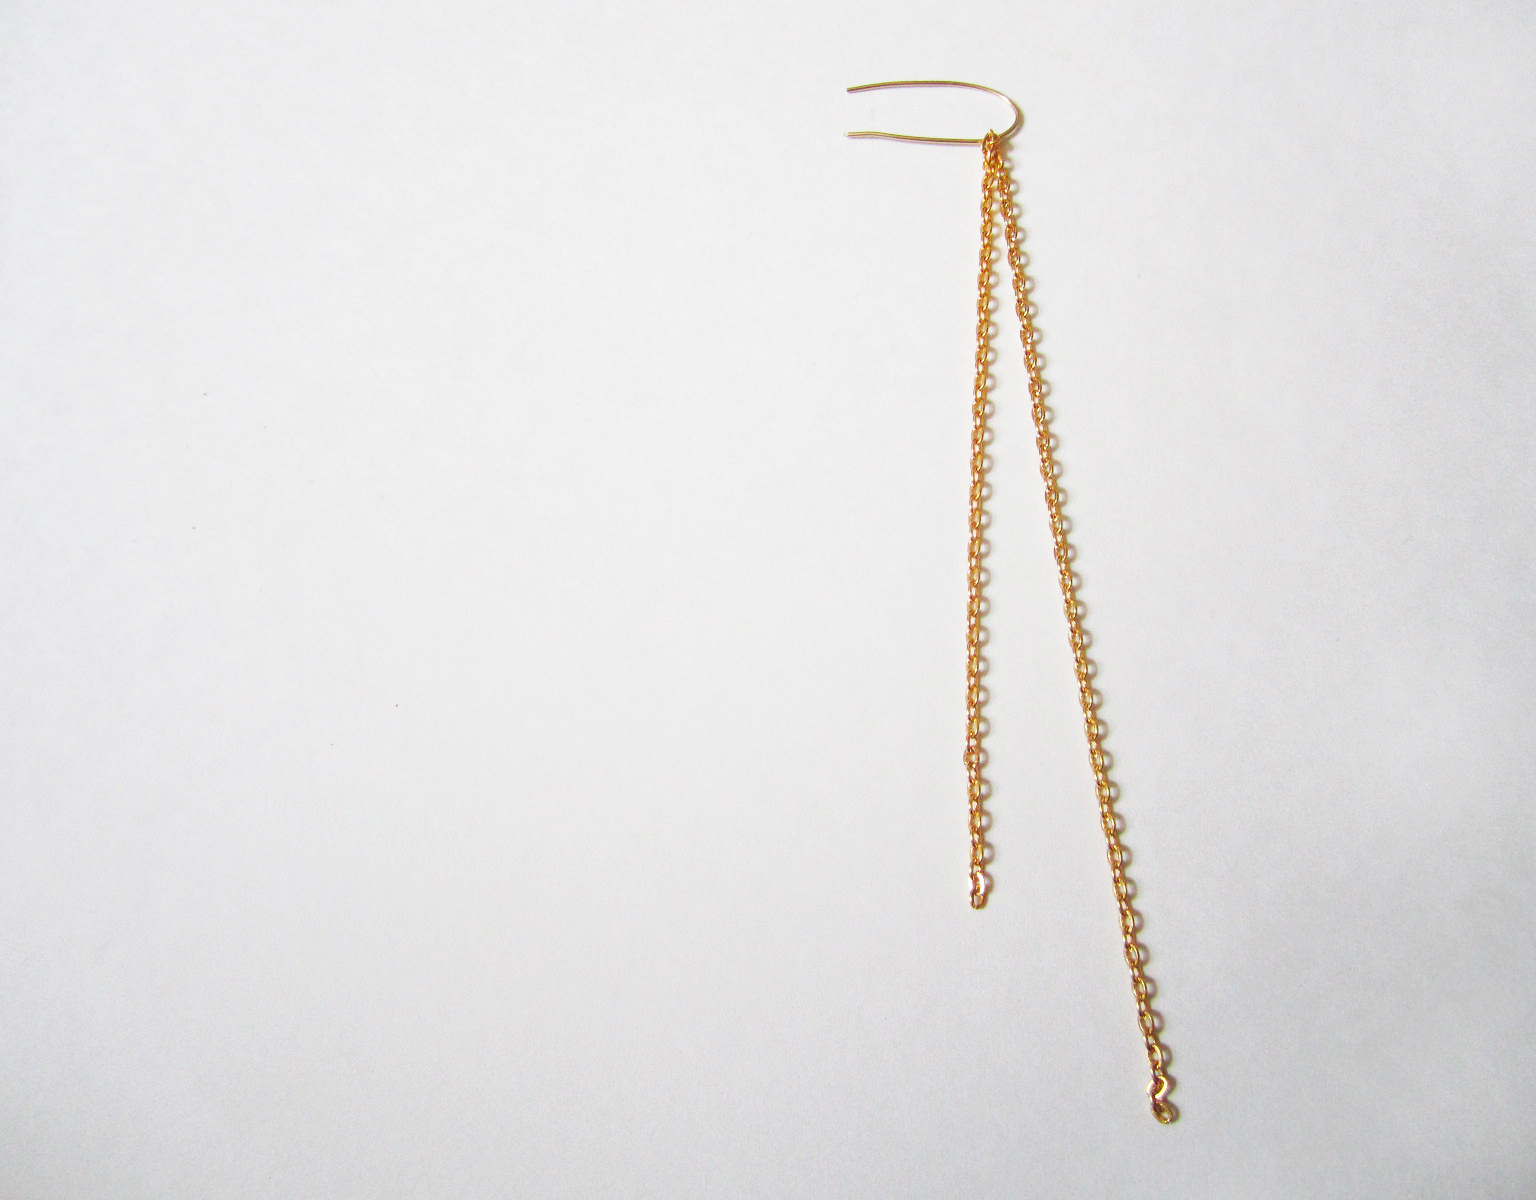
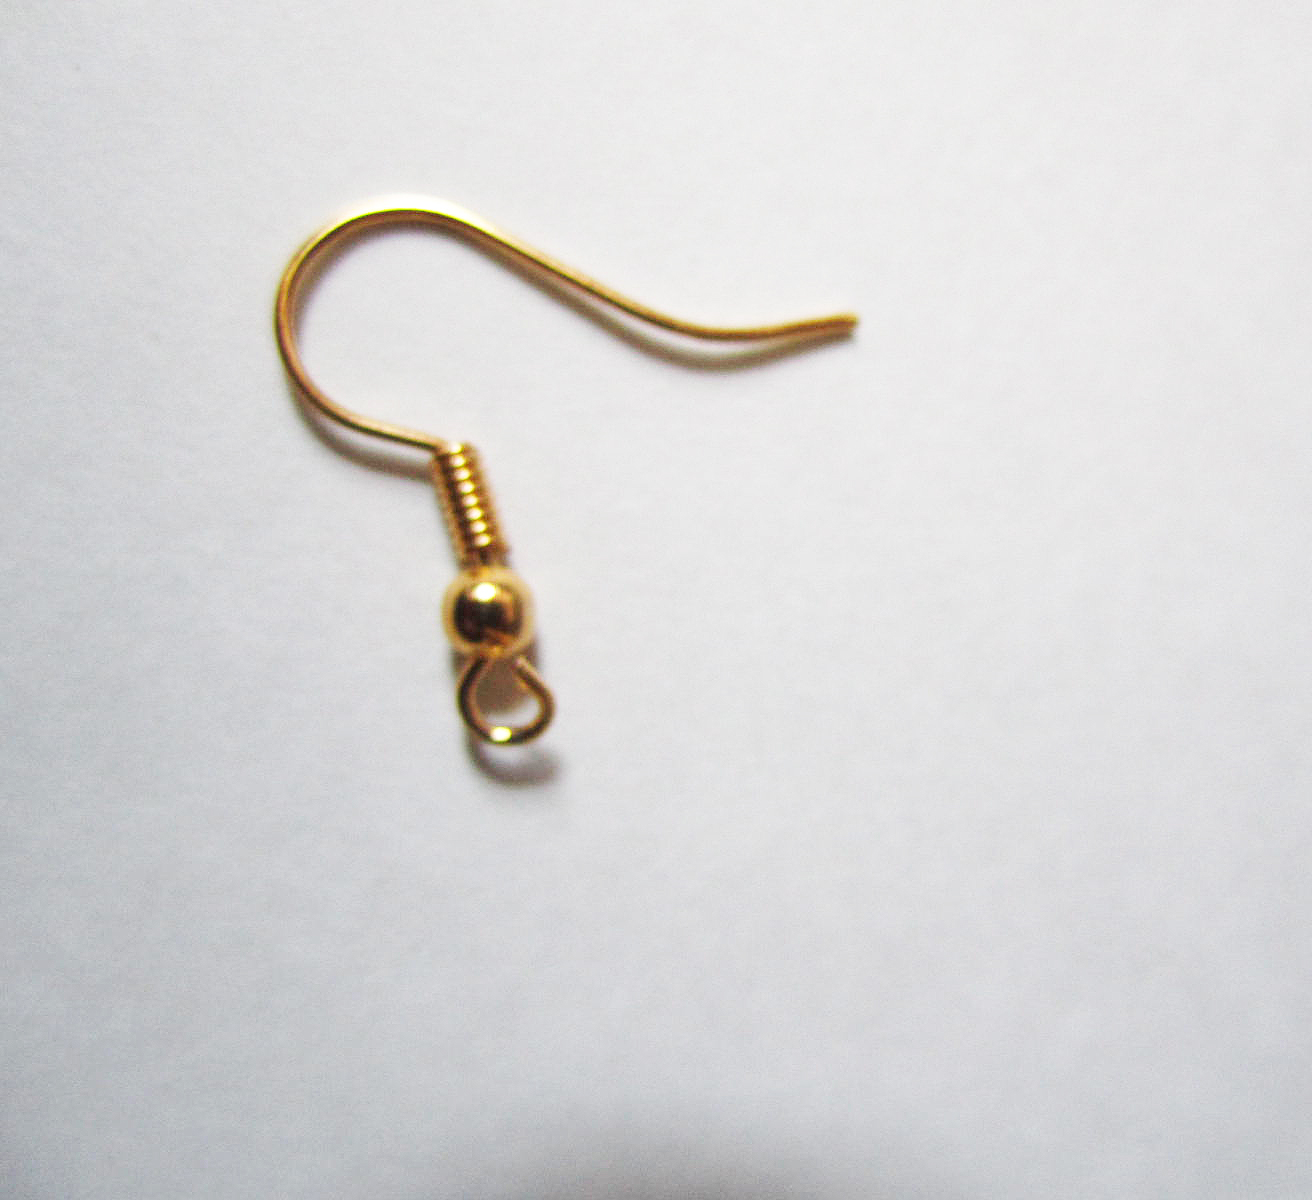
Costume Idea: My friend Sofia printed the Tim Hortons logo onto a dress and she made earrings out of sugar packets. And no that’s not coffee in her hand.
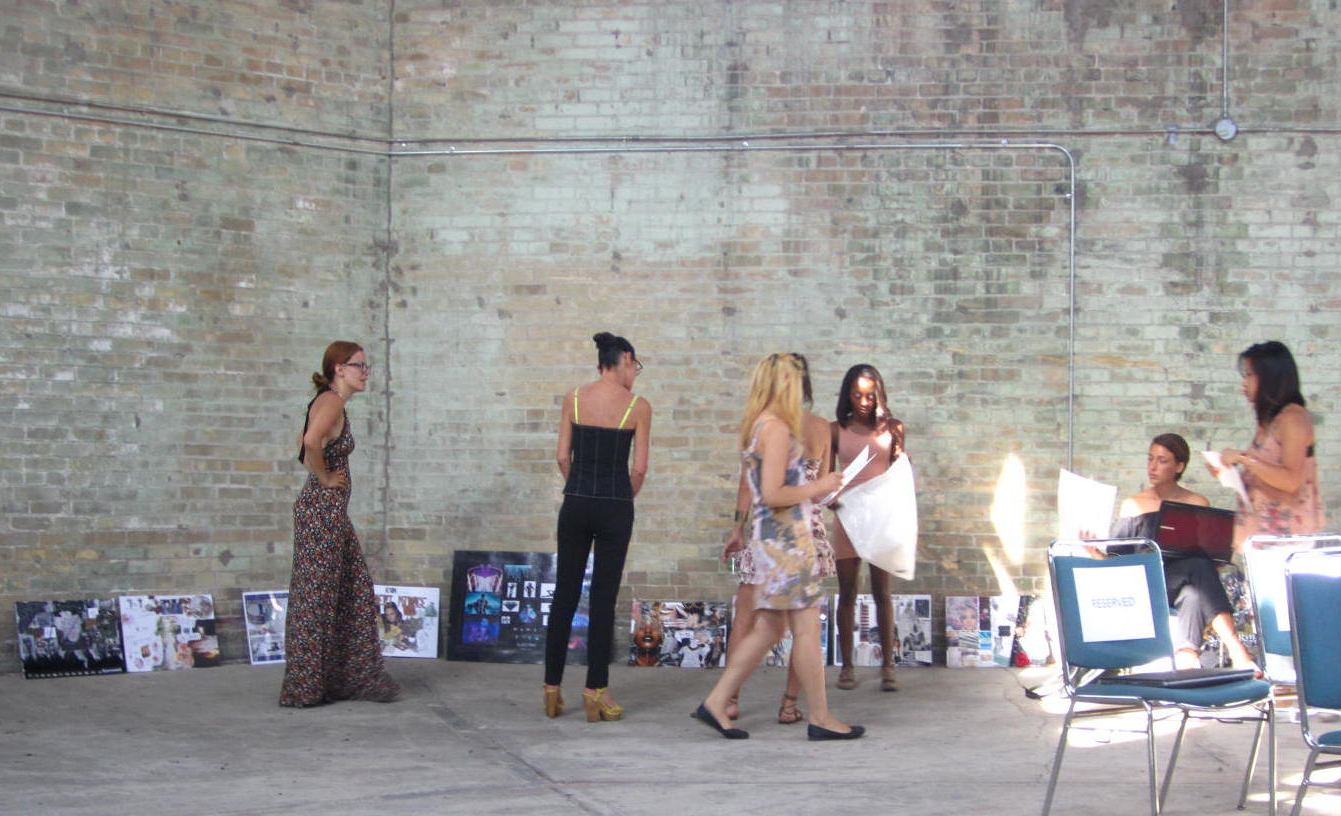
Thrift & Vintage Stores

Image
Vintage and thrift stores are a good place to find unique pieces for a low cost. It may take some creativity and searching to piece together an outfit, but the efforts are well worth it. No one will have the exact costume as you.
Costume Idea: Try dressing up as someone from a different era, like the 80’s. Search the isles for bright, colorful and shiny items.
The Dollar Store
The dollar store is a great resource for Halloween accessories. I’ve seen wigs, face paint, wings, face masks all inexpensively priced at the dollar store.
Costume Idea: DIY 3 Blind Mice Costume

3-blind mice is a cute group costume you can easily make with dollar store supplies. Here are the supplies you’ll need,
Dark sunglasses
Black eyeliner or face paint
Headband
A sheet of grey felt or construction paper
A sheet of pink felt or construction paper
Glue or tape
The Steps
Use the grey paper to cut out a large circle to create the outer part of the mouse ears. Use the pink paper and cut out a smaller circle to create the inner part of the ear. Glue the pink paper to the grey piece to complete the ear. Glue or tape the ears to the headband
Use black face paint or eyeliner to draw a nose and some whiskers on your cheeks
Tape or glue the ears to the headband.
If you want to, you could even make walking sticks.
Your Makeup Bag

Image
Wear your Halloween costume on your face. Makeup can be used to create some spooky Halloween looks.
Costume Idea: Draw spider webs around your eyes with black eyeliner. If you’re not skilled in the makeup department many cosmetic stores will do your makeup if you purchase a product. There are also a lot of great tutorials on YouTube.
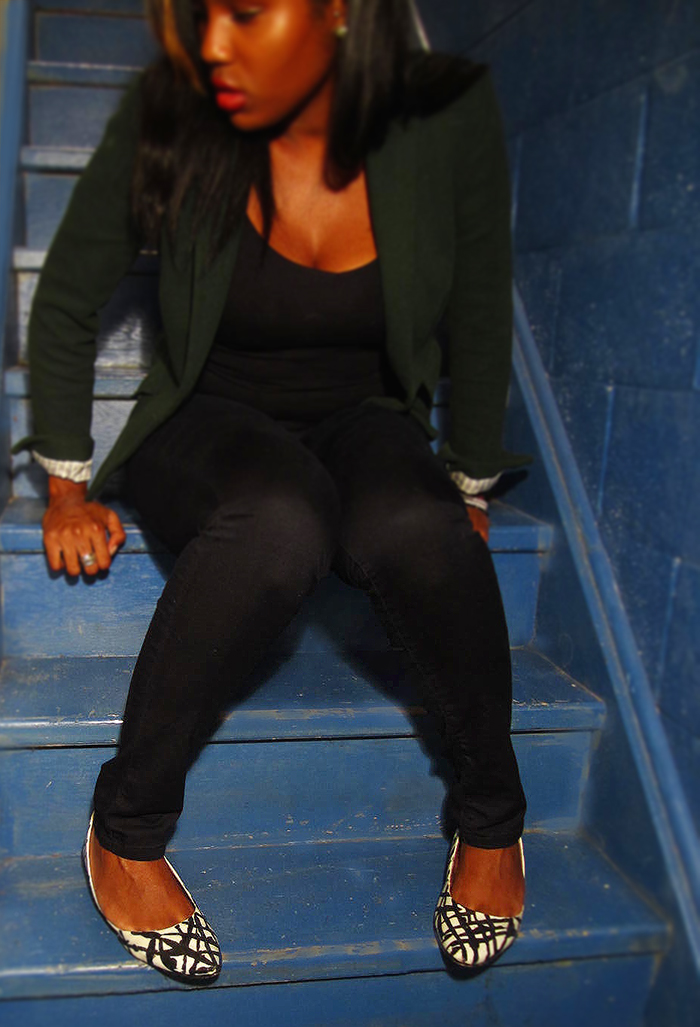
Raid A Closet

First raid your own closet to look for any old clothing items that could be used for a costume.
Or try raiding someones closet with a totally different style than yours; like your grandma, boyfriend, etc. You may find something that could work as a cool costume.
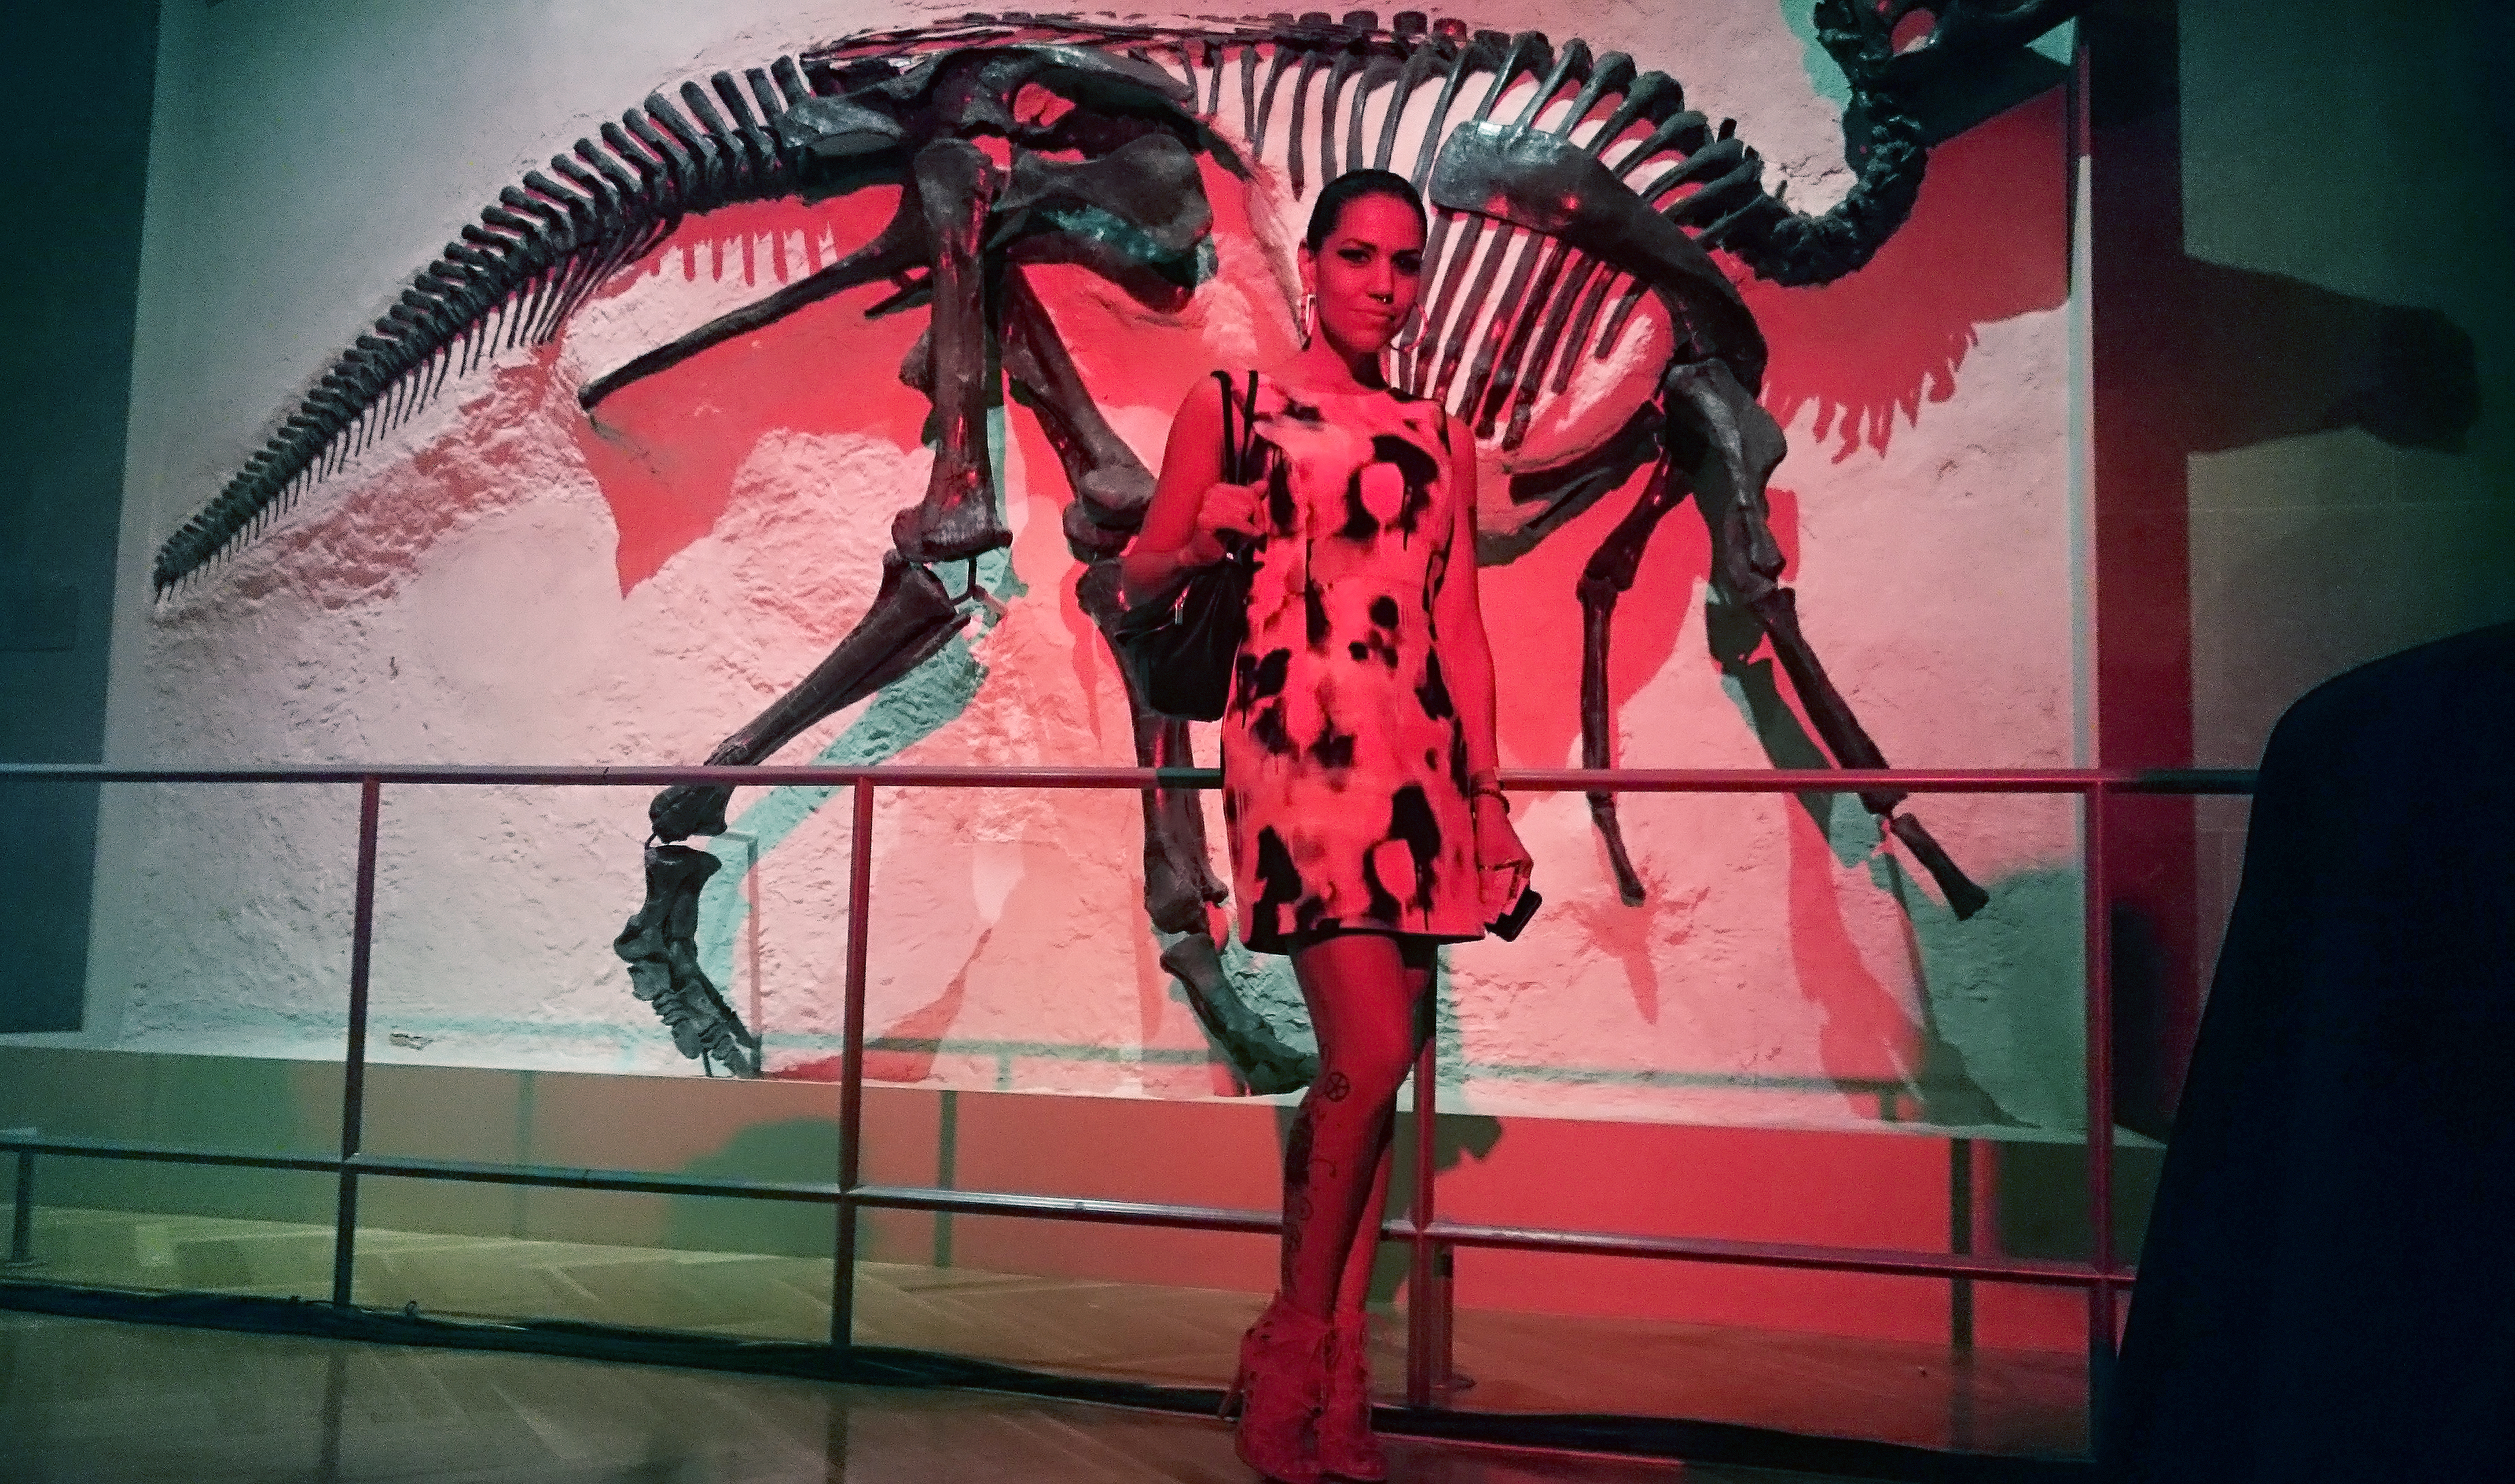
I took my first communion dress and with a bit of cutting and sewing. I was able to turn myself into a runaway bride. I completed the look with a Ring Pop engagement ring.
Costume Idea: Your graduation dress you wore once? Dress it up once again with a sash and crown and turn yourself into a prom queen.
Old Uniforms

Image
Get creative and use parts of old uniforms from school, work, sports, or organizations.
Costume Idea: Weed Brownie. This weed brownie costume is a hilarious and clever way to make use of an old Brownie sash.
I hope you’ve been inspired to make your own Halloween costume.
What are you dressing up as this year?
-Shanel


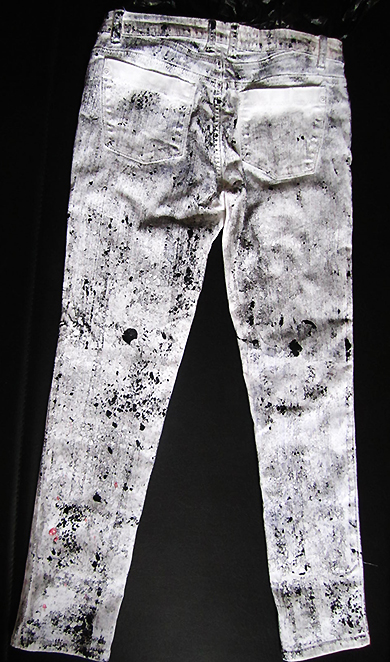
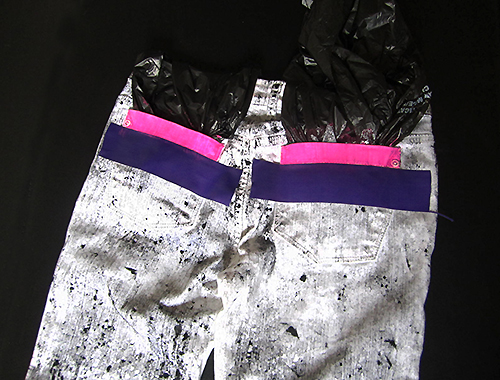


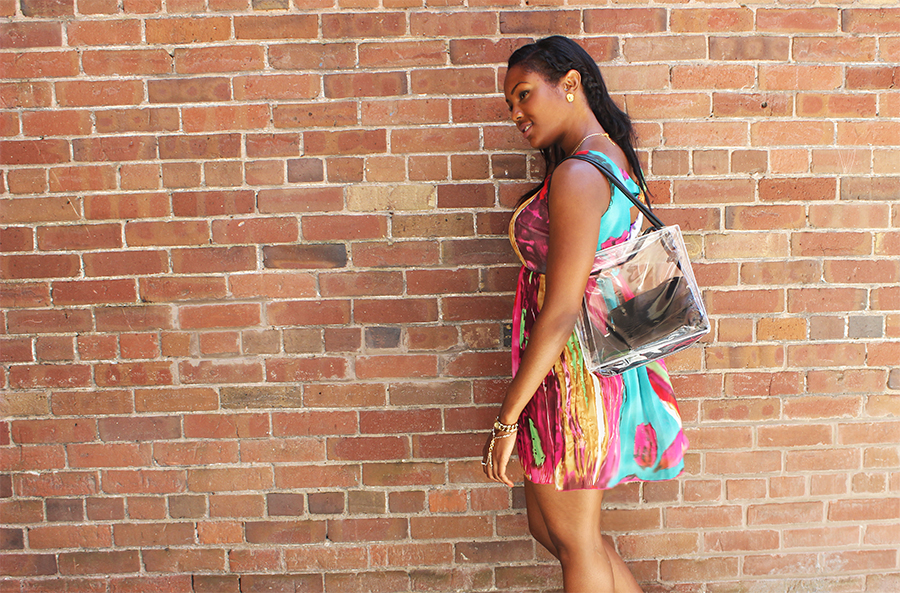


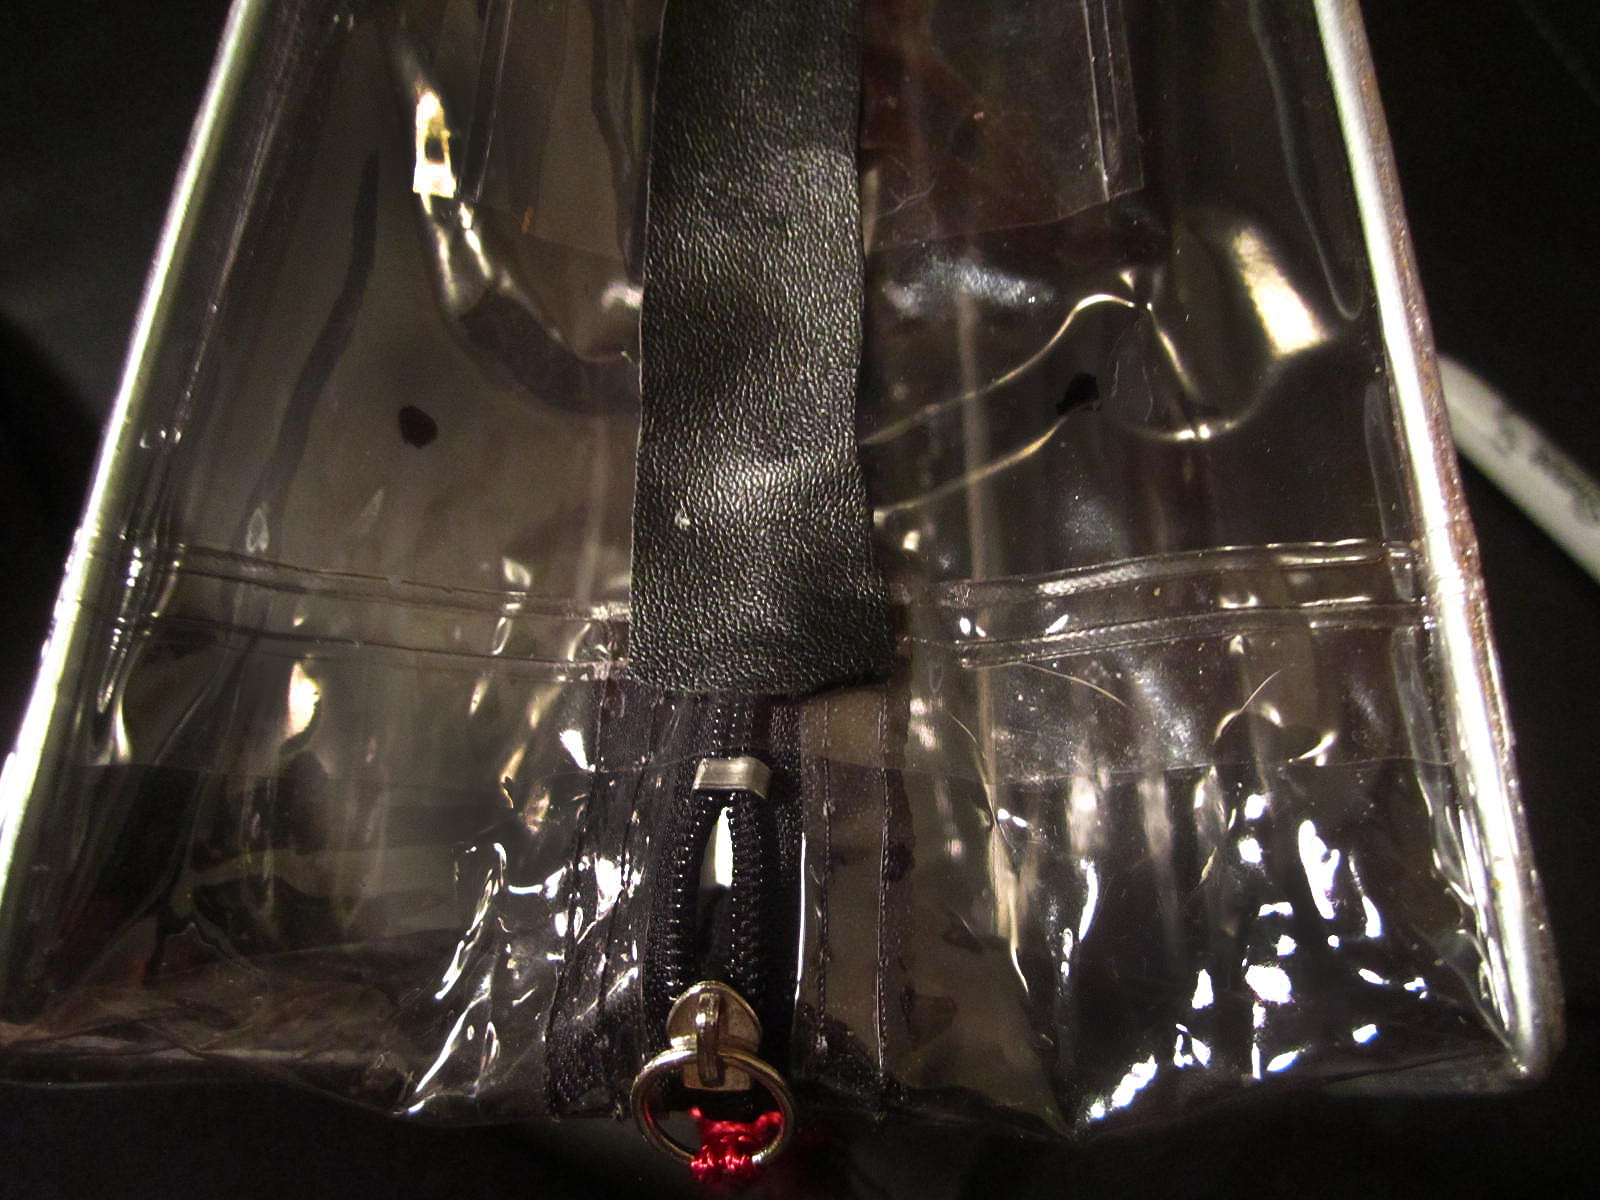


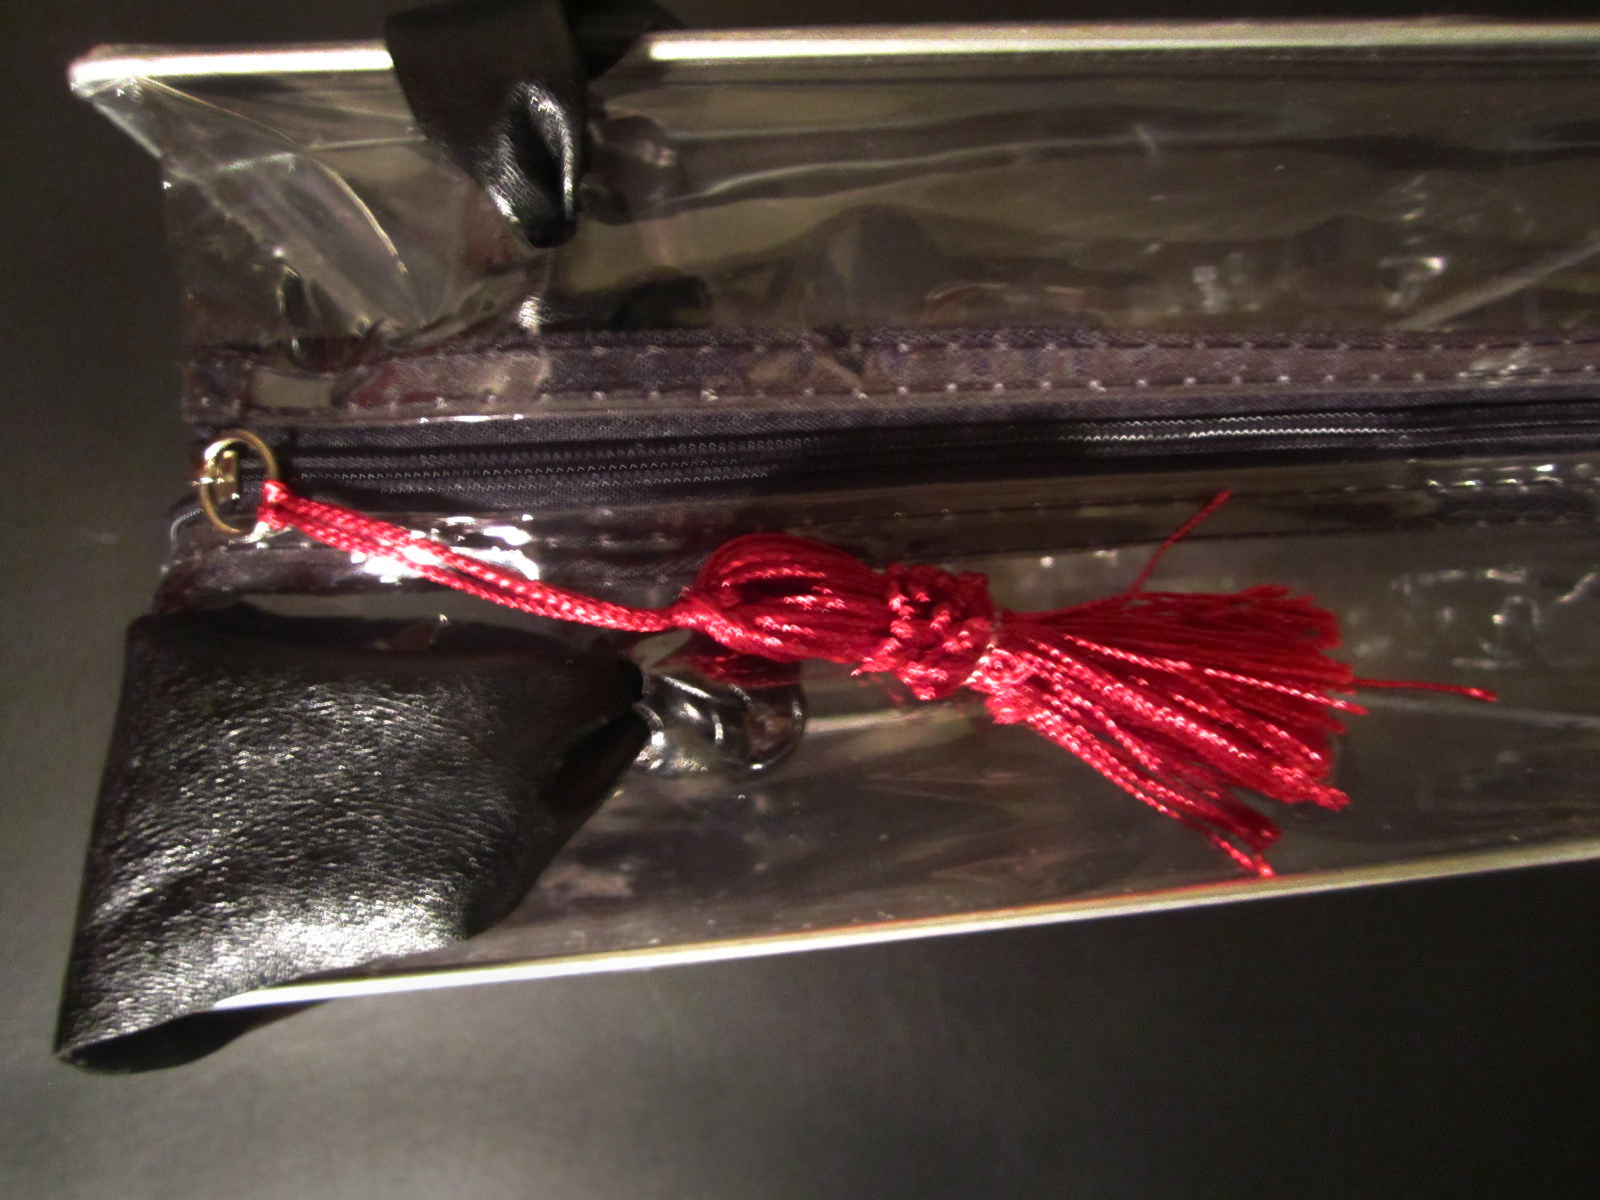

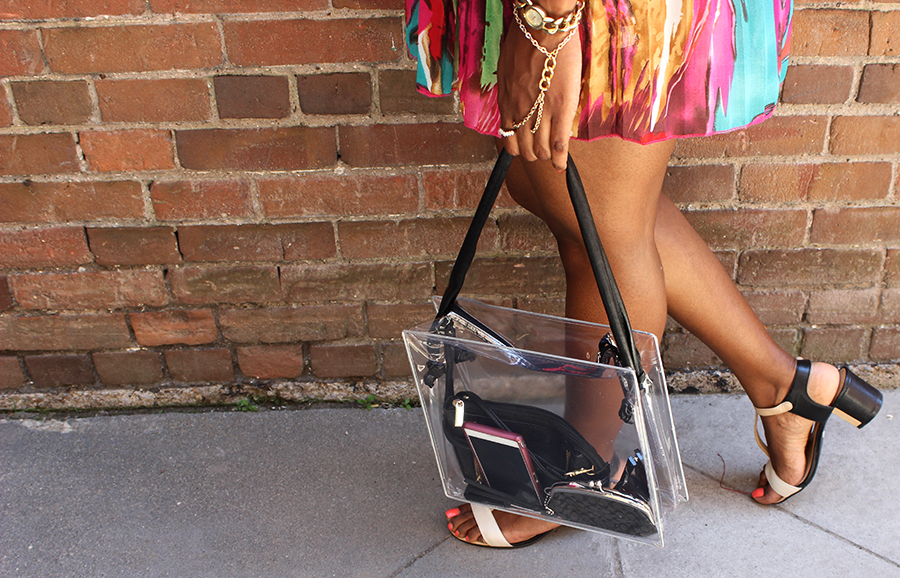


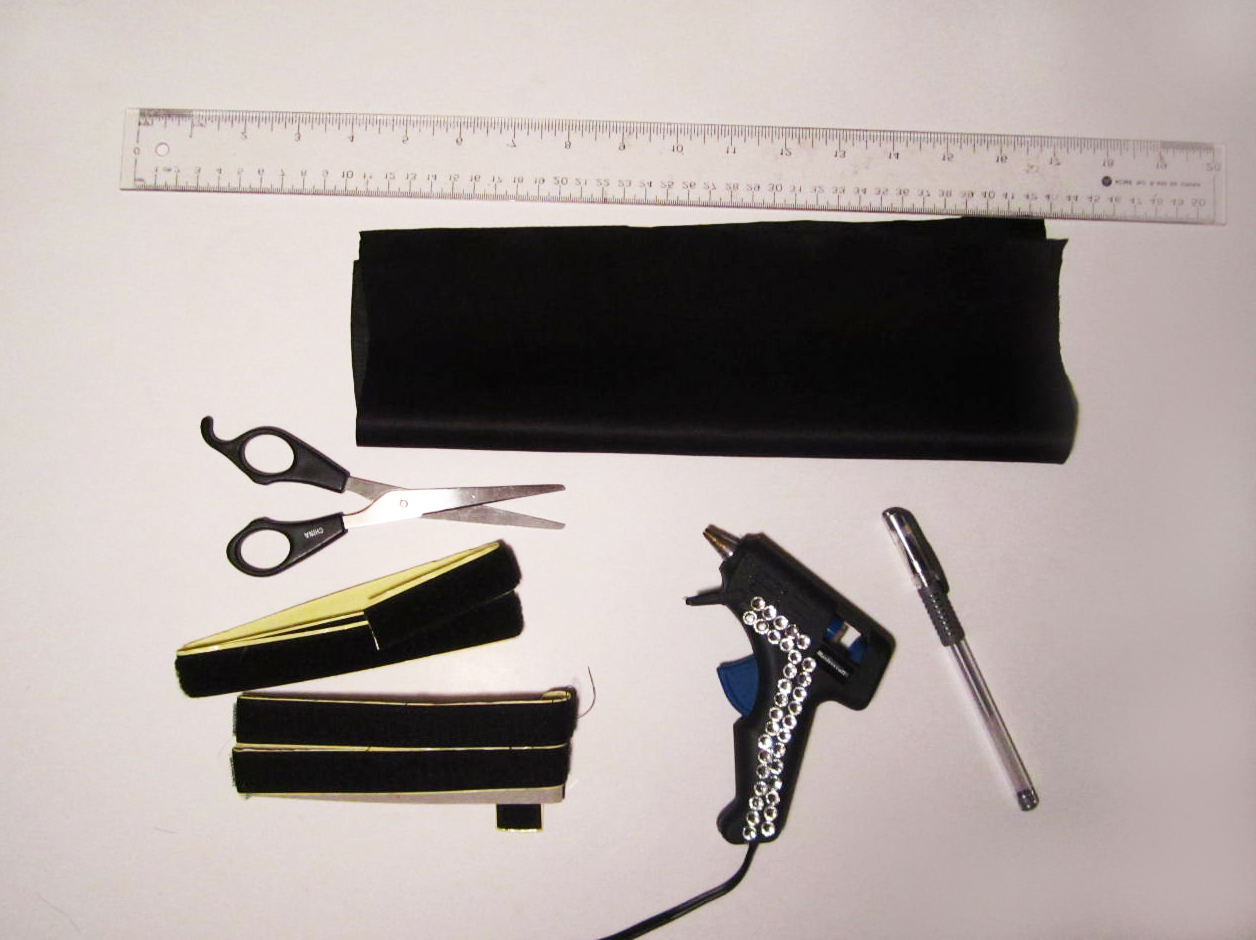
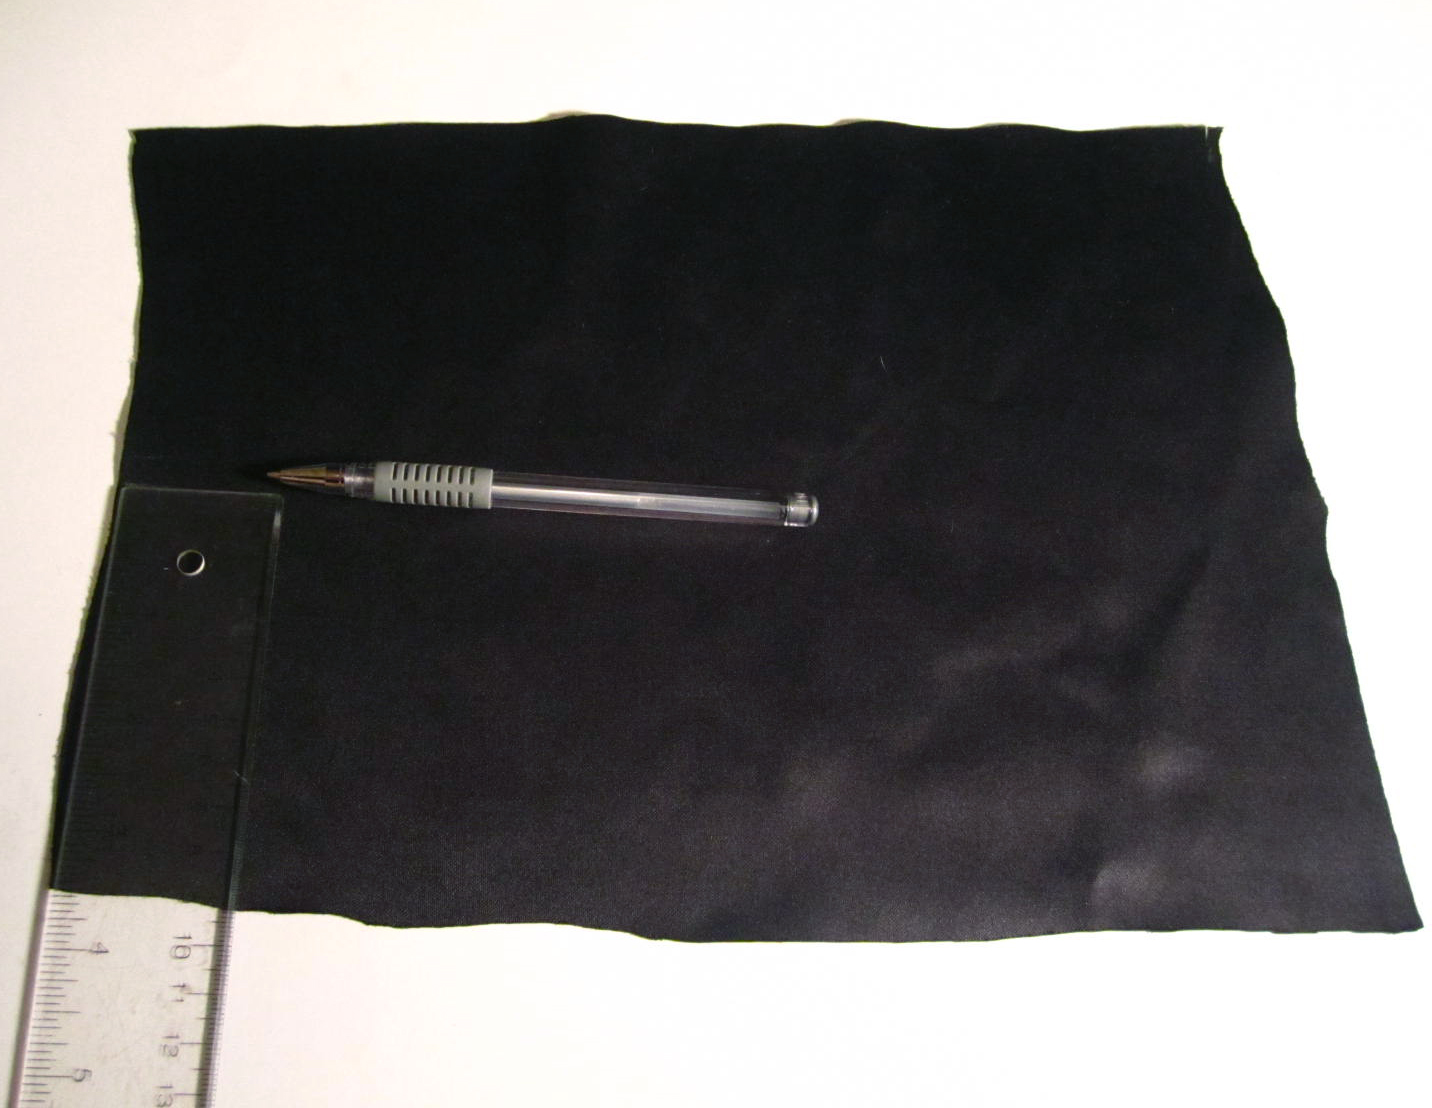
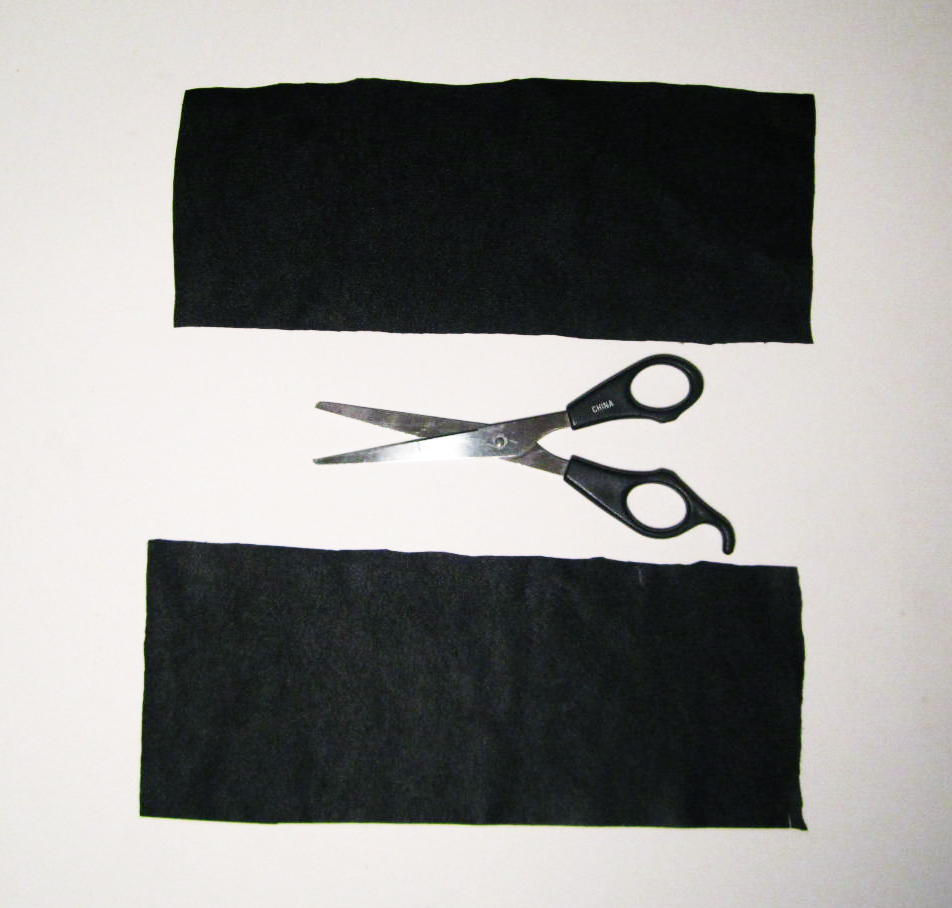

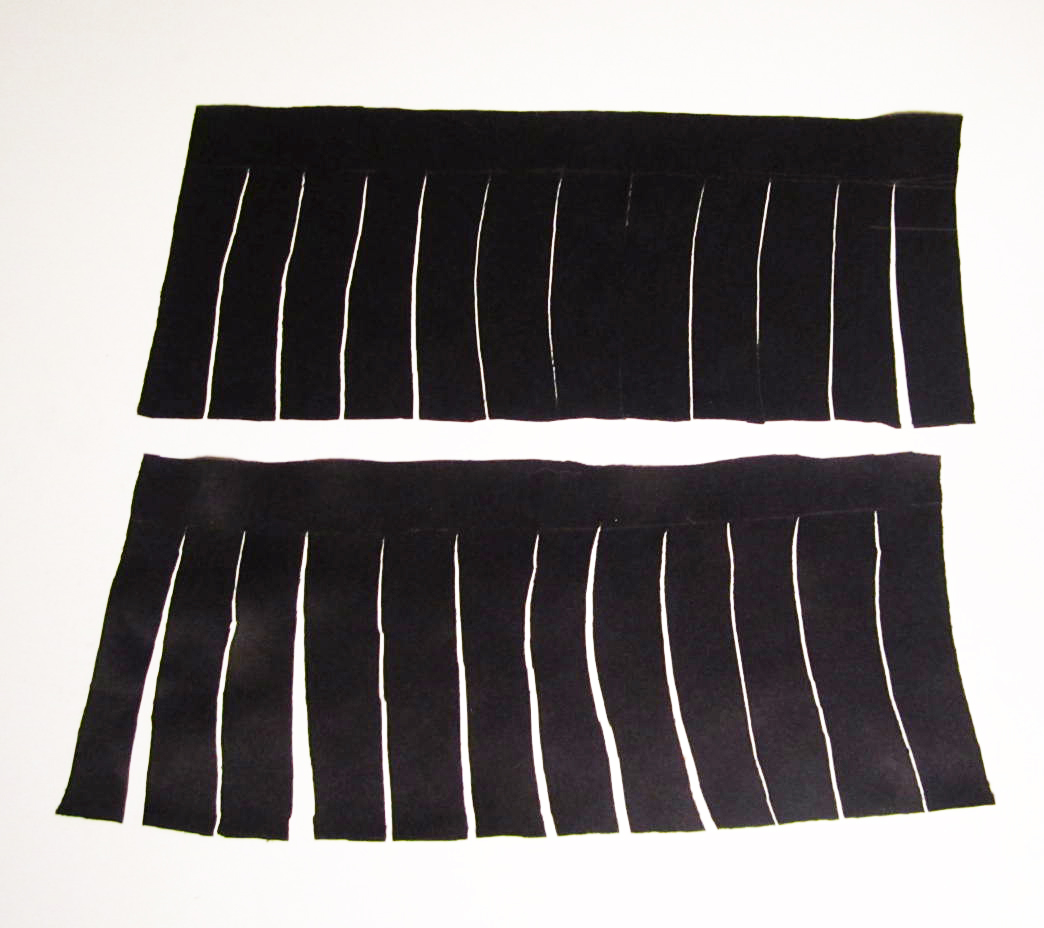
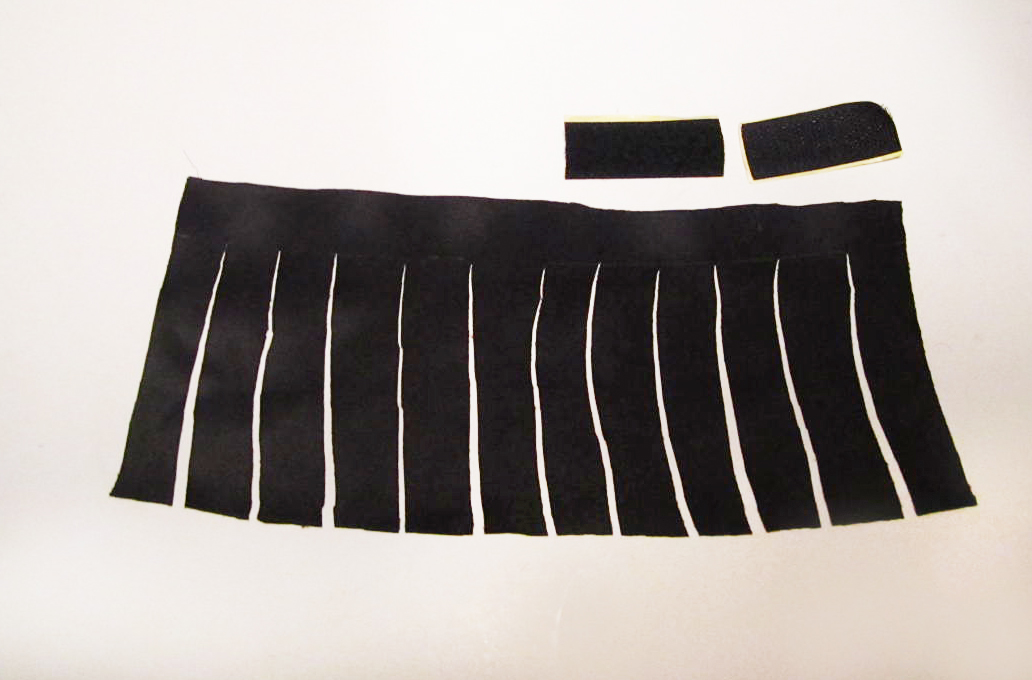


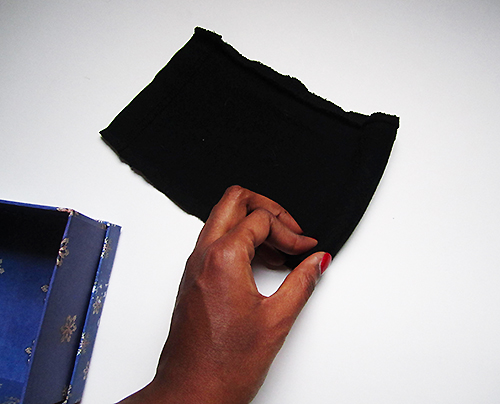


 I’m really excited to share this project because it was really inexpensive to make (shout out to my local dollar store lol), and I really liked the way it turned out. I plan on making another one in a different colour. Fair warning, this project does require a bit of sewing but don’t be discouraged my sewing skills are very very basic and it turned out great.
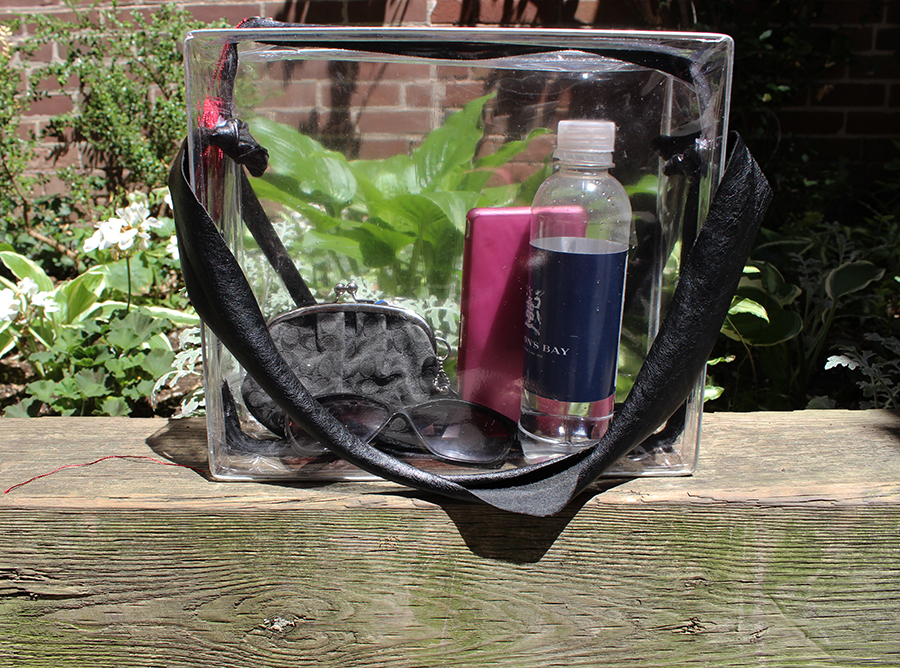
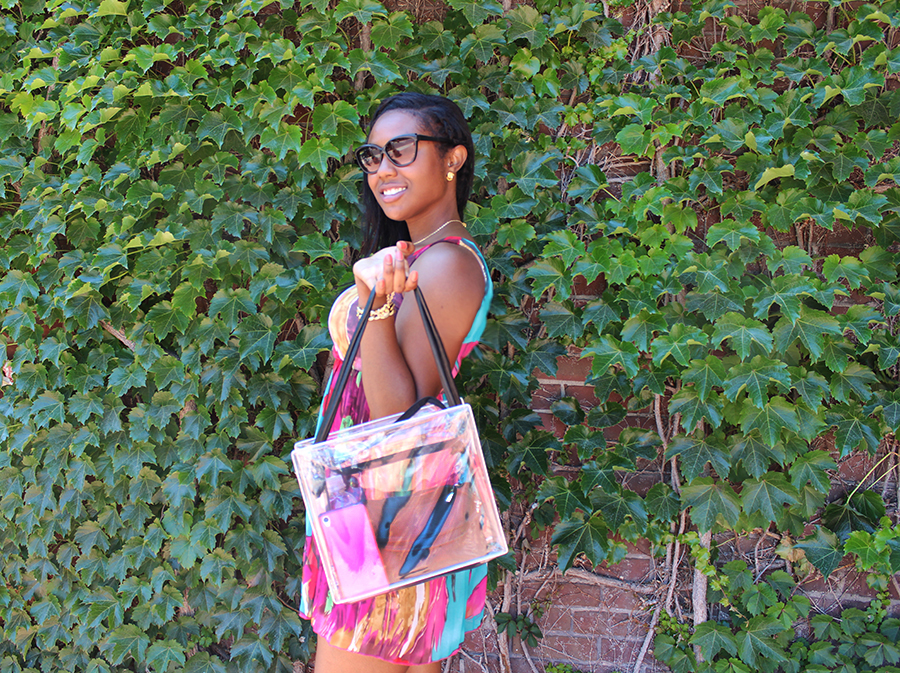