
Photo by Kristen Berk
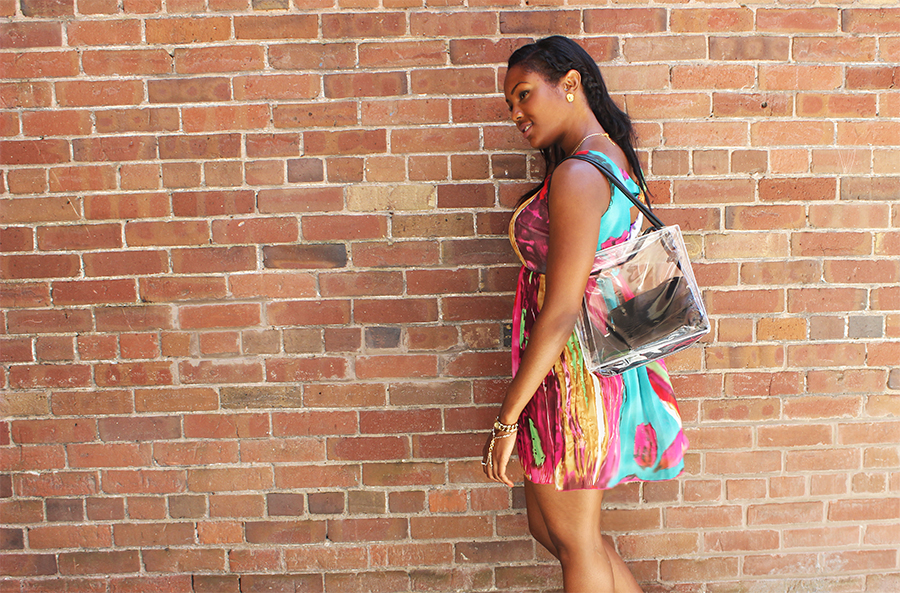
This DIY clear tote bag was inspired by the clear Hunter tote which I spotted while scrolling through Nasty Gal’s Instragram. A few days after, I had just finished putting on my new bed sheets and I was about to throw out the packaging when a light went off in my head. I realized it was the perfect base to create a DIY version of the clear Hunter Tote!
 Image Source: Nasty Gal Instagram
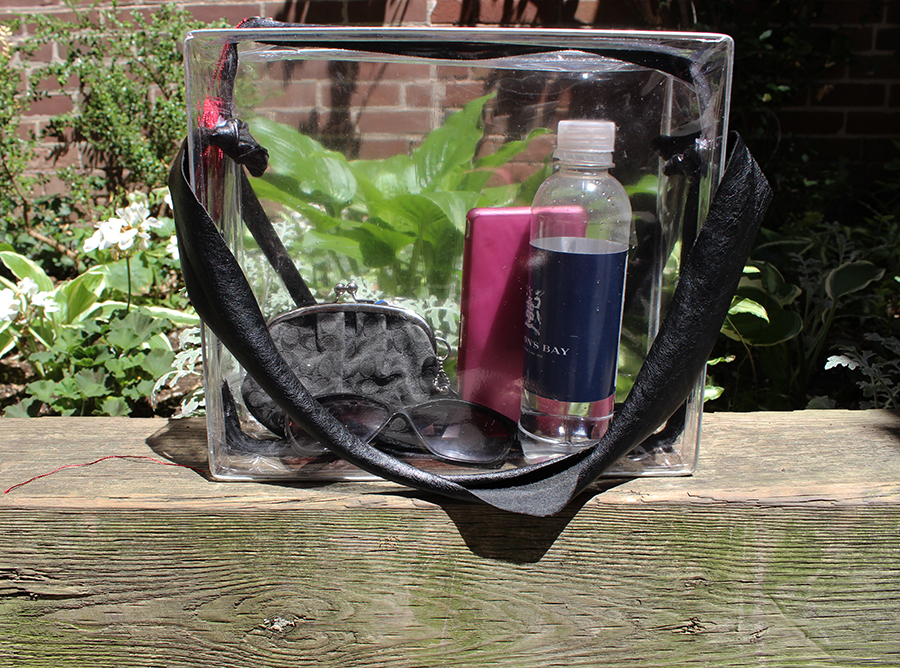
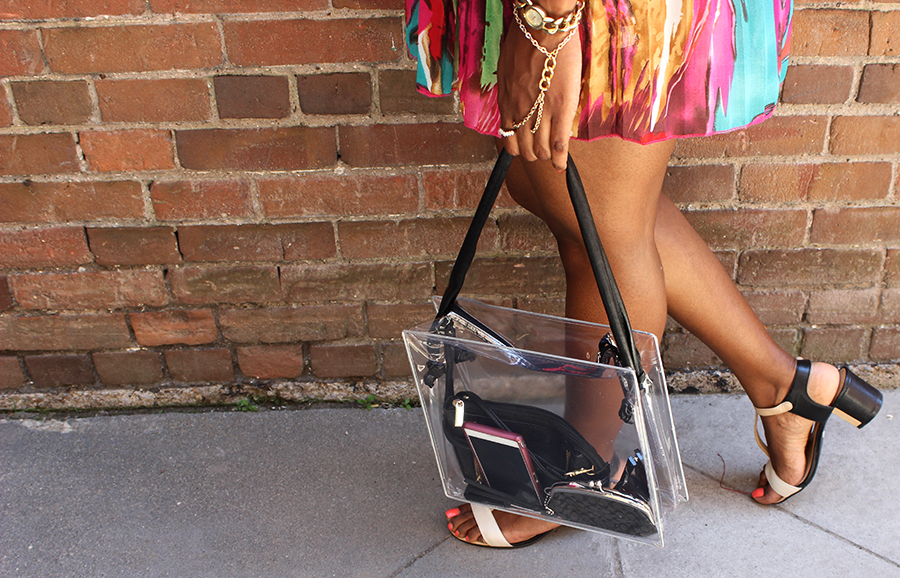
Ladies, you know the pain of having your bag feel like a big black hole that items seem to disappear into? You have to dig and shift your stuff around to find that one thing? That’s why I really love this bag! Because it’s clear I can see everything I no longer have to frantically search for my lip gloss. If you’re not comfortable with all the contents of your bag showing you can put a smaller purse or clutch inside the clear bag for items you want covered.

Here’s how I made it.
The Supplies

Transparent bed sheet case
2 Strips of material or ribbon
Hand hole punch
Marker
Glue
The Steps
On the top side of the bag I used the marker to draw a small dot for the location of the straps. I used the length of my thumb as measurement.
Using the length of my thumb again, I drew another small dot on the other side of the bag.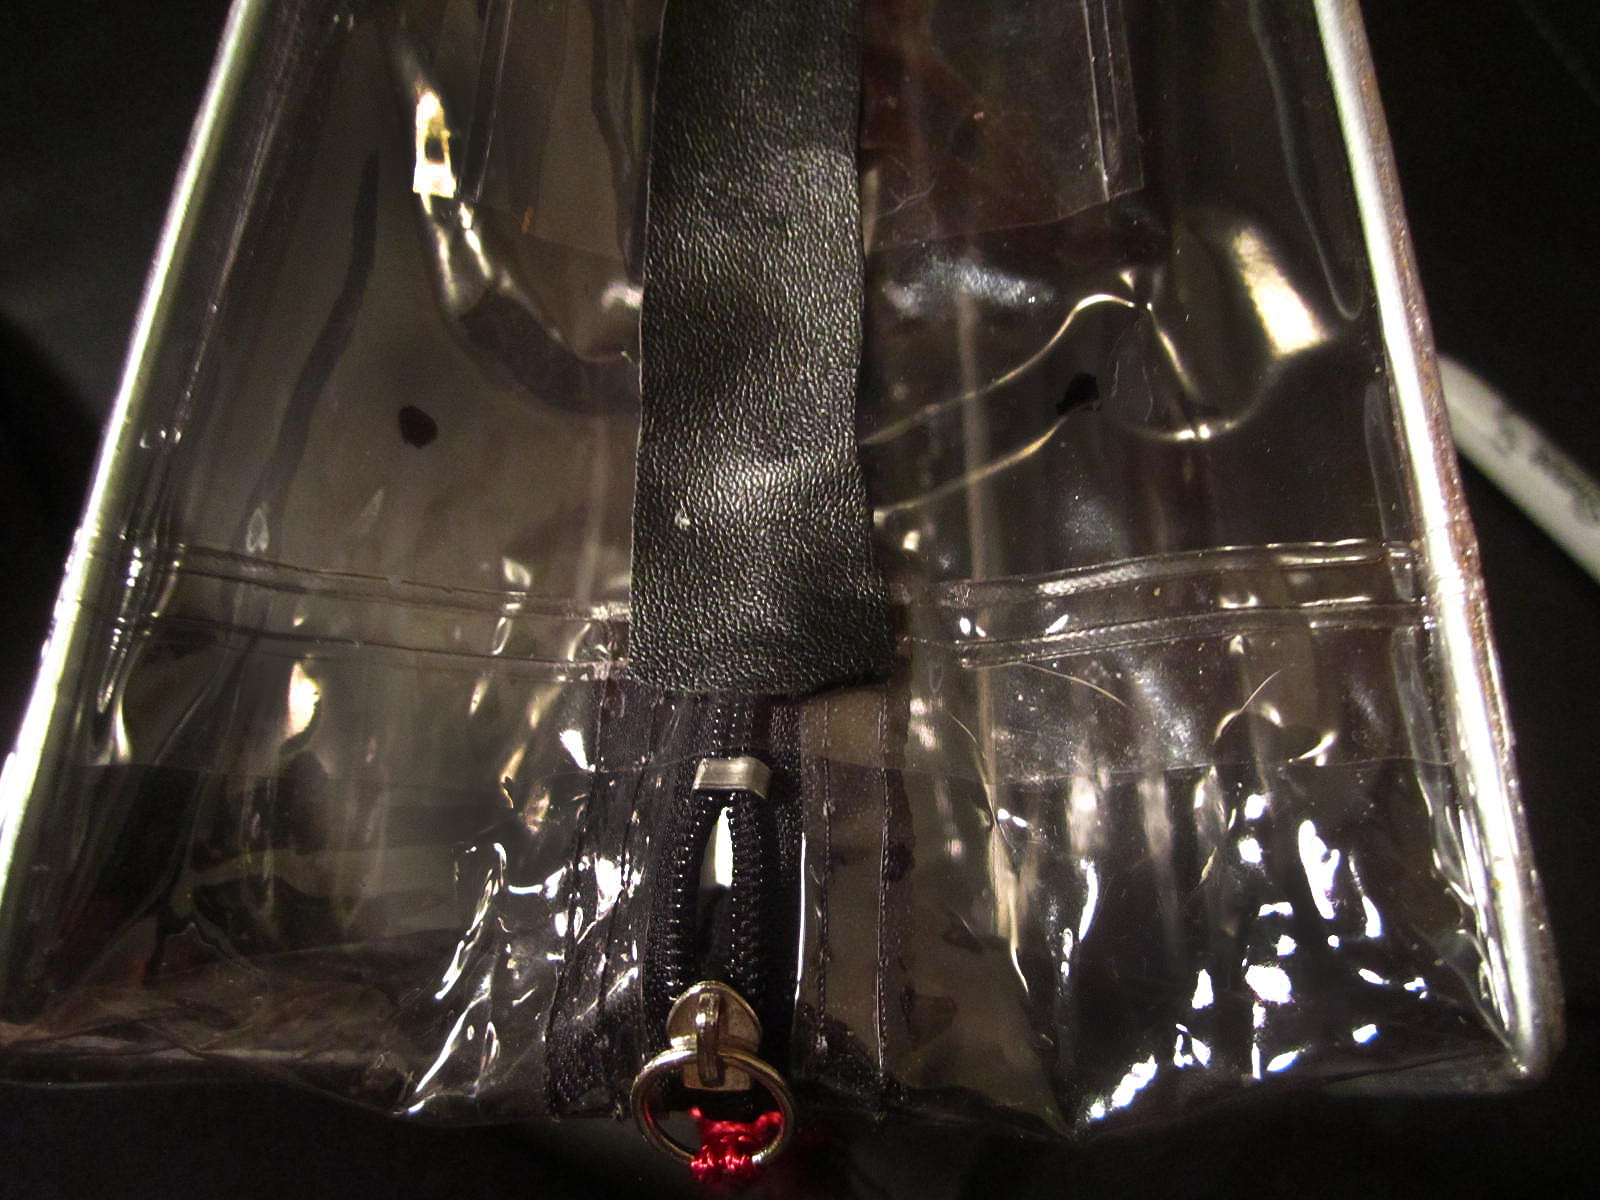
I repeated the last two steps for the other side of the bag, so there were 4 dots total.
I took the hole punch and punched a hole where each of the 4 dots were drawn.
I took a strip of material and measured it around my shoulder to see the best length for the straps, I made sure there was about an extra two inches of length (you have to knot the ends of the straps which takes away from the length). Once I had the length I wanted I cut another piece of material to the same size.
I pushed each of the straps into each hole on one side of the bag.
On the inside of the bag I triple knotted the end of the strap so that the knot could not fit through the hole. I repeated the same step for the other hole.
I took the straps making sure they were straight and I brought them over to the other side of the bag. I repeated the knotting process with the holes on the other side.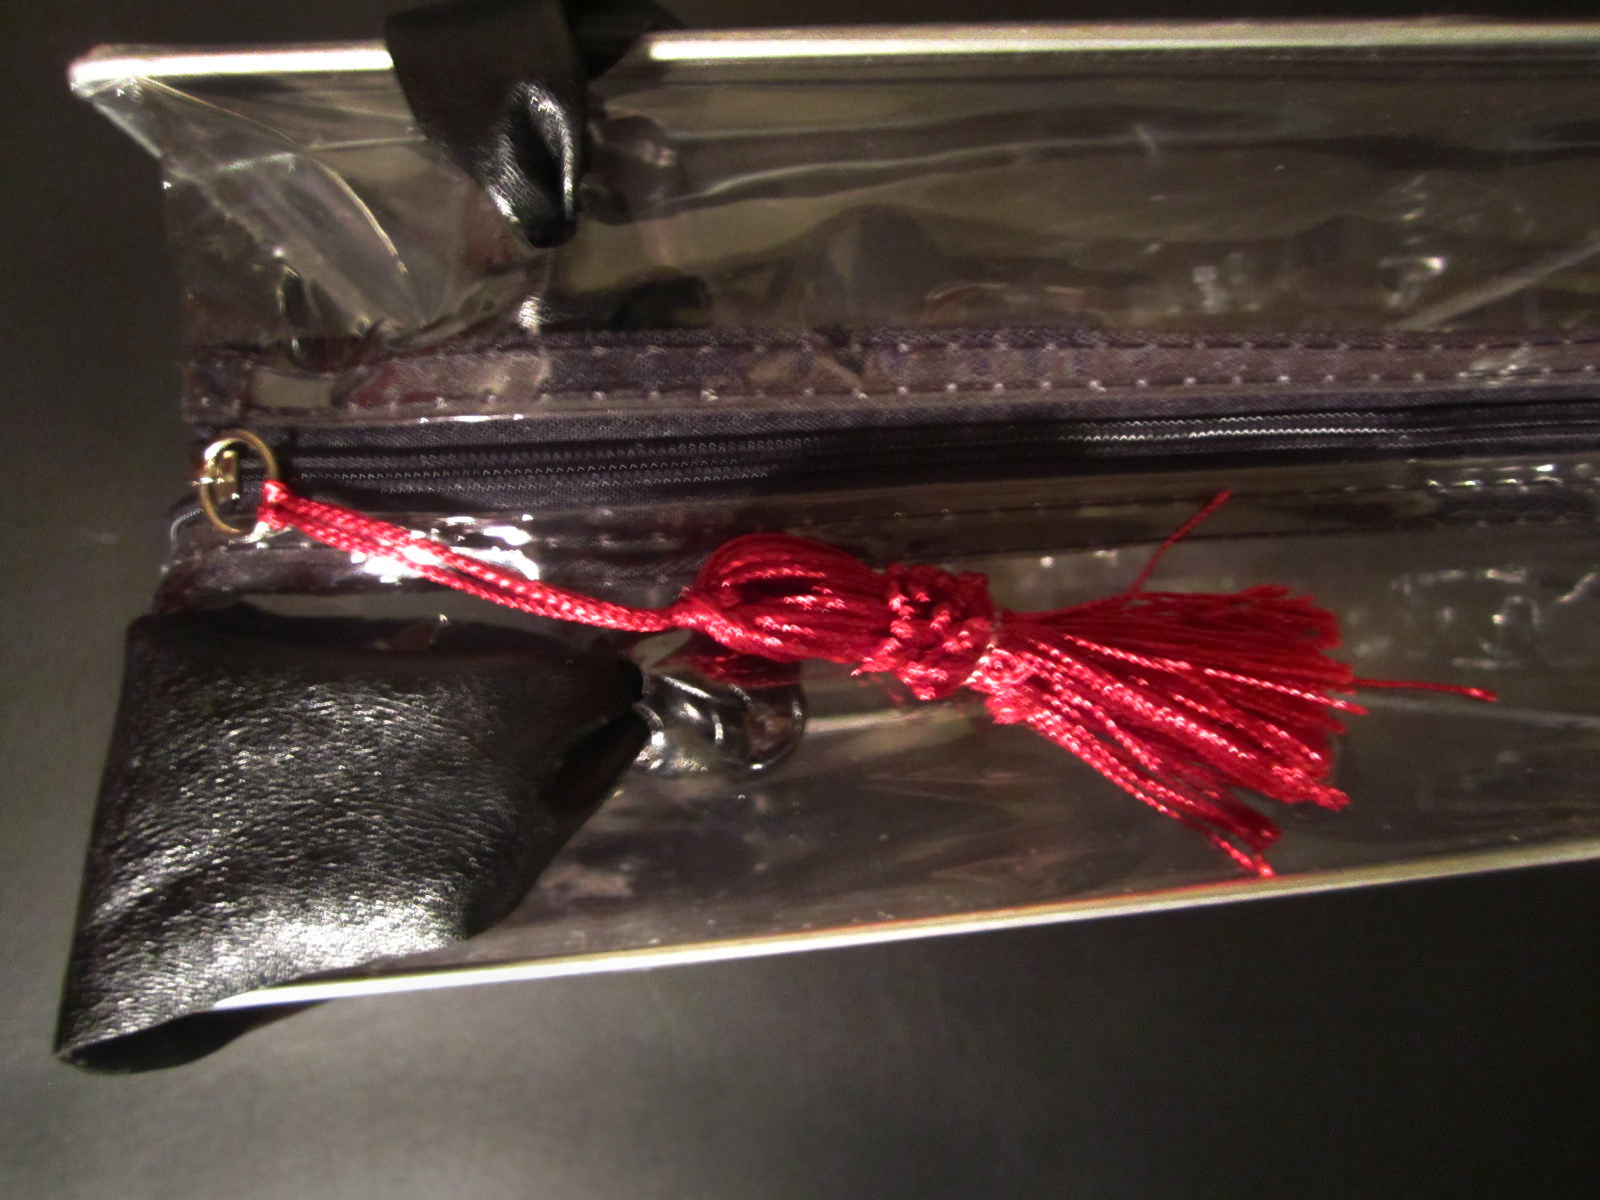
I added a dab of glue to the inside of the knot and glued it to the side of the bag. I held the knot to the bag for about 30 seconds. I repeated the gluing process for the other 3 holes.
I let the glue dry and that was it!

– Shanel

That’s a really great idea. I’ll diffidently be trying this out!
Thank you! Great, let me know if you have any questions.