My Top Summer Accessories

Featured

You can wear these looks any time during year, but with sun, fun and longer days these accessories are the perfect way to top off your summer outfit. Here are my favorite summer accessories and some suggestions on where you can find them.

Henna Tattoos

DSC_0800

If you follow me on Instagram you probably already know I adore henna tattoos. The use of henna for body art has been used for centuries, and can be traced back to ancient India. Used as an art form for Indian weddings and other ceremonial celebrations, henna is now worn by people of all cultures. The intricate designs can last up to 2 weeks and are traditionally put on the hands and feet, but you can have it applied almost anywhere on your body.

Where you can get it: In Toronto there are often henna artists with tents set up at street festivals. You can also search on online classifieds such as Kijiji and Craigslist for local henna artists, or if you have a steady hand, you can purchase some henna paste and do it yourself.

Choker Necklaces

Black Chocker Necklace

Choker necklaces are a simple accessory which can pair well with a lot of outfits, they’re especially cute with strapless items. I’m loving that the black tattoo necklaces have made a come back.

Where you can get it: I found my choker necklace at the dollar store (Dollarama), but I have also seen them at accessory stores like Clarie’s.

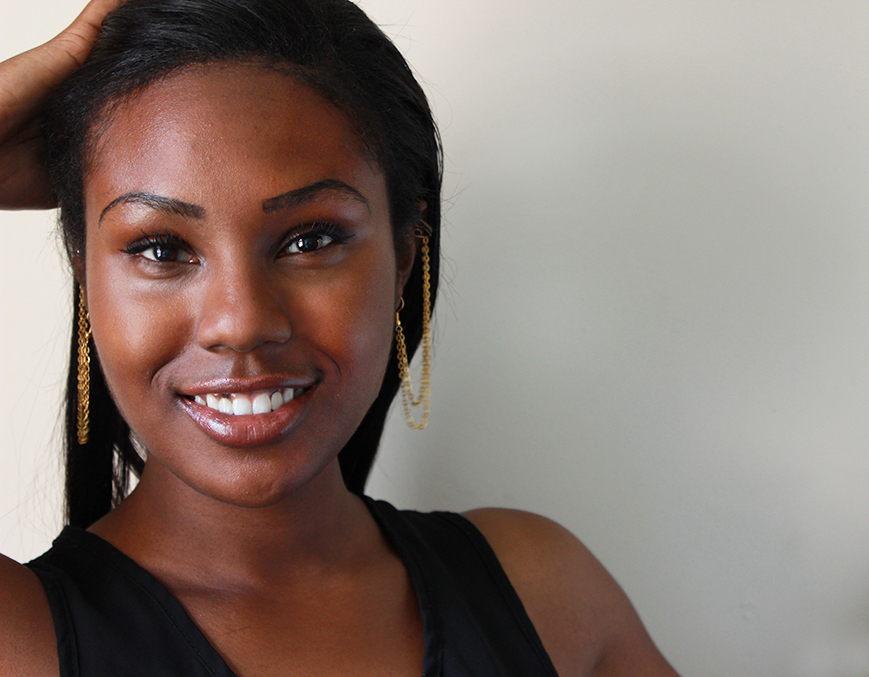
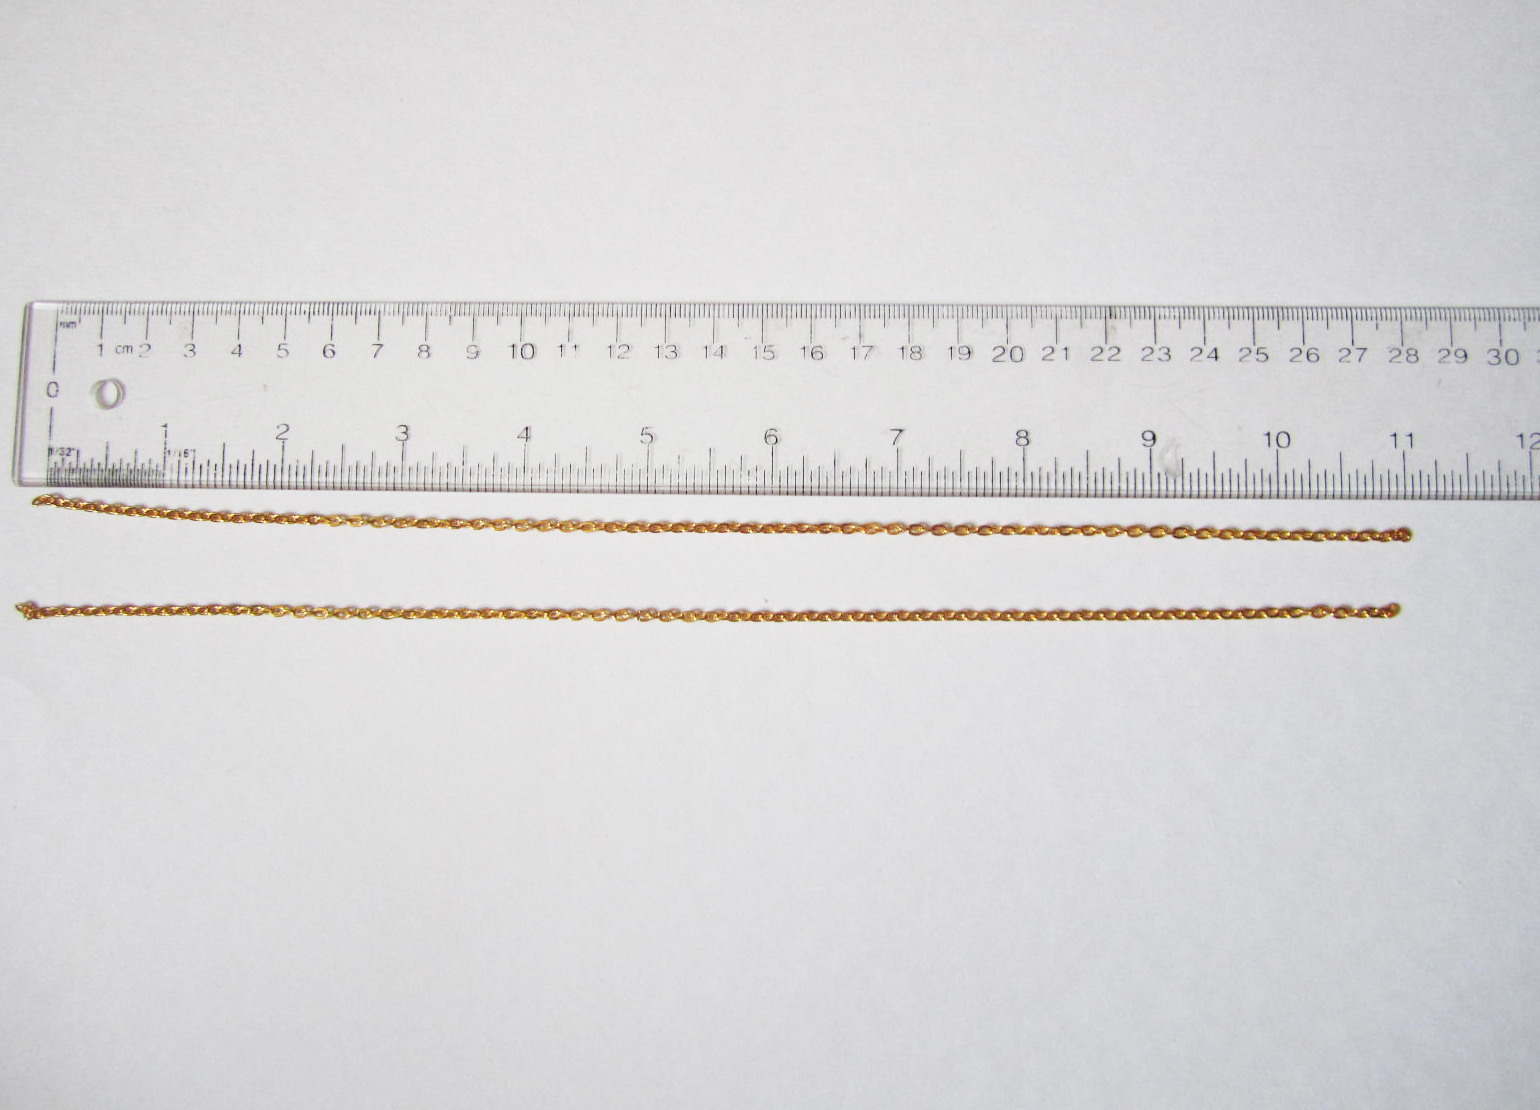
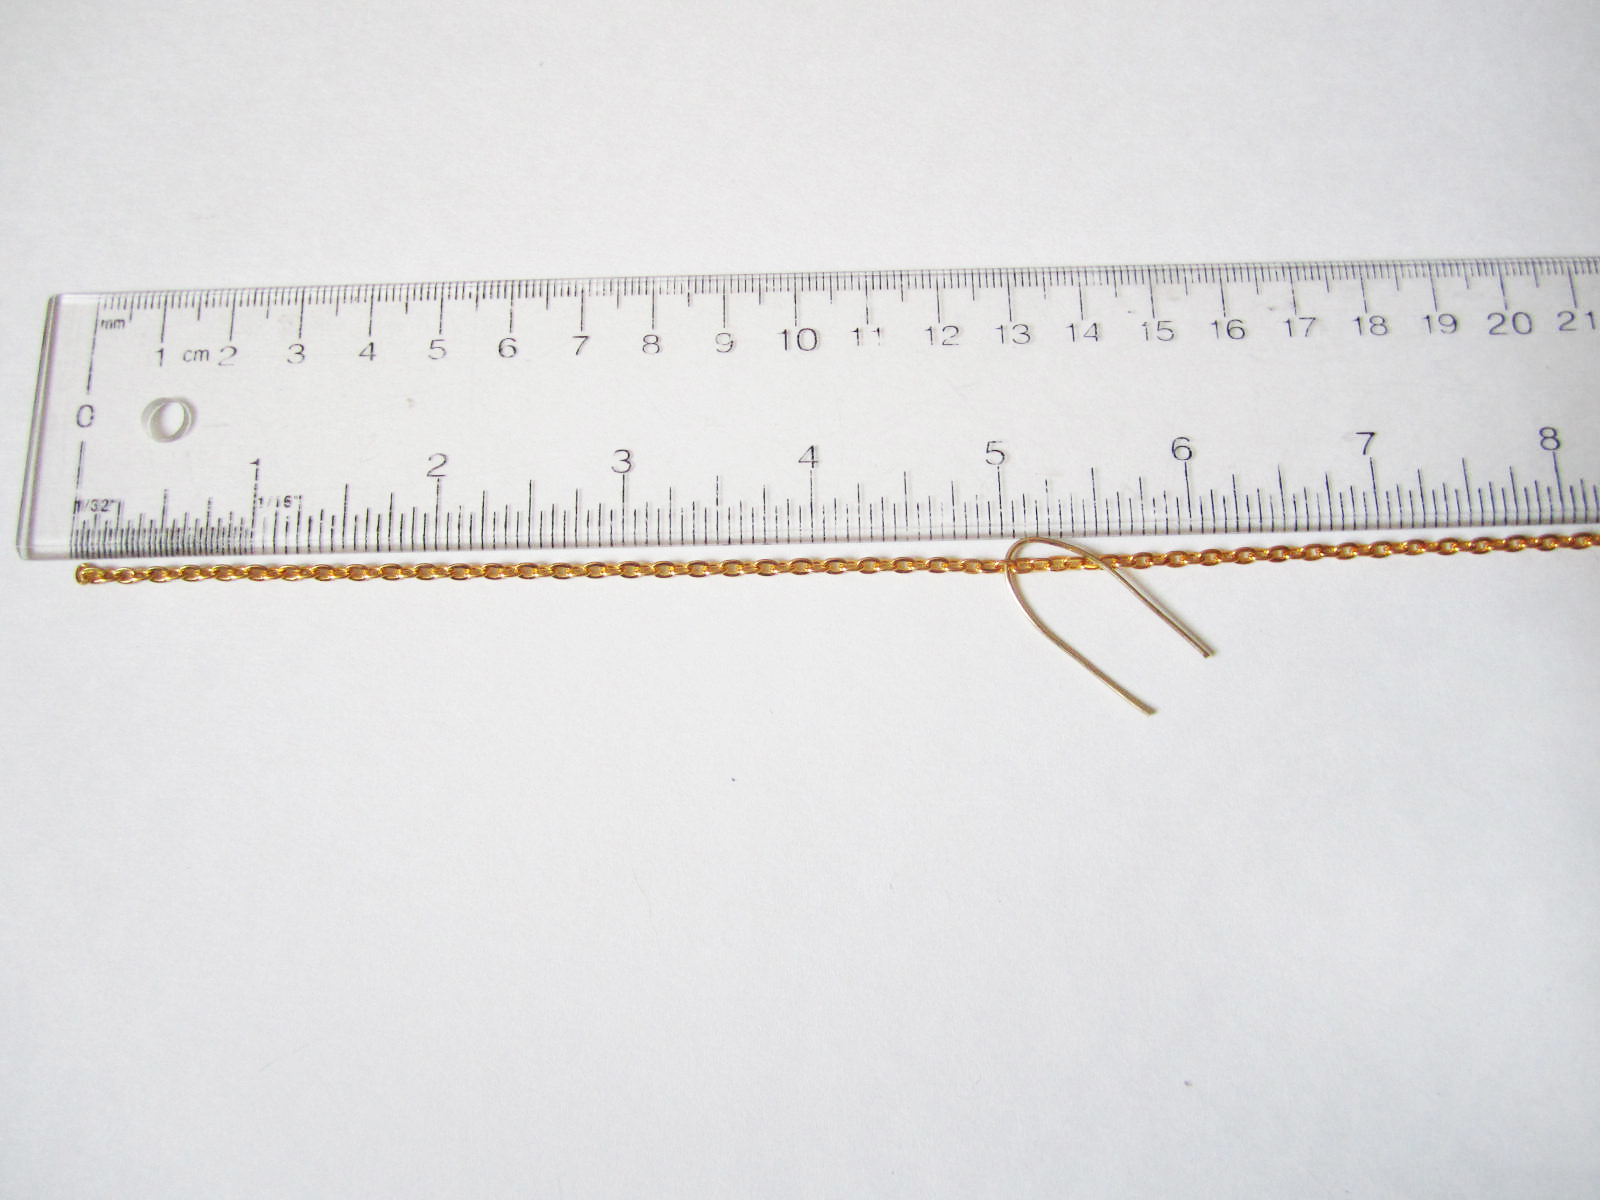
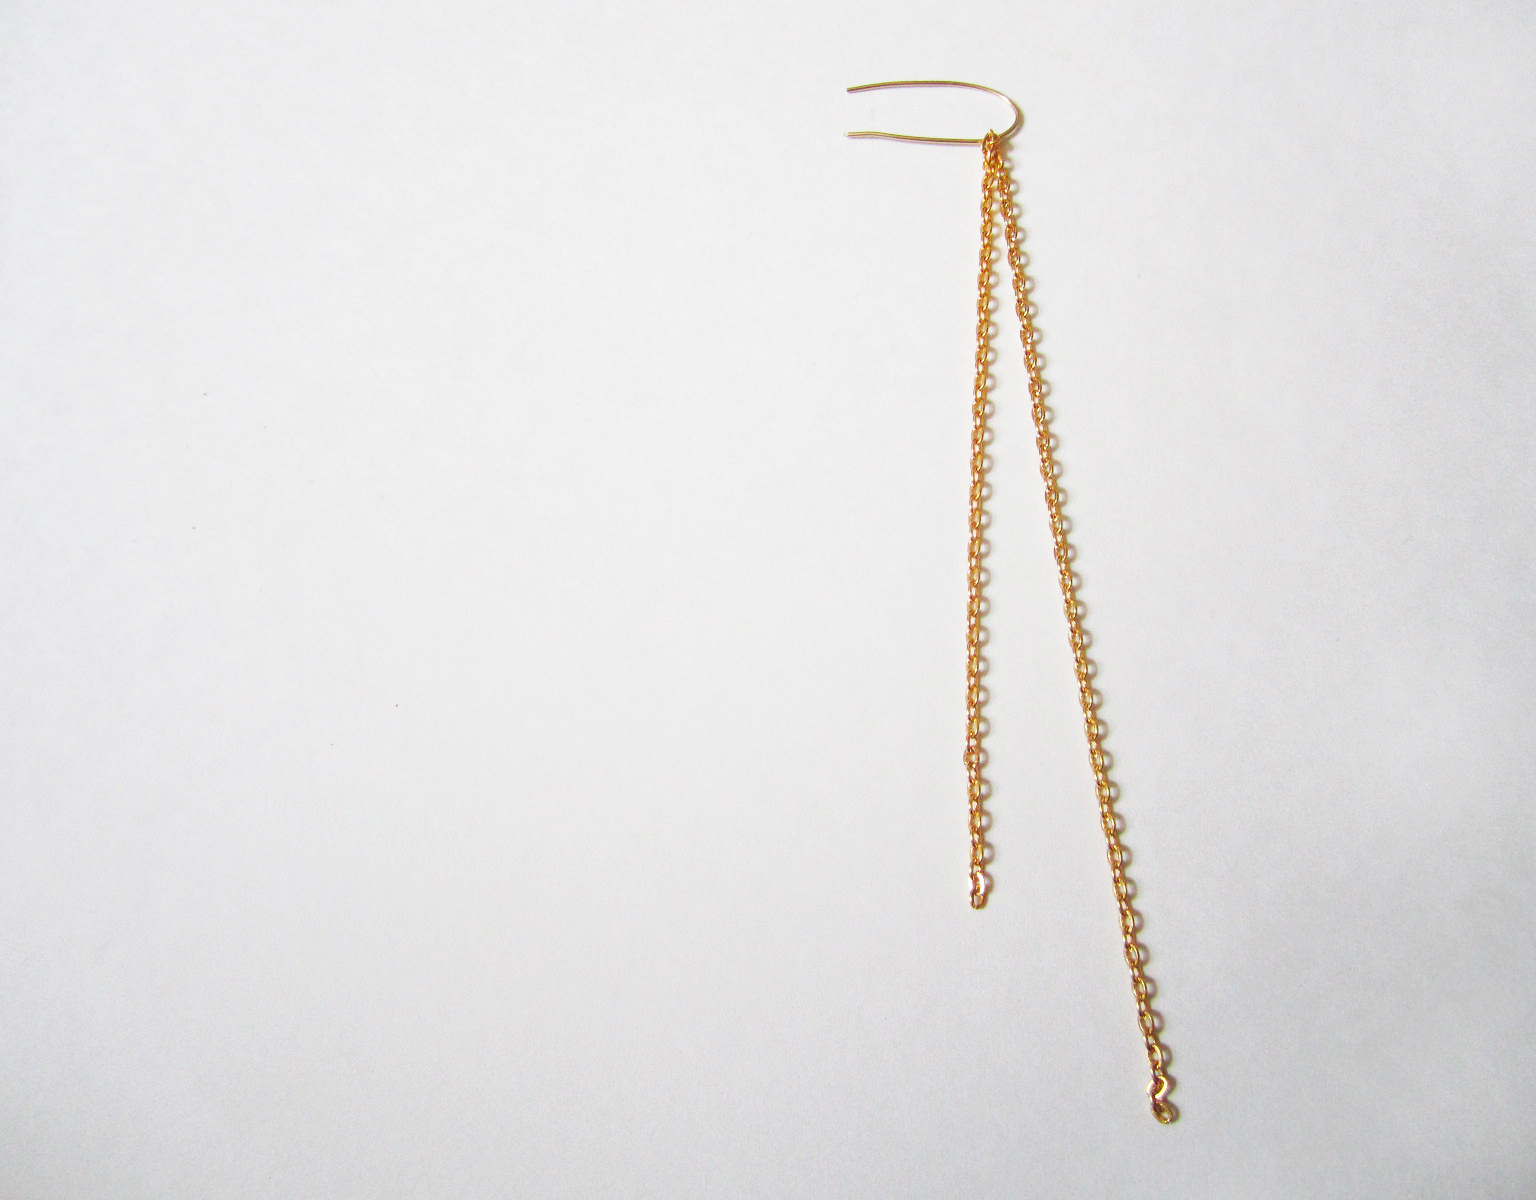
Anklets & Foot Chains

IMG_7301

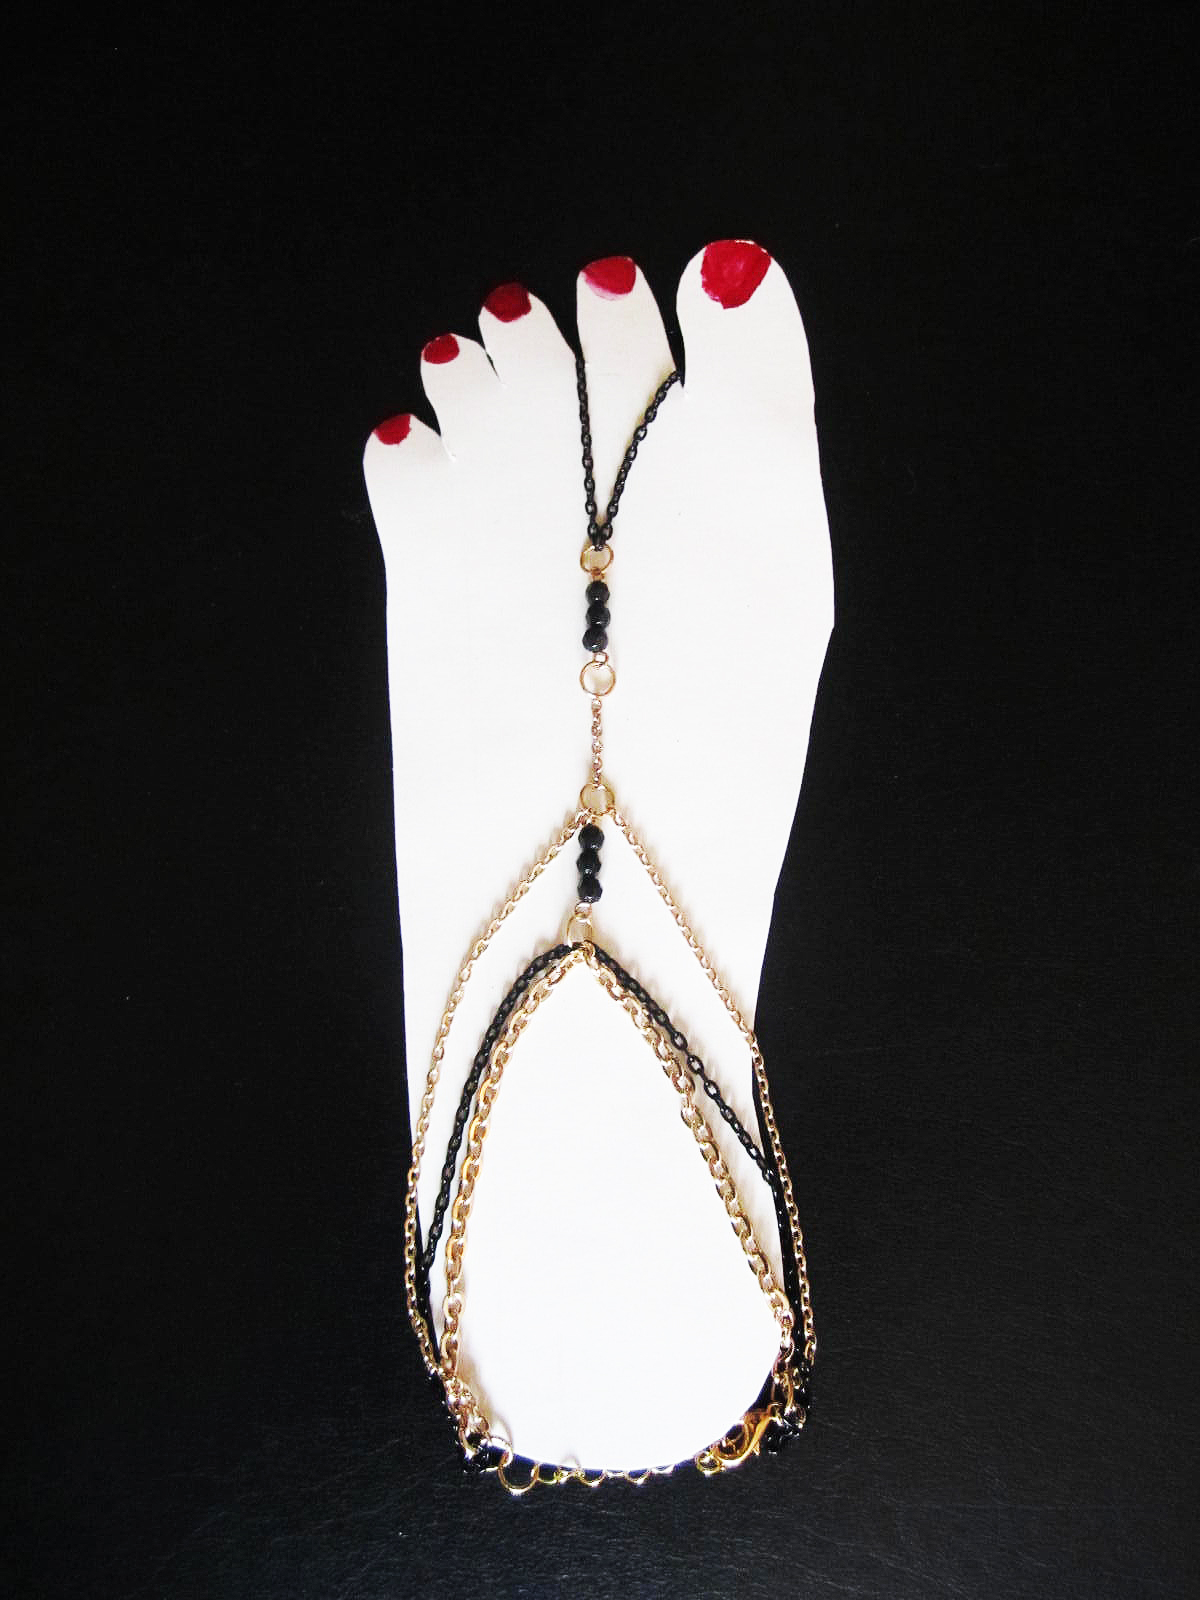
Anklets and foot chains are great because it’s a chance to accessorize the lower half of your body. Both are perfect for wearing at the beach, and if you want to step it up you can also pair them with your favorite flats or heels.

Where you can get it: There are many hand-made foot chain styles to choose from on Etsy. Also, Forever 21 has a selection of anklets.

Metallic Tattoos

Metallic Tattos

Metallic tattoos are a quick and easy way to add some shine and shimmer to your skin. They’re great for places like the beach, or when you don’t want to wear a lot of jewelery but you still want to accessorize. Simply cut out the design you like and place it face-down on clean and dry skin. Using a sponge or cloth add some water to the back and hold in place for about 30 seconds. Remove the paper and you’ve got some skin bling.

Where you can get it: Flash Tattoos is a popular brand. A quick Google search of “metallic tattoos” will also generate many websites and stores which also carry them.

What are some of your favorite summer accessories?

Shanel Signaure

How To Make A DIY Chain Cuff Earring

Featured

Diy earring and cuff1

DIYEarringCuff2 copy

Accessories and jewelry are my favorite thing to DIY, so I’m happy to share this DIY chain cuff earring! I was looking for some inspiration when I came across these DIY ear cuffs. I thought they were pretty neat because you can wear them anywhere on your ear, even if they are not pierced. I practiced making a few cuffs when I decided I wanted to glam it up, so I tried adding some chain. I love the way they turned out.

Continue reading for the DIY.

The Supplies

DIY Cuff Earring Supplies

A ruler
Crafting wire I used 20 gauge wire
Round nose pliers
Flat nose pliers
Chain
Earring hooks
Scissors

The Steps

Cut a 2 inch piece of of crafting wire, bend the wire in half. Repeat.

DIYcuffearrings01

Cut 2 pieces of 11 inches of chain.

DIYcuffearrings02

At the 5 inch point of the chain push the bent wire through. Repeat with the other piece of chain.

DIYcuffearring03

You should have two uneven pieces of chain hanging from the wire.

DIYcuffearring04

With the round nose pliers bend both ends of the wire inwards. Repeat.

DIYCuffearring5

Bring the chain forward to one side of the bent end of the wire. Repeat.

Take the flat nose pliers and at the half-way point of the wire begin to create the cuff by bending the wire around the pliers (as though you are folding it in half). Leave some room so that it will fit on your ear. Repeat for the other side.

DIYcuffearring6

Try the cuff on for size on the upper part of your ear. Adjust the wire until it fits comfortably.

DIYearringcuff06

At the end of the earring hook there is a small loop. Use the flat nose pliers and open up the loop. Bend the end of the loop towards yourself until it opens slightly. Repeat with the other earring hook.

DIYearringcuff7

Add the short end of the chain and then the longer end of the chain to the loop. Close the loop by using the flat nose pliers and bending the loop away from yourself. Repeat.

DIYcuffearrings8

You’ve just made yourself some cool new ear pieces!

DIYcuffearrings9

Shanel Signaure

Let’s Connect:

InstagramTwitterEmail

DIY Paint Print Jeans

Featured

DIY Paint PrintJEANS
Photo by Ljubomir Pavkovic

Fabric paint is a really great tool to work with, there are so many patterns and designs you can create to spruce up any piece of clothing. That’s why I was happy I had some on hand for these DIY paint print jeans.

I had put on these white jeans and I was about to head out when I noticed there were blue stains all over the back. I had accidentally stored them under a pair of dark wash jeans, so some of the blue dye had rubbed off on them, whoops! I was a bit upset that my white jeans were now ruined, but with a bit of thinking I knew I could DIY them into something new. Continue reading for the DIY below.

DIY Paint Print Pants back
Photo by Ljubomir Pavkovic

The Supplies

DIY Print Jeans Supplies

Jeans
Fabric Paint
A Tray
Sponge
Paint brush
Tape
2 Garbage bags

The Steps

Lay your pants on a flat surface, take a garbage bag and pull it through the pant leg (so that the paint doesn’t soak through to the other side), do the same for the other leg.

Put some fabric paint on the tray and dip the sponge into the paint. Take the brush and evenly distribute the paint onto the brush.

DIY Paint Print Jeans 1

Take your sponge and press it paint-side down onto the pant starting from the bottom. Since the first application has fresh paint, press lightly and then gradually increase the pressure on the sponge.

DIY Paint Print Jeans2

Continue pressing the sponge down onto the pant until there is no more paint coming off the sponge.

Reapply paint to the sponge and evenly distribute with the brush. Again, press the sponge onto the pant.

IMG_7946

Continue the last 2 steps until you’ve painted the front of the pants.

DIY Print Pants 4

I decided I wanted to have a different colour around the pockets so I left the area unpainted. I added some pink paint to a brush and painted around the top part of the pockets.

DIY Print Jeans 5

Let the paint dry completely. Flip the pants over and sponge paint the backside of the pants. If you would like to add a second colour to the back pockets like I did. Leave the area unpainted. Let the paint dry completely.

DIY Paint Print Pants 6

Add the tape across the back pockets and then tuck the garbage bags into the pockets. With the paint brush paint the second colour up to the tape line.

DIY Print Pockets 7

Let the paint dry and then remove the tape.

DIY Print Pants 8

Voila, you’ve got yourself an almost new pair of pants.

-Shanel
Let’s Connect:

InstagramTwitterEmail