How to make a DIY Wrap Dress

Featured

This DIY Wrap Dress is super simple, and I love it because it can be worn so many different ways! You can layer it over an everyday outfit and wear it as a vest, or use it as a cover-up for the beach. Yay versatility! I plan on making more in a few different colours.

I decided to try something new and use Snapchat to record the tutorial, let me know what you think!

The Supplies

Stretchy fabric
Scissors

The Steps

Cut the material into a rectangle. The shorter the width of your material the shorter it will be on you.

Fold the material in half.

At the folded end about 4 inches from the top cut out a semi circle.

Open the material up and you’ll have a circle in the middle.

Put your arm through one side of the circle and then through the other side.

Wear however you like!

-Shanel

How to Layer Fall Outfits

Featured

Winter Outfit Idea

As the later half of fall approaches and temperatures tend to get chillier, it’s the perfect opportunity to layer-up your outfits and step up the chicness with cute overcoats. I put together this everyday layered fall look with pieces you can find on www.shopspring.com. Here are my top 3 tips on how to layer your fall outfit.

Start With a Basic

Basic long and short-sleeved tees can go a long way, so I always have a few different colours stocked in my closet. Start with a basic plain shirt and then work your layering up from there. This Aether V-Neck shirt is the perfect base piece for layering because it’s soft an made from breathable materials.

Over-sized and Chunky Sweaters are Your Friend

Over-sized and chunky sweaters over fitted shirts instantly make for a cool layered look. This French Connection knit is long, cozy, and adds an extra layer of warmth. You can also add a belt on top of a chunky sweater to give your outfit more shape.

Don’t Forget to Accessorize!

Accessories can also be used to add layers to your outfit. This double strapped Marc Jacob watch makes for some cute wrist candy! You can always throw on some necklaces or chokers to add to your layers.

What is your go-to layering piece?

Shanel Signaure

Friday Night Live at the ROM | DIY Leaf Print Shirt

Featured

DIY Print ShirtFall has always been my favourite season, it’s so scenic. I love walking down the street admiring all the beautiful changing colours of the trees, and suddenly a gust of wind blows and the leaves surround me falling delicately to my feet. It makes me happy just thinking about it.

FallPhoto

This leaf print DIY shirt is a great way to enjoy fall and all it’s beauty, and as a Canadian it made me feel a bit patriotic with the maple leaf being a part of our flag.

DIY Leaf Print Shirt

Green Graffitti copy

The inspiration for this DIY came to me when I attended one of my favorite events, Friday Night Live at the ROM. FNL has returned (another reason why I love fall!) and it runs until November 27th. Every FNL has a theme and last weeks was Thank You Canada. As a sponsor of the event Ford provides fun costumes and props that go along with each weeks theme. My friend Justine and I had a blast dressing up in “Canadian attire” and throwing leaves around. This Fridays theme is Dig it! It’s all about archaeology you can check the FNL event schedule here.


ROM Thank You CanadaJustine & I having fun at #FNL

Continue reading for the DIY

The Supplies

DIYSupplies

A Shirt
Leaves
Fabric Paint
A Paint brush
Piece of cardboard
A tray

The Steps

The first thing you will need to do is collect some leaves of varying sizes. This was a lot of fun! I went to a park named Trinity Bellwoods and found some leaves that had just fallen off the trees. The fresher the leaf the better, don’t collect the dried leaves as they are more prone to cracking and breaking when you paint them.

Pickingleaves

throwingleaves

If you’re not going to do the DIY within a few days, store the leaves in a zip lock bag and keep them in a book so they don’t dry out and they will be nice and flat when you’re ready to use them.

Fall Leaves

Put the piece of cardboard inside the shirt, so the paint doesn’t seep through to the other side.

Layout the leaves on the shirt from largest to smallest, or whichever way you prefer.

Fall shift DIY1

Pour some paint onto a tray and dip the paint brush in. Hold the leaf in the middle and paint all around the edge of the leaf.

Shirt DIY 2

Repeat for the other leaves.

Shirt DIY 3

Remove the leaves and let the paint dry, and voila you’re done!

Shiry DIY 4

Shirt DIY 5

Graffiti1Shanel Signaure

My Top Summer Accessories

Featured

You can wear these looks any time during year, but with sun, fun and longer days these accessories are the perfect way to top off your summer outfit. Here are my favorite summer accessories and some suggestions on where you can find them.

Henna Tattoos

DSC_0800

If you follow me on Instagram you probably already know I adore henna tattoos. The use of henna for body art has been used for centuries, and can be traced back to ancient India. Used as an art form for Indian weddings and other ceremonial celebrations, henna is now worn by people of all cultures. The intricate designs can last up to 2 weeks and are traditionally put on the hands and feet, but you can have it applied almost anywhere on your body.

Where you can get it: In Toronto there are often henna artists with tents set up at street festivals. You can also search on online classifieds such as Kijiji and Craigslist for local henna artists, or if you have a steady hand, you can purchase some henna paste and do it yourself.

Choker Necklaces

Black Chocker Necklace

Choker necklaces are a simple accessory which can pair well with a lot of outfits, they’re especially cute with strapless items. I’m loving that the black tattoo necklaces have made a come back.

Where you can get it: I found my choker necklace at the dollar store (Dollarama), but I have also seen them at accessory stores like Clarie’s.

Anklets & Foot Chains

IMG_7301

Anklets and foot chains are great because it’s a chance to accessorize the lower half of your body. Both are perfect for wearing at the beach, and if you want to step it up you can also pair them with your favorite flats or heels.

Where you can get it: There are many hand-made foot chain styles to choose from on Etsy. Also, Forever 21 has a selection of anklets.

Metallic Tattoos

Metallic Tattos

Metallic tattoos are a quick and easy way to add some shine and shimmer to your skin. They’re great for places like the beach, or when you don’t want to wear a lot of jewelery but you still want to accessorize. Simply cut out the design you like and place it face-down on clean and dry skin. Using a sponge or cloth add some water to the back and hold in place for about 30 seconds. Remove the paper and you’ve got some skin bling.

Where you can get it: Flash Tattoos is a popular brand. A quick Google search of “metallic tattoos” will also generate many websites and stores which also carry them.

What are some of your favorite summer accessories?

Shanel Signaure

How To Make A DIY Chain Cuff Earring

Featured

Diy earring and cuff1

DIYEarringCuff2 copy

Accessories and jewelry are my favorite thing to DIY, so I’m happy to share this DIY chain cuff earring! I was looking for some inspiration when I came across these DIY ear cuffs. I thought they were pretty neat because you can wear them anywhere on your ear, even if they are not pierced. I practiced making a few cuffs when I decided I wanted to glam it up, so I tried adding some chain. I love the way they turned out.

Continue reading for the DIY.

The Supplies

DIY Cuff Earring Supplies

A ruler
Crafting wire I used 20 gauge wire
Round nose pliers
Flat nose pliers
Chain
Earring hooks
Scissors

The Steps

Cut a 2 inch piece of of crafting wire, bend the wire in half. Repeat.

DIYcuffearrings01

Cut 2 pieces of 11 inches of chain.

DIYcuffearrings02

At the 5 inch point of the chain push the bent wire through. Repeat with the other piece of chain.

DIYcuffearring03

You should have two uneven pieces of chain hanging from the wire.

DIYcuffearring04

With the round nose pliers bend both ends of the wire inwards. Repeat.

DIYCuffearring5

Bring the chain forward to one side of the bent end of the wire. Repeat.

Take the flat nose pliers and at the half-way point of the wire begin to create the cuff by bending the wire around the pliers (as though you are folding it in half). Leave some room so that it will fit on your ear. Repeat for the other side.

DIYcuffearring6

Try the cuff on for size on the upper part of your ear. Adjust the wire until it fits comfortably.

DIYearringcuff06

At the end of the earring hook there is a small loop. Use the flat nose pliers and open up the loop. Bend the end of the loop towards yourself until it opens slightly. Repeat with the other earring hook.

DIYearringcuff7

Add the short end of the chain and then the longer end of the chain to the loop. Close the loop by using the flat nose pliers and bending the loop away from yourself. Repeat.

DIYcuffearrings8

You’ve just made yourself some cool new ear pieces!

DIYcuffearrings9

Shanel Signaure

Let’s Connect:

InstagramTwitterEmail

DIY Clear Tote Bag

Featured

DIY Clear Hunter Bag
Photo by Kristen Berk

This DIY clear tote bag was inspired by the clear Hunter tote which I spotted while scrolling through Nasty Gal’s Instragram. A few days after, I had just finished putting on my new bed sheets and I was about to throw out the packaging when a light went off in my head. I realized it was the perfect base to create a DIY version of the clear Hunter Tote!

Clear Hunter ToteImage Source: Nasty Gal Instagram

Ladies, you know the pain of having your bag feel like a big black hole that items seem to disappear into? You have to dig and shift your stuff around to find that one thing? That’s why I really love this bag! Because it’s clear I can see everything I no longer have to frantically search for my lip gloss. If you’re not comfortable with all the contents of your bag showing you can put a smaller purse or clutch inside the clear bag for items you want covered.

ClearbagDIY

Clear Tote Purse Bag DIY

Brick Wall Clear Bag Tote

Here’s how I made it.

The Supplies

DIY Clear Purse Supplies

Transparent bed sheet case
2 Strips of material or ribbon
Hand hole punch
Marker
Glue

The Steps

On the top side of the bag I used the marker to draw a small dot for the location of the straps. I used the length of my thumb as measurement.Clear Purse DIY 1

Using the length of my thumb again, I drew another small dot on the other side of the bag.Clear Purse DIY3

I repeated the last two steps for the other side of the bag, so there were 4 dots total.

I took the hole punch and punched a hole where each of the 4 dots were drawn.Clear Purse DIY 4

I took a strip of material and measured it around my shoulder to see the best length for the straps, I made sure there was about an extra two inches of length (you have to knot the ends of the straps which takes away from the length). Once I had the length I wanted I cut another piece of material to the same size.

I pushed each of the straps into each hole on one side of the bag.DIY Clear Hunter Bag 6

On the inside of the bag I triple knotted the end of the strap so that the knot could not fit through the hole. I repeated the same step for the other hole.DIY clear purse 7

I took the straps making sure they were straight and I brought them over to the other side of the bag. I repeated the knotting process with the holes on the other side.DIY Clear Purse 8

I added a dab of glue to the inside of the knot and glued it to the side of the bag. I held the knot to the bag for about 30 seconds. I repeated the gluing process for the other 3 holes.

I let the glue dry and that was it!DIY Clear Tote Purse 8

DIY clear tote purse bag 2

Clear Tote Bag DIY

– Shanel

Divalicious 7 & Style Tips On How to Wear All White

Featured

Tips for wearing all-whitePhoto by Vincent Dayrit Photography

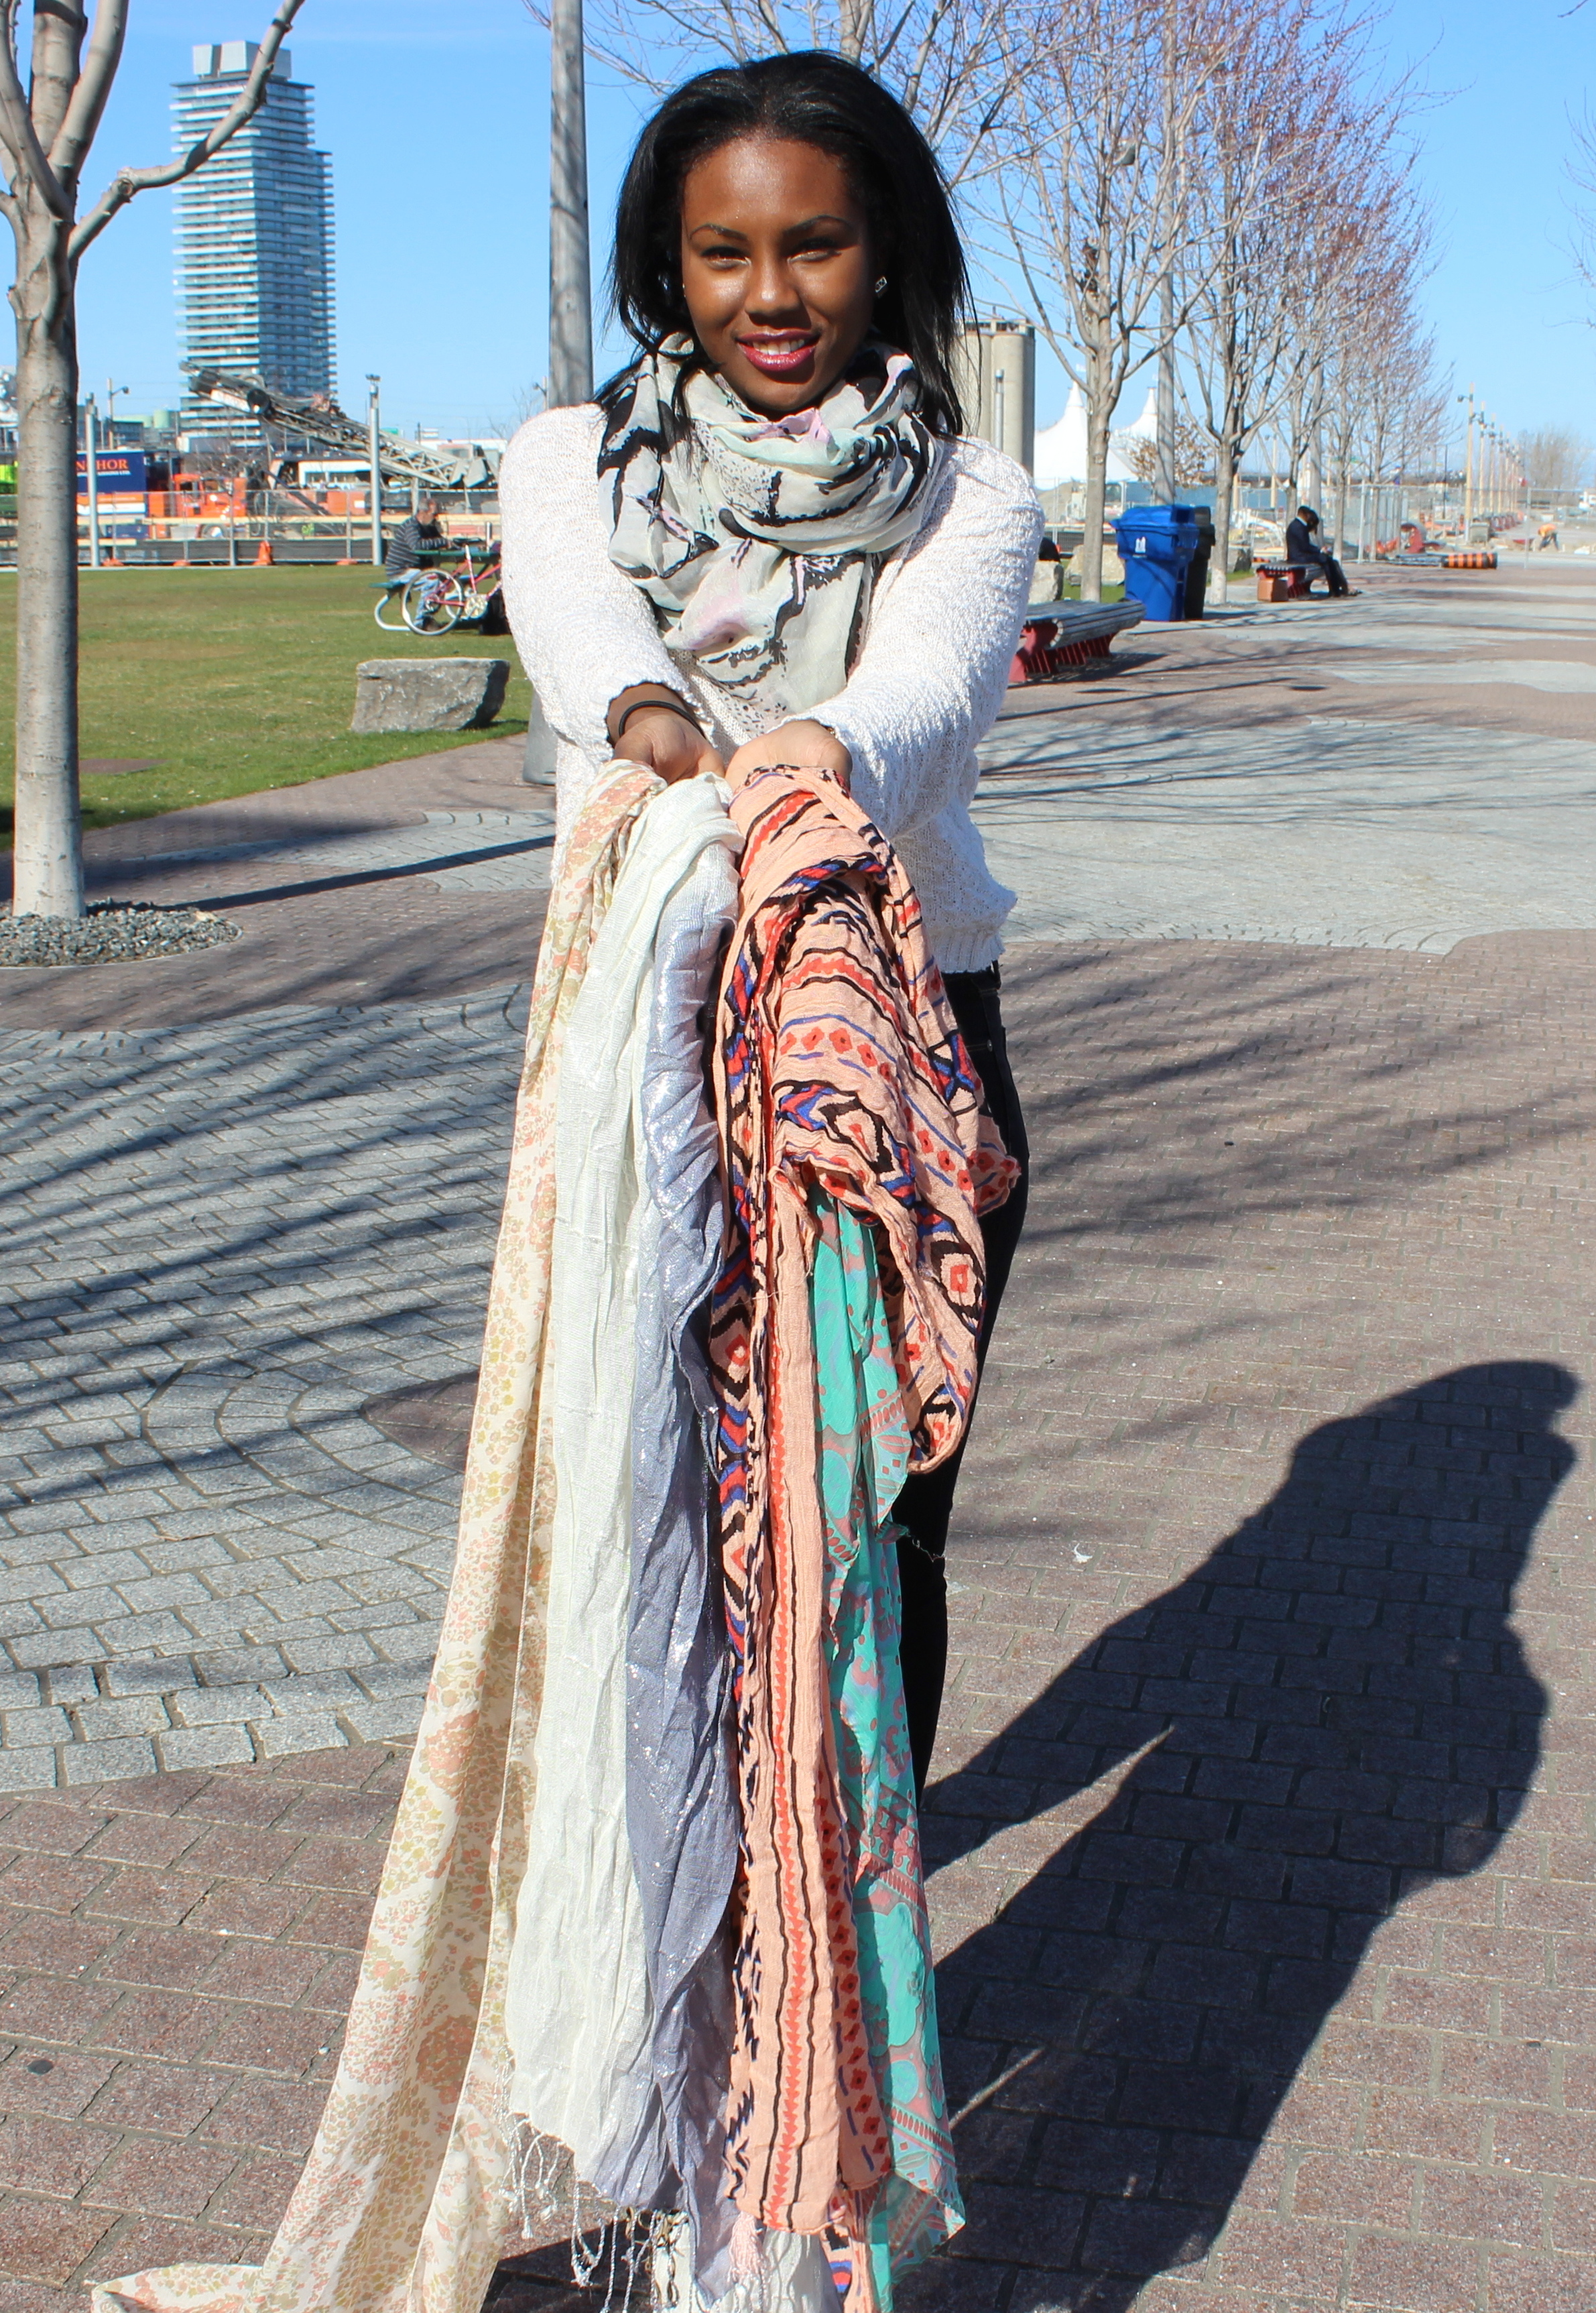
All white ensembles are a classic fresh look for the summer months. I recently attended an all-white party for the Divalicious 7 birthday bash. Myself along with a few other local bloggers were invited to model an all white outfit from Toronto designers.

The event was hosted by DivaGirl Inc, which is an all female community dedicated to empowering women through fun and engaging conferences, events, and workshops. It was a great time! There were performances, vendors, henna and champagne. Here are a few photos from the event.

Continue reading below for my tips on how to stylishly wear all white this summer.

IMG_7881Dance performance by the DivaGirl Cabaret

11401063_10150494477779982_7848864243580940868_n

Me getting some henna done while wearing beautiful Stella & Dot accessories. Photo by Vincent Dayrit Photography

IMG_7871

Shop for Jayu accessory table

Style Tips for All White1

Bloggers being models for the day

IMG_7877

With different shades of white and varying textures it can sometimes be difficult to pull off an all white ensemble. As long as you stay away from the red wine, all white outfits can be easier to pull off than you think. Here are some style tips for wearing all white this summer.

 Mix up textures

Jessica Alba All White
Photo Eonline

Add dimension to your all white ensemble by mixing up textures. If you’re wearing something made of a heavier material like denim or cotton, pair it with a lighter material such as a linen or something sheer to balance everything out. Sheer materials also pair great with off-white items.

Matching Set

All White Matching Set Reese Witherspoon
Photo People

If you want to make sure your all white outfit is on-point, invest in a matching set such as a tailored two-piece or matching top and skirt. You can always mix and match the pieces and wear separately. You can count on the set as a go-to source for when you need an all white outfit in a hurry.

Show Some Skin

Nicole Scherzinger All White
Photo Express

If you’re comfortable with showing some skin, break up your all white outfit with a crop top and high waisted trousers or skirt. Ripped white jeans can also be a fun way to show a bit of skin and add texture. For the more reserved, clothing with sheer and crochet materials are another great option.

Add some accessories

Wearing all white Rihanna
Photo Daily Mail

Since all white ensembles are pretty much a blank canvas for accessories, use them as a way to dress-up or dress-down your outfit. Layering metallic jewelry can look really chic with an all white outfit.

Shoes, shoes, shoes!

1C989C15
Photo People

If you want to achieve a total monochromatic look and you don’t own white shoes, go with a neutral or tan coloured shoe to finish off your look. If you’re going to wear a darker coloured shoe go for a strappy style heel or sandals with smaller or light straps so it doesn’t over power the outfit.

How do you like to wear all white?

– Shanel

DIY Fringe Ankle Cuff

Featured

DIY Fringe Cuff

I’m loving all the fringes I am seeing pop up on everything from dresses, clutches, and shoes. Fringes are fun, flirty, and they can add cool movement and lines to an outfit.

Since DIYing fringes involves a lot of cutting I decided on a simple DIY fringe ankle cuff. Doing this project made me wish I owned a shredder so I could shred fabric to make fringes on command. I would add fringes to everything!

This DIY fringe cuff pairs great with gladiator style sandals or heels. Here’s what you’ll need.

The Supplies

DIYFringeCuff supplies

Fabric
Scissors
Ruler
Pen or Marker
Glue gun
Velcro

The size of my fabric was 6 inches high and 9 inches long.

The Steps

First, I measured the fabric around my ankle making sure there was an inch overlap. I cut off any excess material.

I folded the material in half, and used the pen to mark the half way point. I then drew a straight line across the middle of the material.

DIYfringeanklecuff02

I cut the material in half so I had two sides.

DIYFringecuff half copy

I drew a line that was ½ an inch wide across the top of the material. The line was the point I cut all the fringes up to.

You can cut your fringes to whatever size you like. I used the width of my thumb as a guideline and I began cutting the fringes up to the drawn line.

DIYFringeCuff3

Repeat the last two steps for the other side.

DIYFringeCuff6

Cut 1 inch pieces of both sides of the Velcro. Glue one side of the Velcro on the front side of the cuff.

DIYFringleCuff7

Turn the cuff over, and glue the other side of the Velcro to the opposite end on the back side of the cuff.

Repeat gluing on the Velcro for the other cuff.

Wear it!

IMG_7788

Shoes: Material Girl

-Shanel

Style Tips On How to Wear a Scarf

Featured

Now that Spring has arrived, it’s finally nice to use a scarf as an accessory rather than as a tool to guard my face against the cold. Scarfs are a great way to add a pop of colour and texture to an outfit and there’s so many fun and different ways to wear them!

Styling tips for scarfs

On one of the first warm days of the year my friend Kristen (check out her blog here) and I went for a walk and I brought my collection of scarves along. I discovered they are not only great to style, but also fun to take pics and play with.

Styling tips for scarves

Here are some style tips on how to wear your scarf this spring and summer.

Wrap It

How to wear a scarf as a headwrap

Wearing a scarf as a head wrap can be a great style addition to an outfit. It can also double as a handy accessory for when you’re having a bad hair day.

To get this look, I took the scarf and wrapped it around my head starting from the front. I crossed the ends of the scarf in the back and brought the ends to the side of my head. I twisted the loose ends into a bun and secured with a hair tie.

Belt It

Belt Your Scarf

Throw a scarf around your shoulders and secure with a belt. I love doing this during the warmer months because it looks like a vest and adds another light layer to the outfit. Let the loose ends hang, this can look super cute if your scarf has  fringed ends, or tuck the ends into the back of the belt.

Double It

How to wear 2 scarfs

Take your outfit up a notch by wearing two scarves at once. Use two scarves with varying colours or patterns and twist them together and wrap them around your neck.

Handle It

How to wear Scarf on bag

Enhance and add a touch of colour to your darker toned purse by wrapping a scarf around the handles of your purse. Simply tie a knot at one end of the handle, wrap the scarf around it and tie a knot at the other end.

How do you like to incorporate scarves into your outfits?

Scarves, Scarves, and Scarves

How to Style your scarf

-Shanel


Let’s Connect:

InstagramTwitterEmail

Before & After: DIY Gold Headband

Featured

I channeled my inner goddess and decided to create a gold headband out of a belt. I had this gold link belt sitting in my closet for a while and I never quite found the right outfit to pair it with so it went unused, until now. A DIY gold headband is pretty simple and if you don’t have a link belt you can always substitute with a gold coloured chain.

Headbandcover

Here’s how I did it.

The Supplies

DIYheadbandsupplies1

Wire cutters
Gold link belt or chain. If you are using a chain make sure the holes in the chain are big enough to fit the elastic through
Gold coloured elastic*
Scissors
Glue

*You can purchase from a fabric or craft store.

The Steps

I took the belt and measured it around my head. I left about 3 inches of space in the back for the elastic.

I used the wire cutters to cut the belt to the length I wanted.DIYgoldheadband

Now it’s time to add the elastic. I looped the elastic through one end of the belt.DIYgoldheadband3

I looped the elastic all the way through so there were two sides. I measured the belt with the elastic around my head to ensure it fit comfortably. I then cut the elastic.
DIYgoldheadband4

Where the loop began I tied a knot around one end of the belt.
goldheadband5

To make the elastic stronger I began twisting it.DIYgoldheadband5

I twisted until both ends of the elastic had an inch left. I tied a knot to secure the twist making sure there was still space at the end of the elastic.
DIYgoldheadband6

I tied the ends of the elastics around the other end of the belt and cut off the the excess. I added a dab of glue to secure the knot.
DIYgoldheadband7

Voila!

DIYheadband8

-Shanel