This DIY belt is a cute accessory that’s super easy to make. Watch the video to learn how!
DIY Belt | Easy T-shirt Up-cycle
Featured
Reply
This DIY belt is a cute accessory that’s super easy to make. Watch the video to learn how!
This DIY Wrap Dress is super simple, and I love it because it can be worn so many different ways! You can layer it over an everyday outfit and wear it as a vest, or use it as a cover-up for the beach. Yay versatility! I plan on making more in a few different colours.
I decided to try something new and use Snapchat to record the tutorial, let me know what you think!
The Supplies
Stretchy fabric
Scissors
The Steps
Cut the material into a rectangle. The shorter the width of your material the shorter it will be on you.
Fold the material in half.
At the folded end about 4 inches from the top cut out a semi circle.
Open the material up and you’ll have a circle in the middle.
Put your arm through one side of the circle and then through the other side.
Wear however you like!
-Shanel
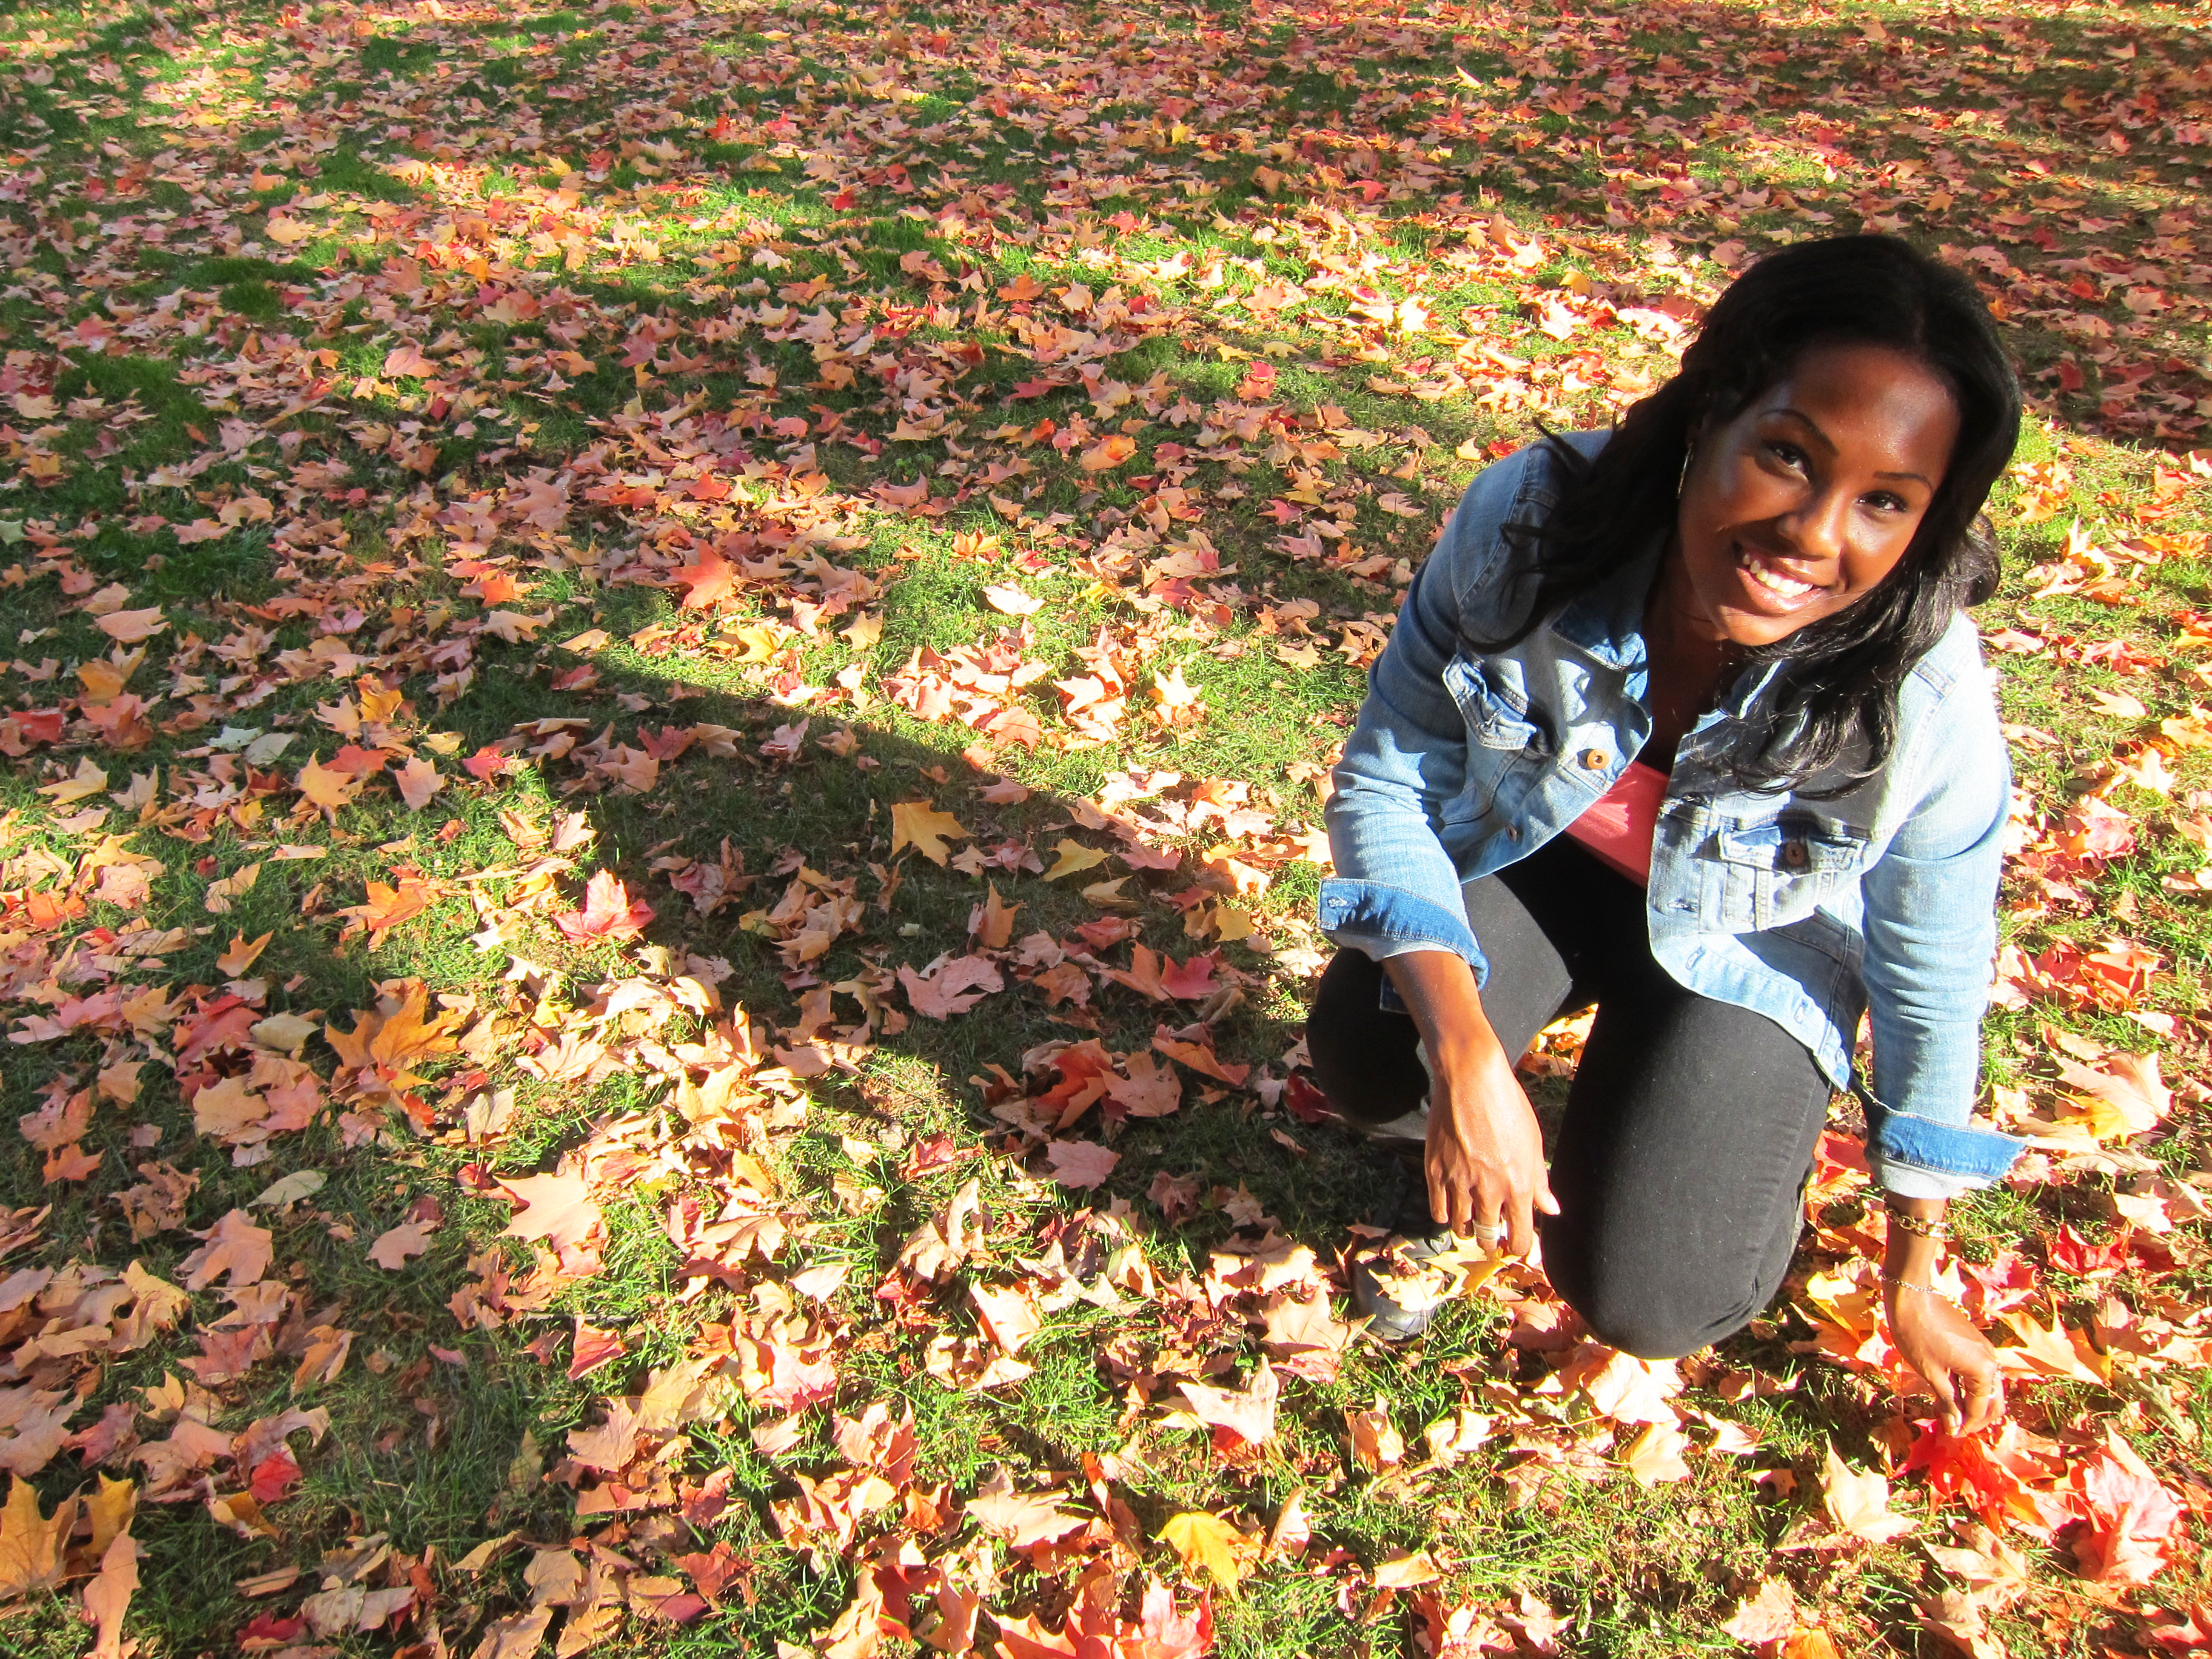
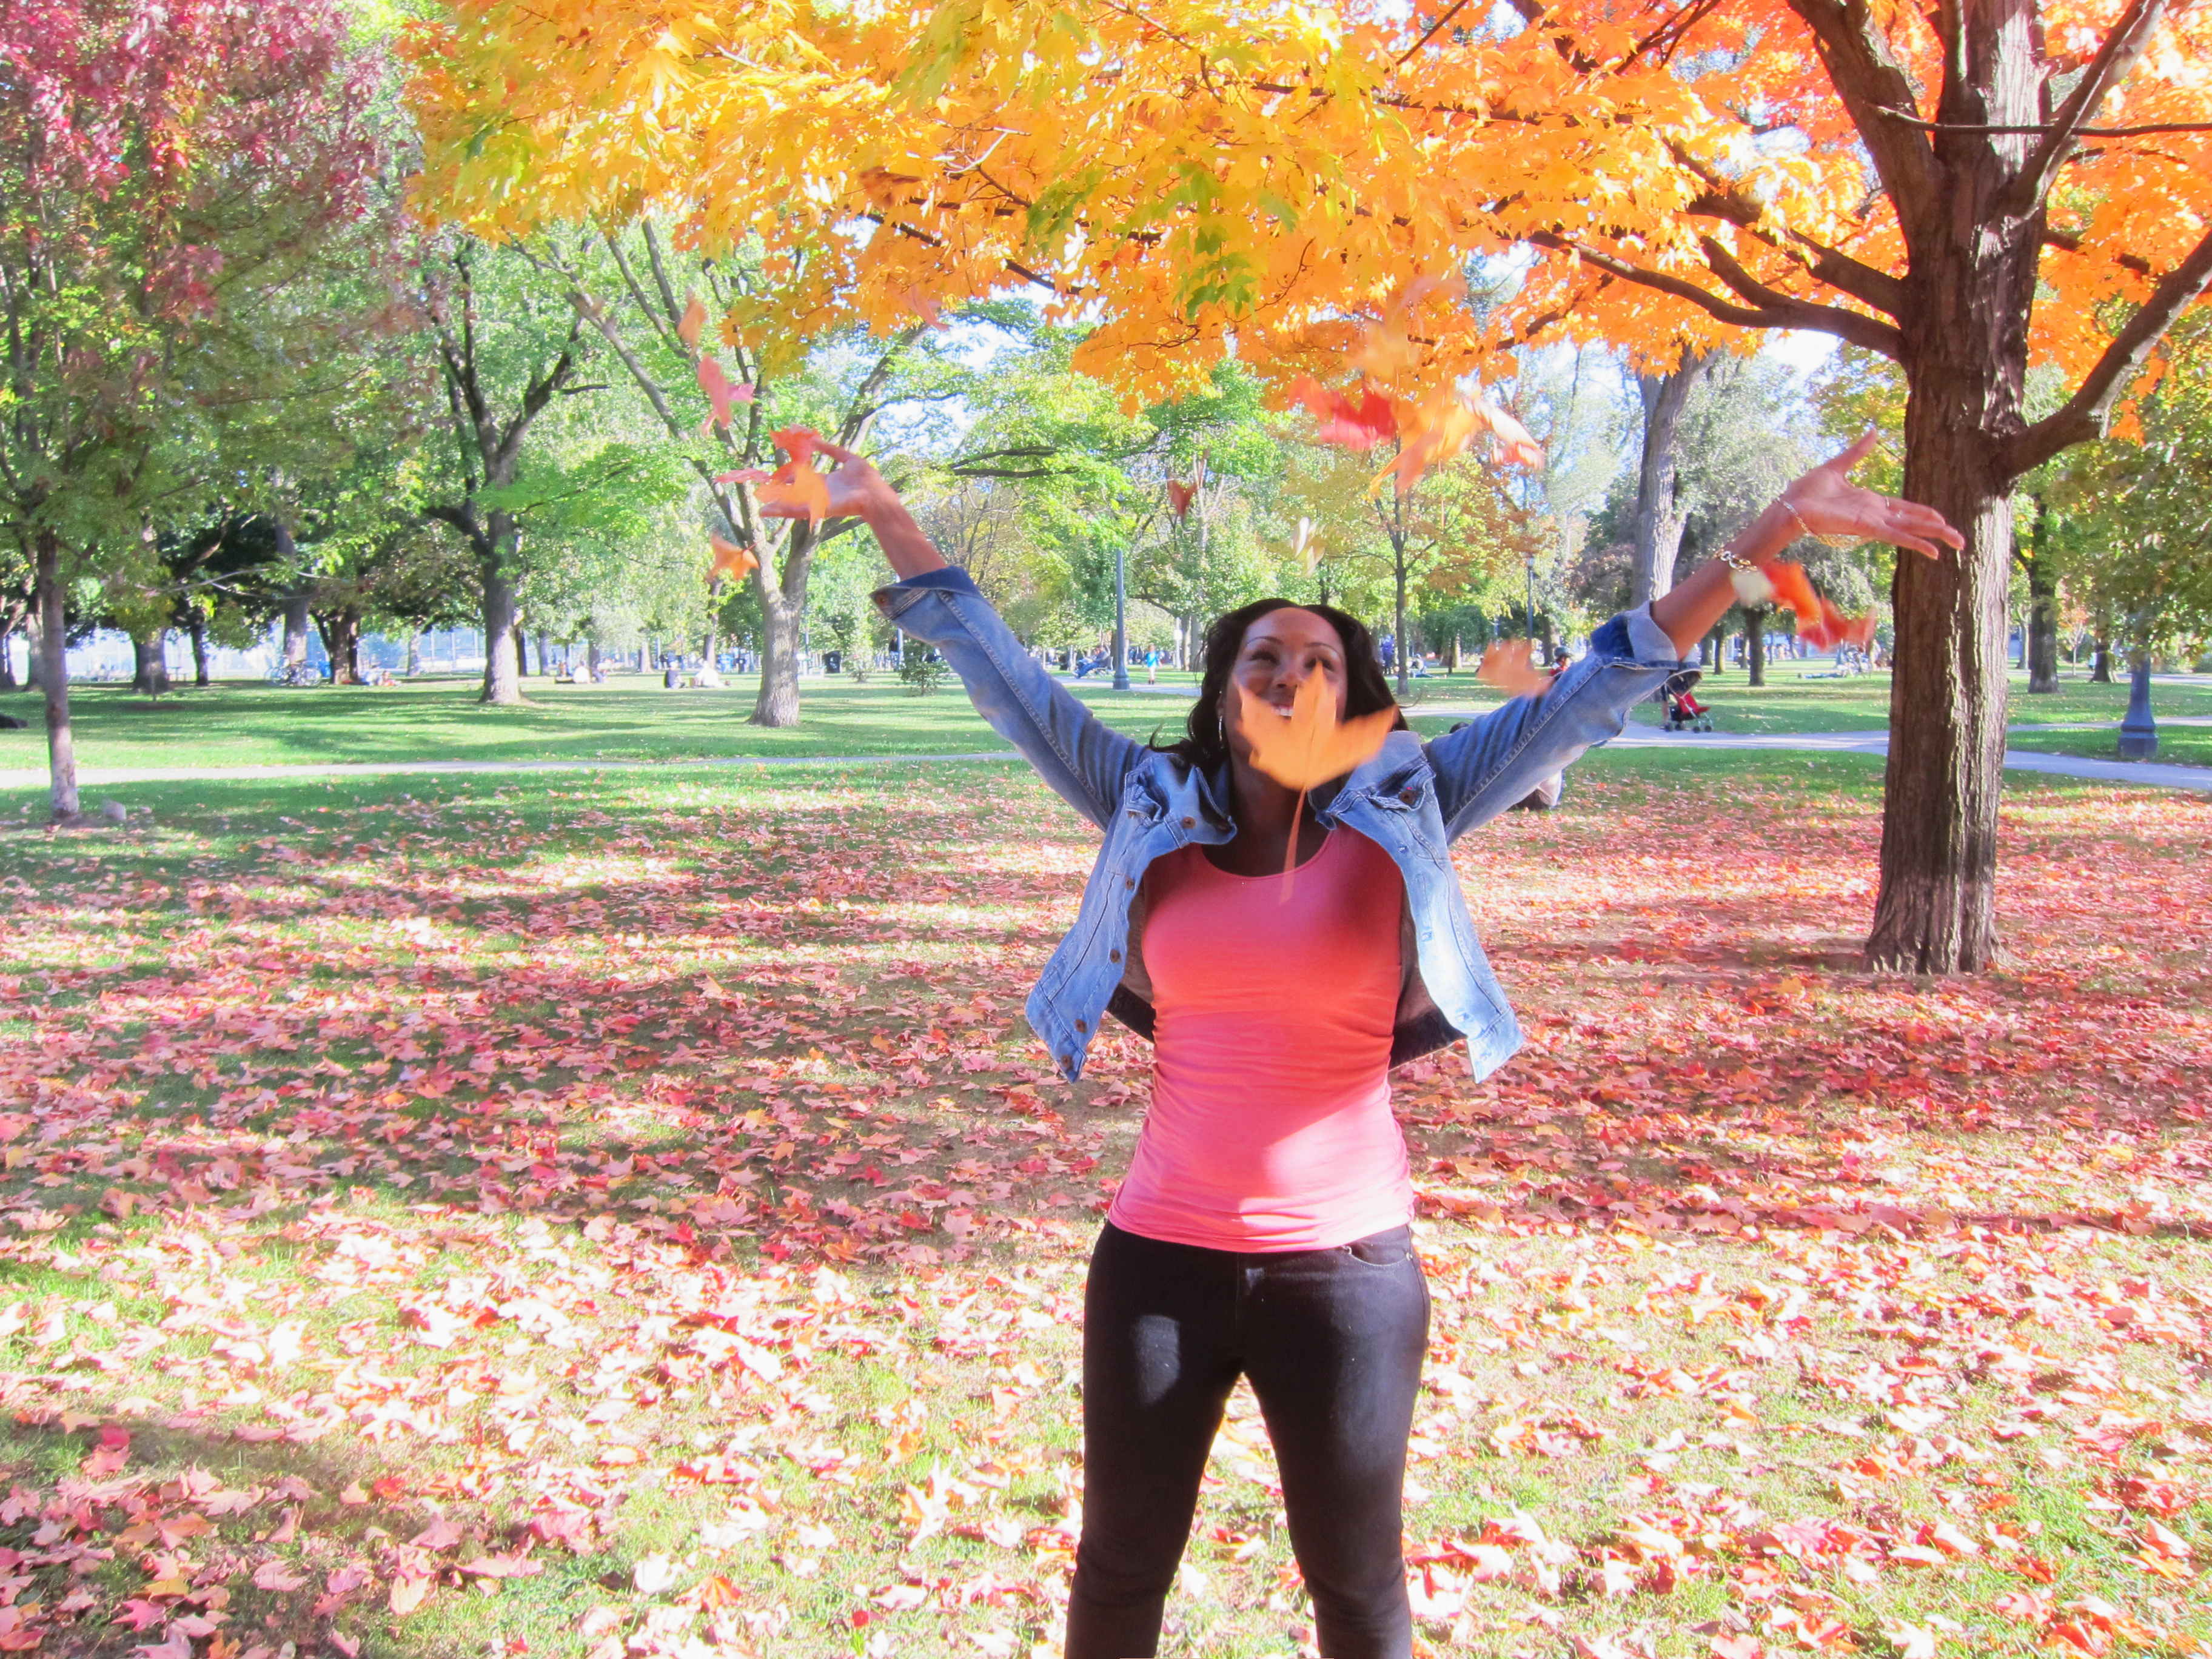
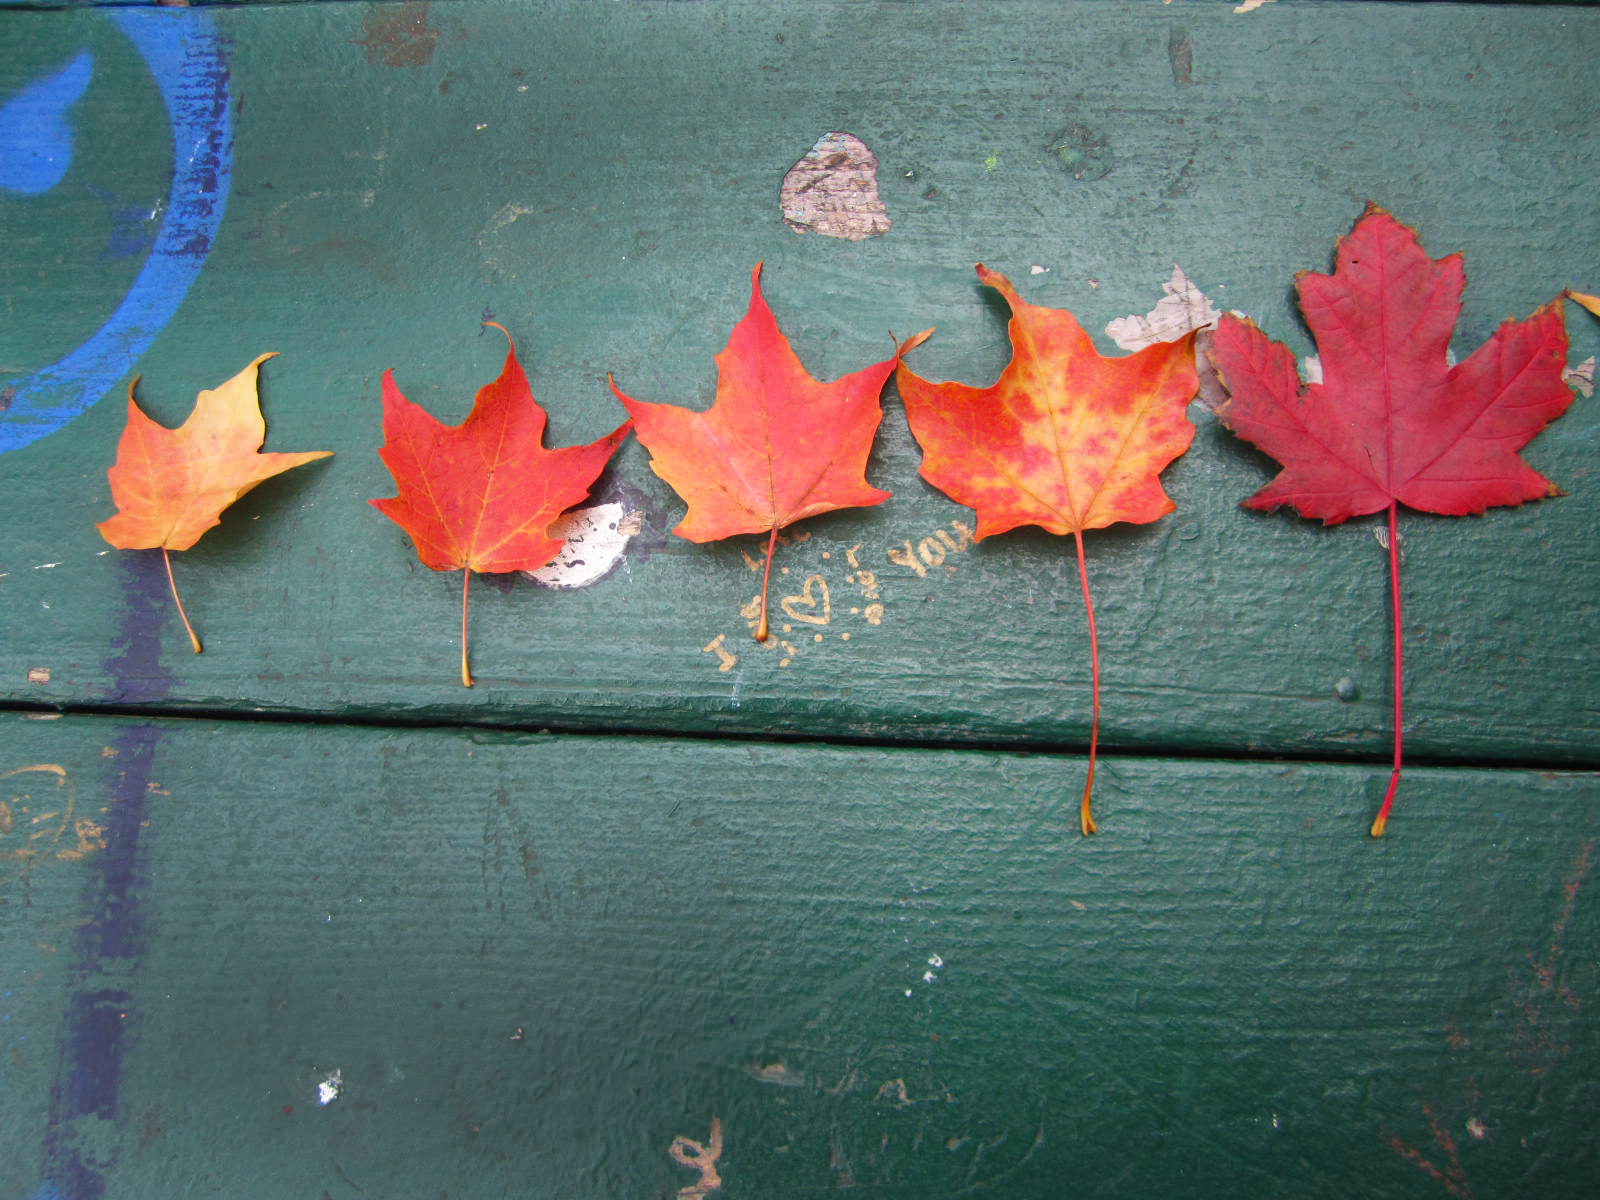
 Fall has always been my favourite season, it’s so scenic. I love walking down the street admiring all the beautiful changing colours of the trees, and suddenly a gust of wind blows and the leaves surround me falling delicately to my feet. It makes me happy just thinking about it.

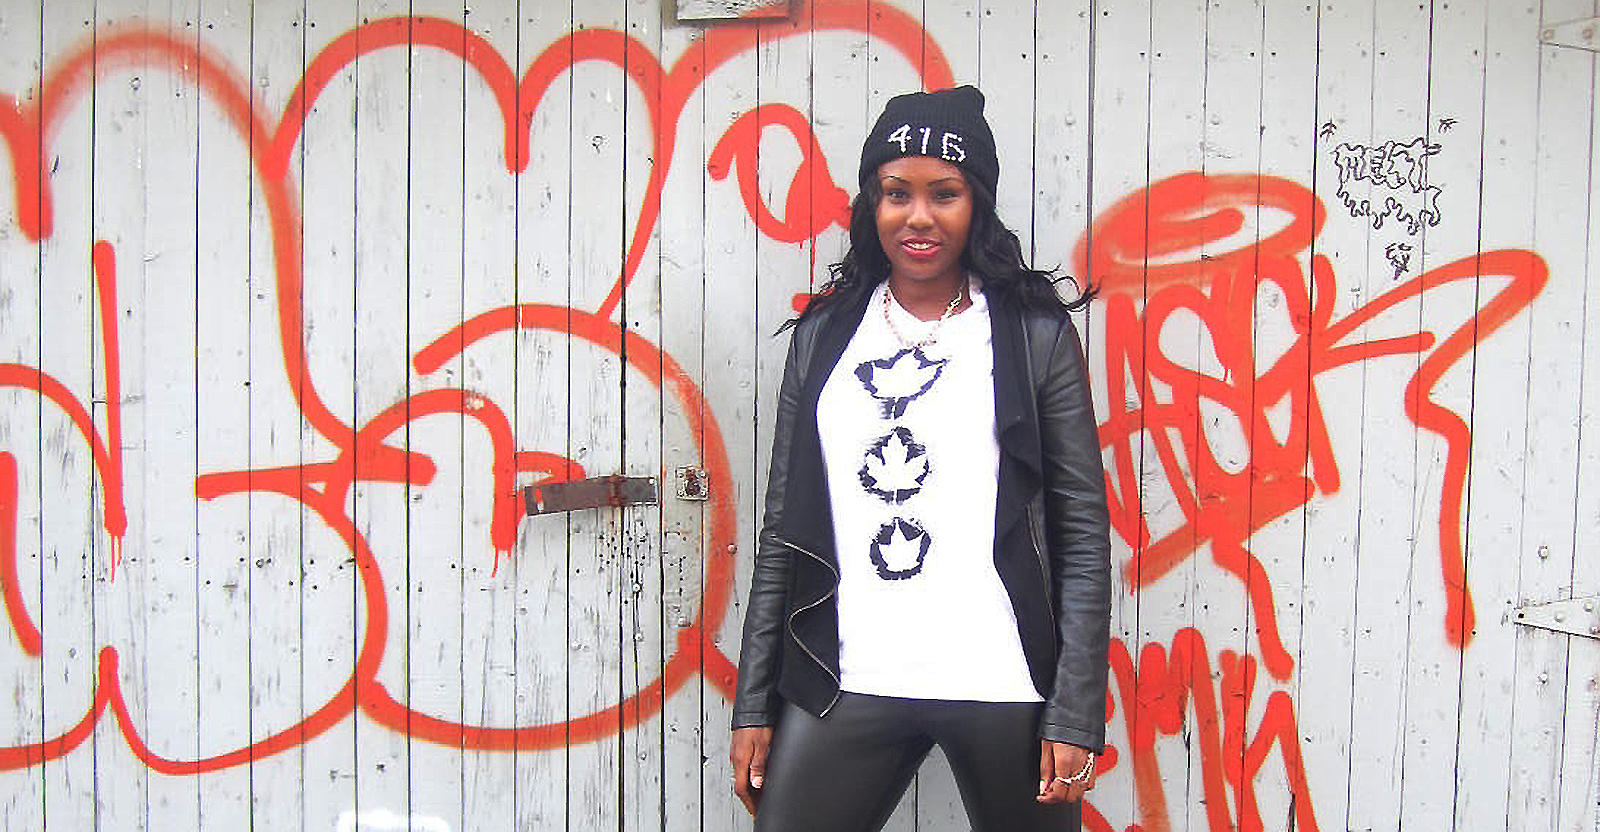
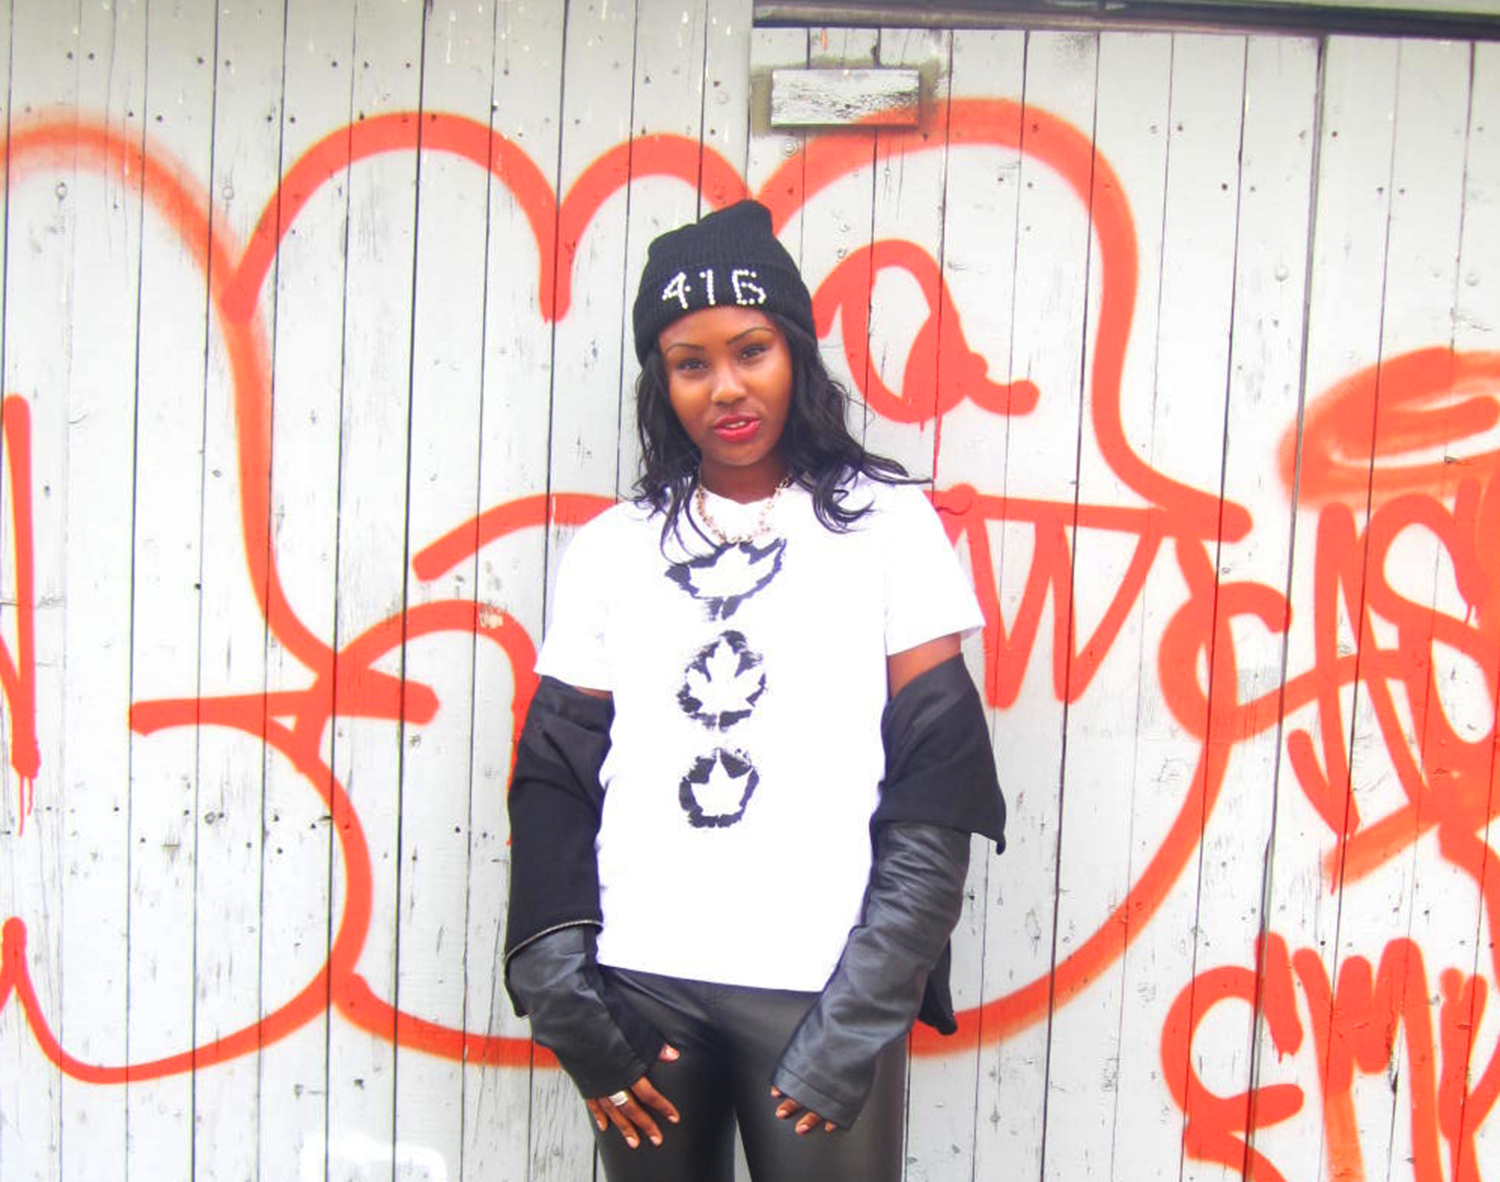
This leaf print DIY shirt is a great way to enjoy fall and all it’s beauty, and as a Canadian it made me feel a bit patriotic with the maple leaf being a part of our flag.

The inspiration for this DIY came to me when I attended one of my favorite events, Friday Night Live at the ROM. FNL has returned (another reason why I love fall!) and it runs until November 27th. Every FNL has a theme and last weeks was Thank You Canada. As a sponsor of the event Ford provides fun costumes and props that go along with each weeks theme. My friend Justine and I had a blast dressing up in “Canadian attire” and throwing leaves around. This Fridays theme is Dig it! It’s all about archaeology you can check the FNL event schedule here.
 Justine & I having fun at #FNL
Continue reading for the DIY
The Supplies

A Shirt
Leaves
Fabric Paint
A Paint brush
Piece of cardboard
A tray
The Steps
The first thing you will need to do is collect some leaves of varying sizes. This was a lot of fun! I went to a park named Trinity Bellwoods and found some leaves that had just fallen off the trees. The fresher the leaf the better, don’t collect the dried leaves as they are more prone to cracking and breaking when you paint them.
If you’re not going to do the DIY within a few days, store the leaves in a zip lock bag and keep them in a book so they don’t dry out and they will be nice and flat when you’re ready to use them.
Put the piece of cardboard inside the shirt, so the paint doesn’t seep through to the other side.
Layout the leaves on the shirt from largest to smallest, or whichever way you prefer.

Pour some paint onto a tray and dip the paint brush in. Hold the leaf in the middle and paint all around the edge of the leaf.

Repeat for the other leaves.

Remove the leaves and let the paint dry, and voila you’re done!


Photo by Ljubomir Pavkovic
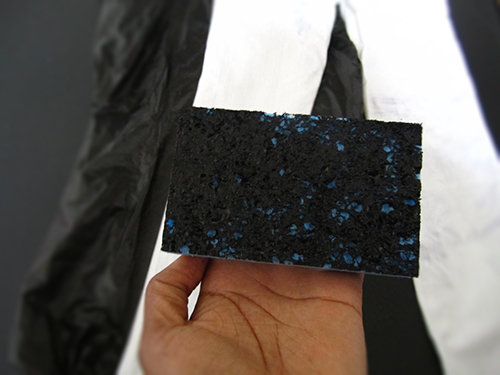
Fabric paint is a really great tool to work with, there are so many patterns and designs you can create to spruce up any piece of clothing. That’s why I was happy I had some on hand for these DIY paint print jeans.
I had put on these white jeans and I was about to head out when I noticed there were blue stains all over the back. I had accidentally stored them under a pair of dark wash jeans, so some of the blue dye had rubbed off on them, whoops! I was a bit upset that my white jeans were now ruined, but with a bit of thinking I knew I could DIY them into something new. Continue reading for the DIY below.

Photo by Ljubomir Pavkovic
The Supplies

Jeans
Fabric Paint
A Tray
Sponge
Paint brush
Tape
2 Garbage bags
The Steps
Lay your pants on a flat surface, take a garbage bag and pull it through the pant leg (so that the paint doesn’t soak through to the other side), do the same for the other leg.
Put some fabric paint on the tray and dip the sponge into the paint. Take the brush and evenly distribute the paint onto the brush.
Take your sponge and press it paint-side down onto the pant starting from the bottom. Since the first application has fresh paint, press lightly and then gradually increase the pressure on the sponge.

Continue pressing the sponge down onto the pant until there is no more paint coming off the sponge.
Reapply paint to the sponge and evenly distribute with the brush. Again, press the sponge onto the pant.

Continue the last 2 steps until you’ve painted the front of the pants.

I decided I wanted to have a different colour around the pockets so I left the area unpainted. I added some pink paint to a brush and painted around the top part of the pockets.
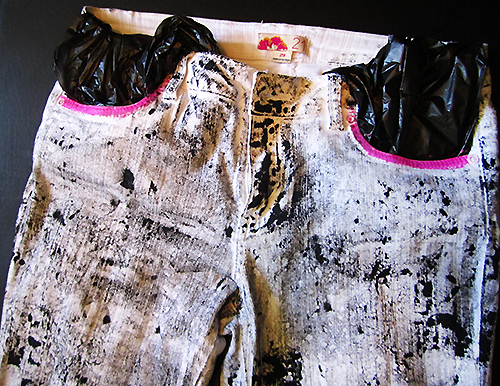
Let the paint dry completely. Flip the pants over and sponge paint the backside of the pants. If you would like to add a second colour to the back pockets like I did. Leave the area unpainted. Let the paint dry completely.
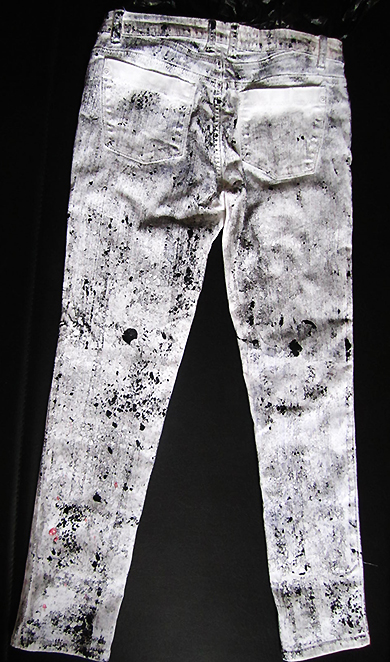
Add the tape across the back pockets and then tuck the garbage bags into the pockets. With the paint brush paint the second colour up to the tape line.
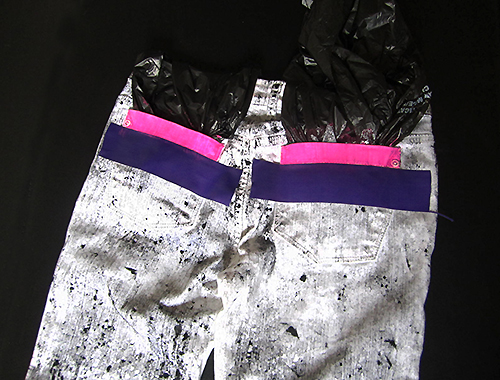
Let the paint dry and then remove the tape.

Voila, you’ve got yourself an almost new pair of pants.
-Shanel
Let’s Connect:
![]()
![]()
![]()
![]()
![]()

Pattern pocket tees are trend I’ve noticed popping up in mens fashion, so I decided to give it a go and make my own. This project is a no-sew DIY, and It’s an easy way to add some character to an basic t-shirt. I picked up my t-shirt from Forerver21 for $4.
