How to Make DIY Leaf Shaped Earrings

Featured

Inspired by fall, these DIY leaf earrings are a great way to up cycle leather or material scraps. I really like how light they are, and you can make them in many colours!

Watch the video below to learn how to make your own DIY leaf earrings.

The Supplies

Leather scrap
Scissors
Jump rings
Fish eye earring hooks
Leather hole punch

The Steps

Take your leather piece and cut out the leaf shape

Use your first piece as an outline to cut out the second earring

To give the earring more detail I cut five small slits starting from the bottom moving upwards on each side of the earring. Repeat on the on the other earring

Take the leather hole punch and make a small hole at the top of the earring. Repeat on the other side

Open up your jump ring and put one jump ring through each of the holes

Add a fish eye earring hook to each jump ring

Close the jump rings

And you’re done!

I hope you fall for these earrings as much as I did!

Shanel Signaure


How to make a DIY Wrap Dress

Featured

This DIY Wrap Dress is super simple, and I love it because it can be worn so many different ways! You can layer it over an everyday outfit and wear it as a vest, or use it as a cover-up for the beach. Yay versatility! I plan on making more in a few different colours.

I decided to try something new and use Snapchat to record the tutorial, let me know what you think!

The Supplies

Stretchy fabric
Scissors

The Steps

Cut the material into a rectangle. The shorter the width of your material the shorter it will be on you.

Fold the material in half.

At the folded end about 4 inches from the top cut out a semi circle.

Open the material up and you’ll have a circle in the middle.

Put your arm through one side of the circle and then through the other side.

Wear however you like!

-Shanel

Friday Night Live at the ROM | DIY Leaf Print Shirt

Featured

DIY Print ShirtFall has always been my favourite season, it’s so scenic. I love walking down the street admiring all the beautiful changing colours of the trees, and suddenly a gust of wind blows and the leaves surround me falling delicately to my feet. It makes me happy just thinking about it.

FallPhoto

This leaf print DIY shirt is a great way to enjoy fall and all it’s beauty, and as a Canadian it made me feel a bit patriotic with the maple leaf being a part of our flag.

DIY Leaf Print Shirt

Green Graffitti copy

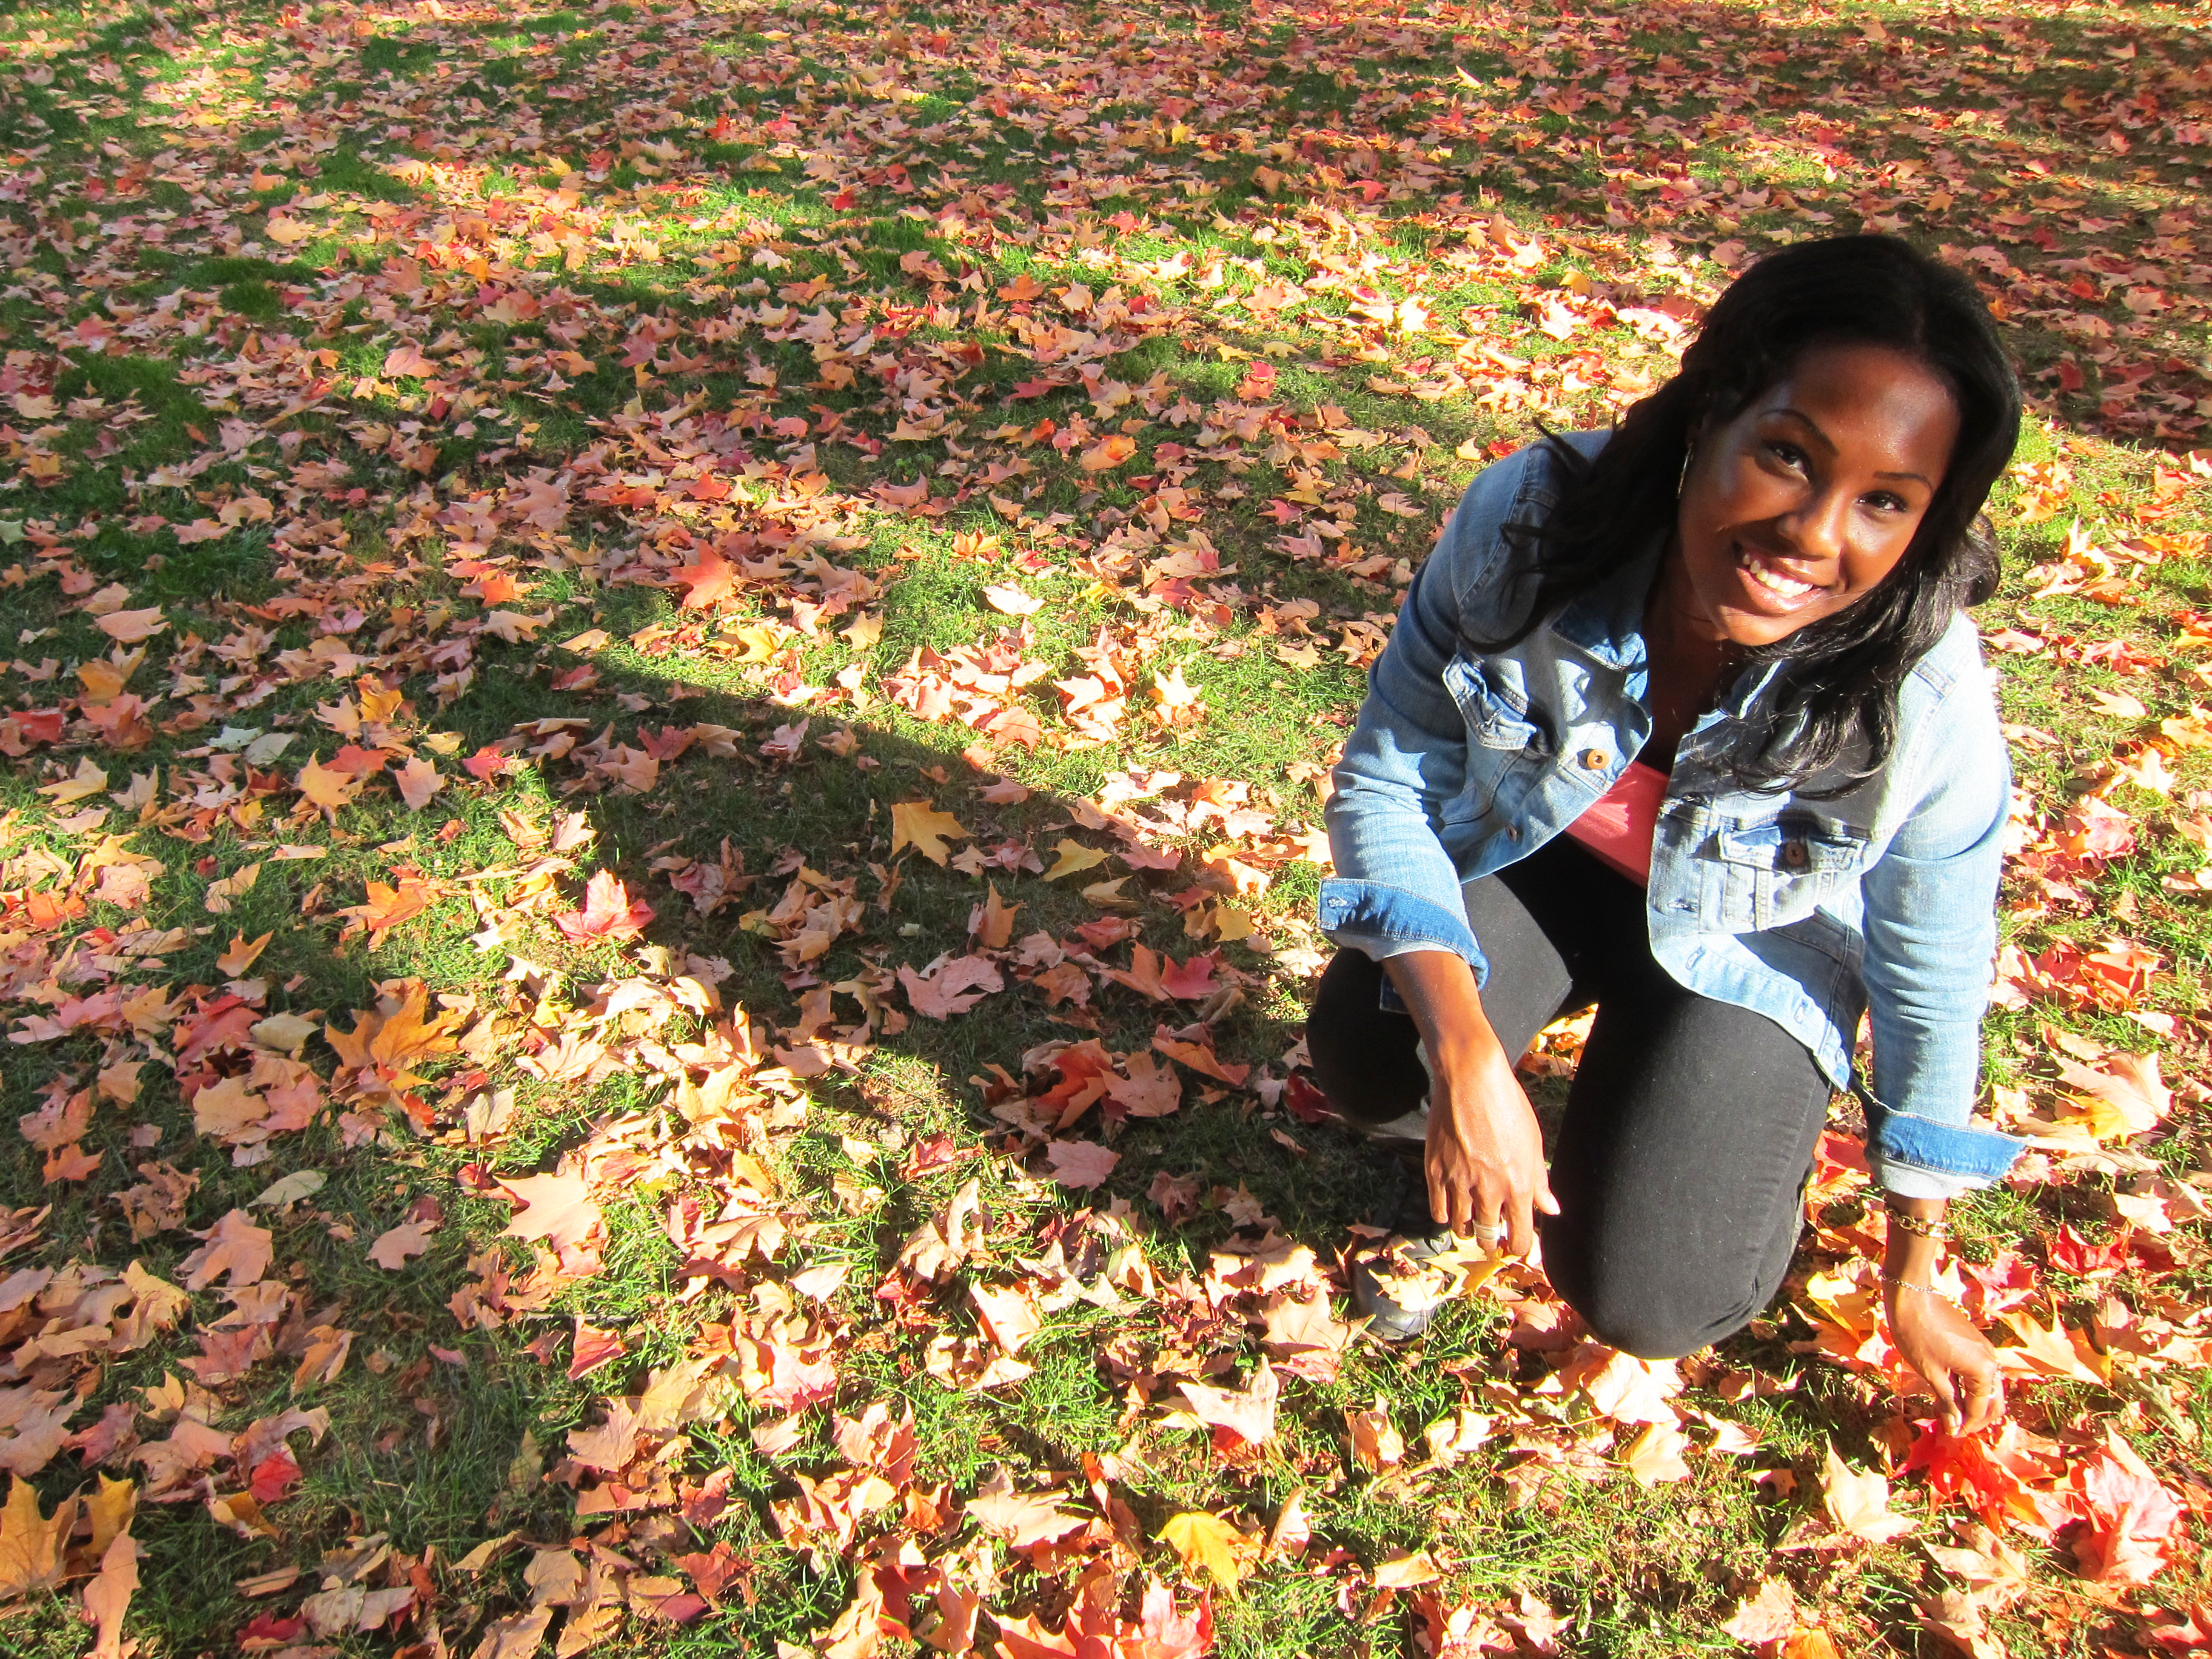
The inspiration for this DIY came to me when I attended one of my favorite events, Friday Night Live at the ROM. FNL has returned (another reason why I love fall!) and it runs until November 27th. Every FNL has a theme and last weeks was Thank You Canada. As a sponsor of the event Ford provides fun costumes and props that go along with each weeks theme. My friend Justine and I had a blast dressing up in “Canadian attire” and throwing leaves around. This Fridays theme is Dig it! It’s all about archaeology you can check the FNL event schedule here.


ROM Thank You CanadaJustine & I having fun at #FNL

Continue reading for the DIY
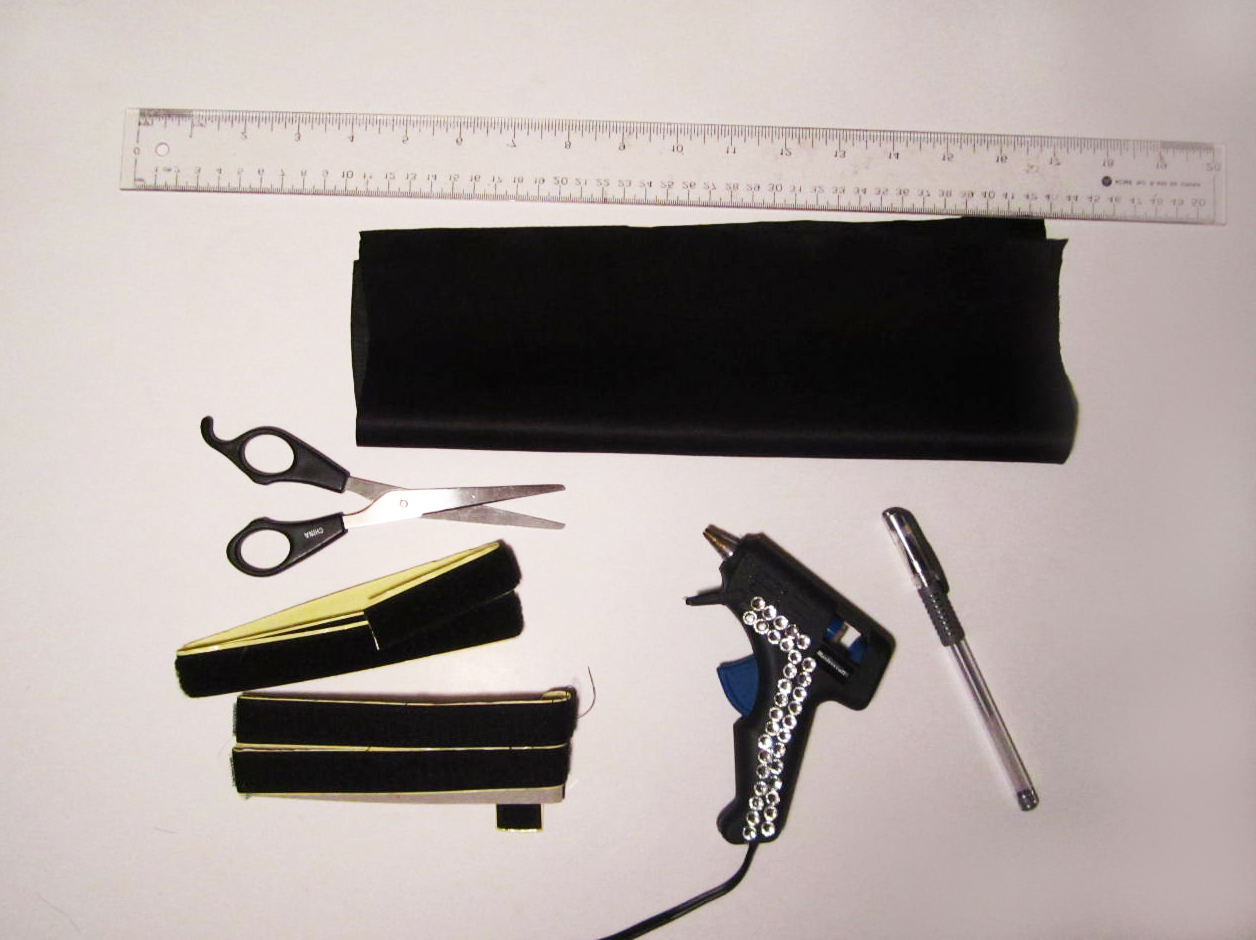
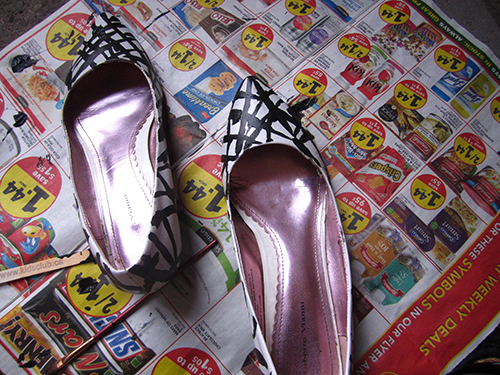
The Supplies

DIYSupplies

A Shirt
Leaves
Fabric Paint
A Paint brush
Piece of cardboard
A tray

The Steps

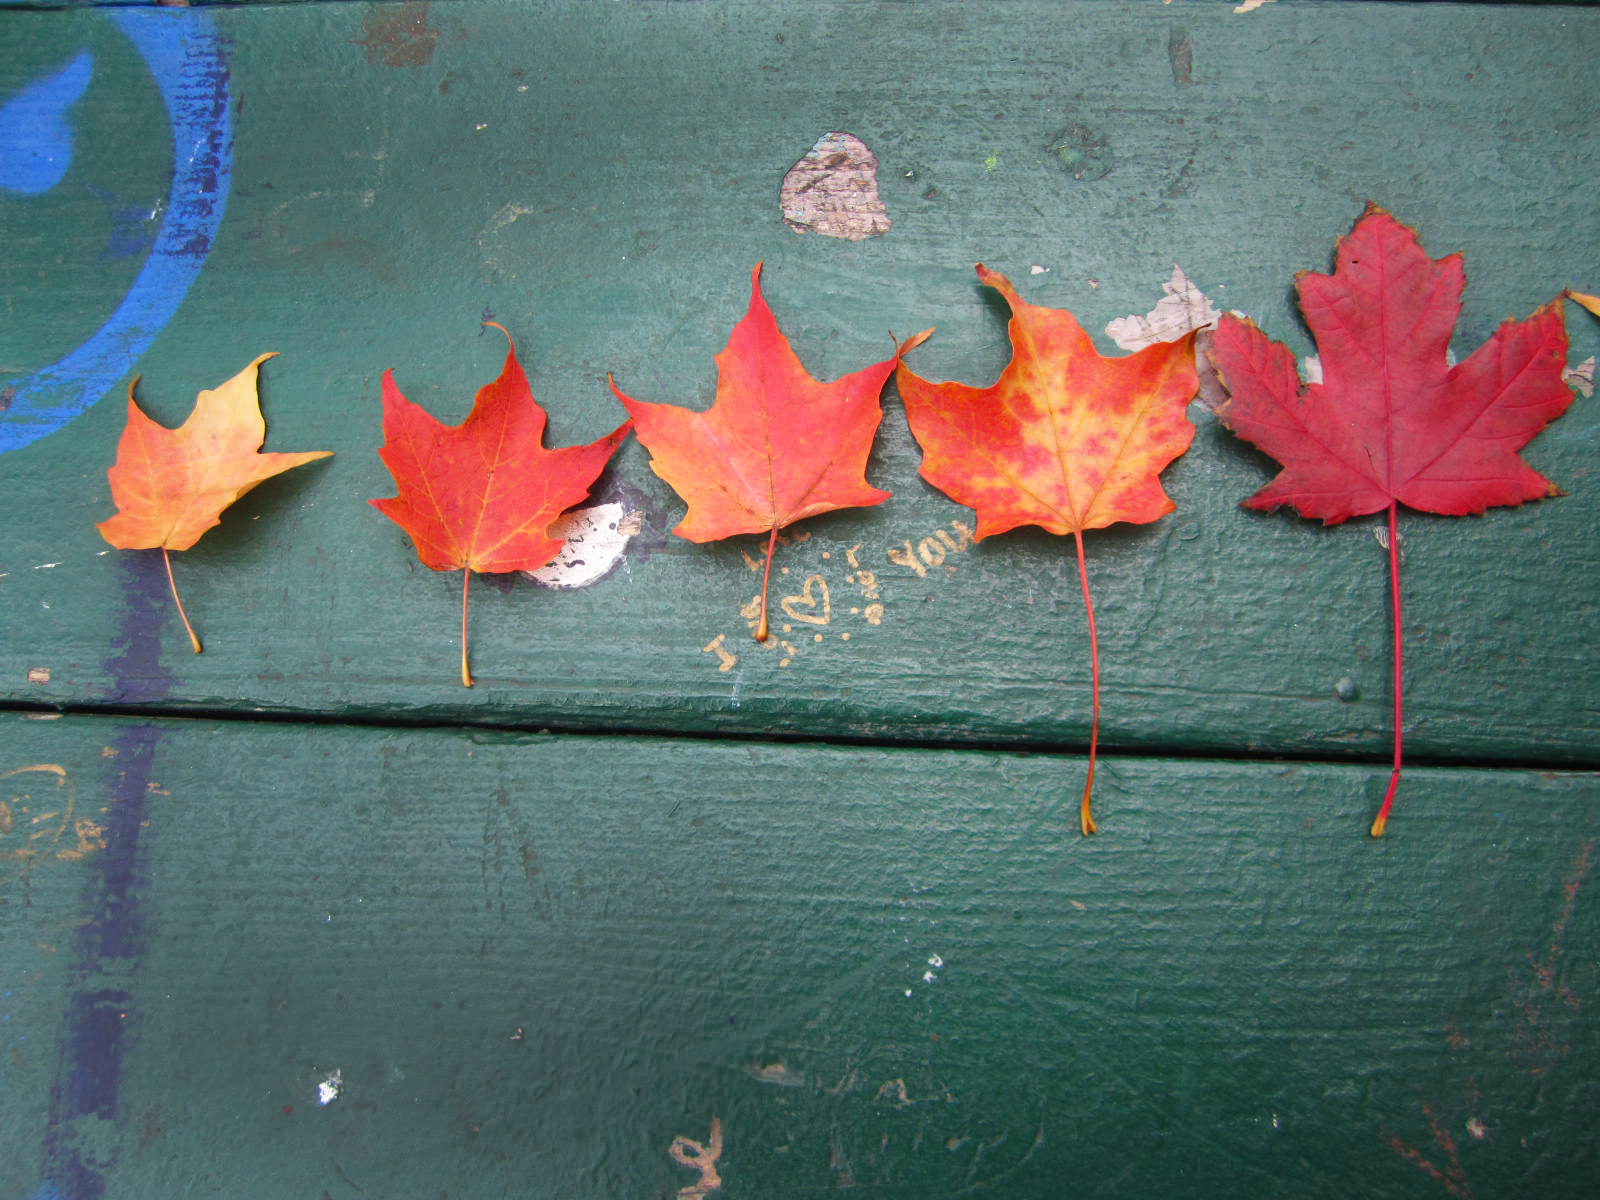
The first thing you will need to do is collect some leaves of varying sizes. This was a lot of fun! I went to a park named Trinity Bellwoods and found some leaves that had just fallen off the trees. The fresher the leaf the better, don’t collect the dried leaves as they are more prone to cracking and breaking when you paint them.

Pickingleaves

throwingleaves

If you’re not going to do the DIY within a few days, store the leaves in a zip lock bag and keep them in a book so they don’t dry out and they will be nice and flat when you’re ready to use them.

Fall Leaves

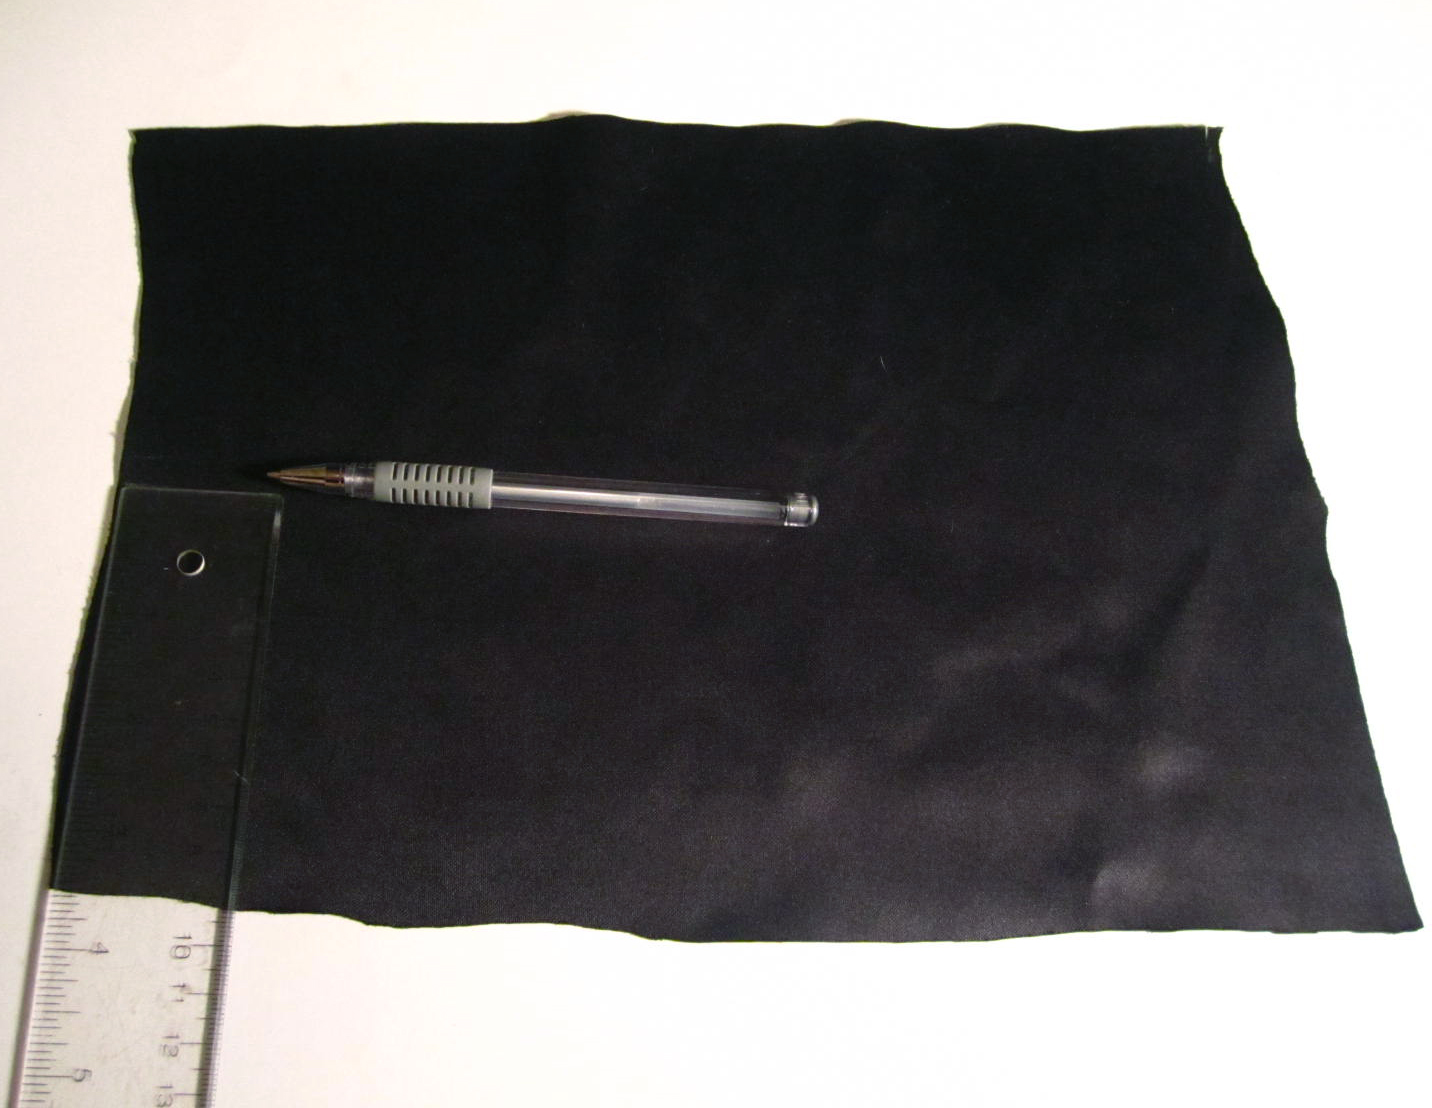
Put the piece of cardboard inside the shirt, so the paint doesn’t seep through to the other side.

Layout the leaves on the shirt from largest to smallest, or whichever way you prefer.

Fall shift DIY1

Pour some paint onto a tray and dip the paint brush in. Hold the leaf in the middle and paint all around the edge of the leaf.

Shirt DIY 2

Repeat for the other leaves.

Shirt DIY 3

Remove the leaves and let the paint dry, and voila you’re done!

Shiry DIY 4

Shirt DIY 5

Graffiti1Shanel Signaure

DIY Fringe Ankle Cuff

Featured

DIY Fringe Cuff

I’m loving all the fringes I am seeing pop up on everything from dresses, clutches, and shoes. Fringes are fun, flirty, and they can add cool movement and lines to an outfit.

Since DIYing fringes involves a lot of cutting I decided on a simple DIY fringe ankle cuff. Doing this project made me wish I owned a shredder so I could shred fabric to make fringes on command. I would add fringes to everything!

This DIY fringe cuff pairs great with gladiator style sandals or heels. Here’s what you’ll need.

The Supplies

DIYFringeCuff supplies

Fabric
Scissors
Ruler
Pen or Marker
Glue gun
Velcro

The size of my fabric was 6 inches high and 9 inches long.

The Steps

First, I measured the fabric around my ankle making sure there was an inch overlap. I cut off any excess material.

I folded the material in half, and used the pen to mark the half way point. I then drew a straight line across the middle of the material.

DIYfringeanklecuff02

I cut the material in half so I had two sides.

DIYFringecuff half copy

I drew a line that was ½ an inch wide across the top of the material. The line was the point I cut all the fringes up to.

You can cut your fringes to whatever size you like. I used the width of my thumb as a guideline and I began cutting the fringes up to the drawn line.

DIYFringeCuff3

Repeat the last two steps for the other side.

DIYFringeCuff6

Cut 1 inch pieces of both sides of the Velcro. Glue one side of the Velcro on the front side of the cuff.

DIYFringleCuff7

Turn the cuff over, and glue the other side of the Velcro to the opposite end on the back side of the cuff.

Repeat gluing on the Velcro for the other cuff.

Wear it!

IMG_7788

Shoes: Material Girl

-Shanel

DIY Embellished Sweater

Featured

diysweaterrefashion
As winter quickly approaches I’m slowly entering a hibernation phase which has led to a lot of cleaning and organizing. I was going through my clothes when I realized I had  FOUR plain grey sweaters that look almost identical, so it’s only natural that I had to DIY one. As I did some more cleaning of my craft stash l found a bunch of left over gems from this DIY Jewel Frame, and so this project was born.

I loved how this DIY sweater embellishment turned out. The supplies and steps are very minimal, but with different coloured embellishment and layouts you can create a really unique look.

The Supplies

2 Different coloured Gems
Fabric glue
A small Stick
A piece of scrap cardboard or bristol board

DIYSweateremblishmentsupplied

The Steps

Lay your sweater on a flat surface. So you don’t glue both sides of your sweater together, place the scrap material on the inside of your sweater.

Take your gems and layout your design. I tried a few before I decided on a “V” shape.

Emblishmentlayout

Begin gluing down your gems. Use the stick to press down on them.

DIYEmblishmentgluing

Let it dry.

DIYSweaterembellishment

How do you like to add some sparkle & shine to your outfits?

-Shanel

3-Step DIY Crop Top

Featured

If you’re shy about DIY give this a try. This DIY long-sleeved crop top is not only super easy and quick, it requires only two supplies (which you likely have laying around somewhere).
 DIYcroptop

Continue reading

DIY Graphic Print Shoes

Featured

PaintedShoesDIYcover

The wardrobe transition has started. It’s that time of year to swap the sandals for closed toe shoes and boots. While I’m clicking my heels together wishing for another week of summer weather, I decided to revamp an old pair of flats and give them a new look. Read on to learn how.

The Supplies

A pair of shoes
Acrylic paint. If your shoes are a fabric material like Chuck Taylors use fabric paint instead.
Paint brushes
Small bowl
*Clear drying finish such as Mod Podge Outdoors

*If your shoes are made of fabric material skip the finish.

The Steps

Clean the shoes making sure they are free of any dirt or debris.

PaintedShoeDIY

Pour some paint into the bowl, using the paint brush create whatever design you like. You can customize your shoes by splattering the paint or creating polka dots. I created my design by putting a big blob of paint onto the shoes and then I used the paint brush to spread the paint to create lines.

Let the paint dry.

DIYshoesdrying

Once the paint is fully dried. Use a large paint brush to paint on the finish, leave to dry for 24 hours.

PaintedShoesDIY3

And you’re done!

PaintedShoesShanelpaintedshoes

-Shanel

DIY Braided Belt

Featured

Hello!

It’s been a while since I’ve written, but it feels good to be blogging again. During my break I visited New York City, celebrated my birthday and enjoyed the last warm days of summer hanging out with friends. I have to admit I fell out of habit and became unmotivated to write, but I did manage to create some new DIYs and I’m excited to share!

This DIY braided belt is a nice transition back into things because it’s easy to make, and it requires very few supplies. Read on to learn how to make it.

BraidedDIYBelt

Continue reading