Hello!
It’s been a while since I’ve written, but it feels good to be blogging again. During my break I visited New York City, celebrated my birthday and enjoyed the last warm days of summer hanging out with friends. I have to admit I fell out of habit and became unmotivated to write, but I did manage to create some new DIYs and I’m excited to share!
This DIY braided belt is a nice transition back into things because it’s easy to make, and it requires very few supplies. Read on to learn how to make it.

The Supplies
T-shirt. I used a medium mens size
Scissors
Duck tape for the braiding process
The Steps
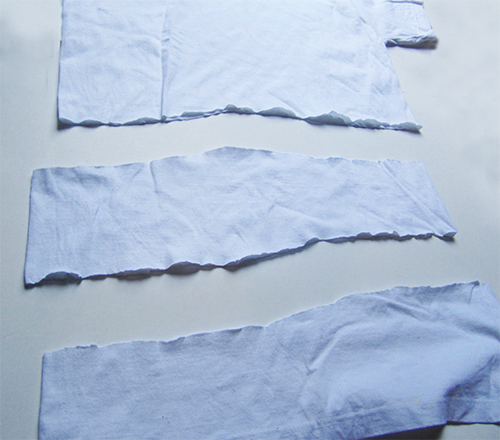
Cut out a 3-inch section in the middle of the t-shirt, don’t worry about it being even.
Take the cut section and cut one side. Open it up so you have one long piece.
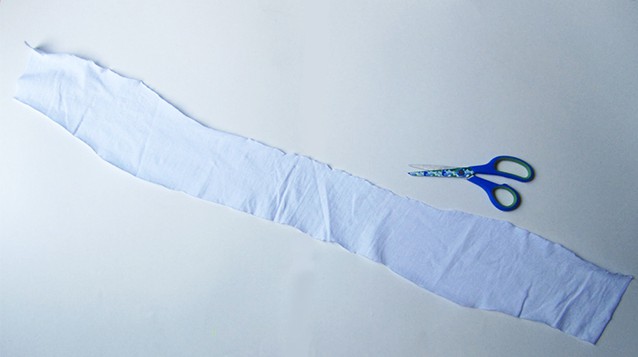
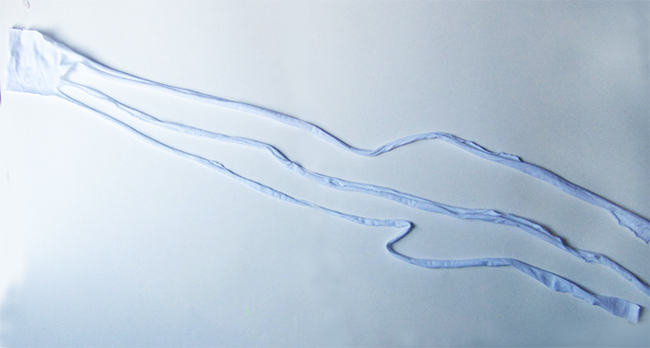
Cut the piece into 3 strips leaving about 2 inches of material at the top. Stretch each strip by pulling on the material.
Duck tape the top material to the floor or any solid surface, it will make the braiding process easier.
Begin braiding the strips. Cross an end strip on top of the middle strip.
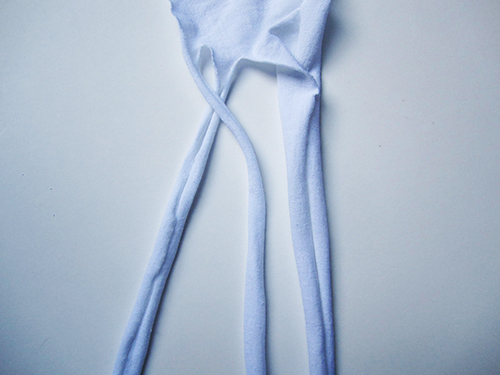
Take the last strip and cross it on top of the first and middle strip.
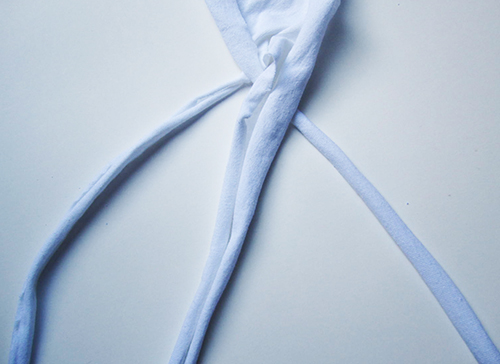
Take the middle strip and cross it between the first and last strip.
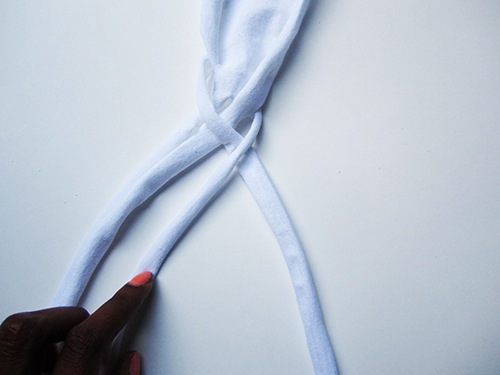
Repeat and continue the braiding process, braiding tightly.
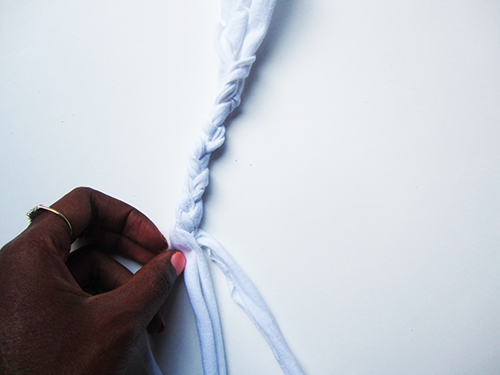
Measure the belt around your waist, braiding until you have your desired length.
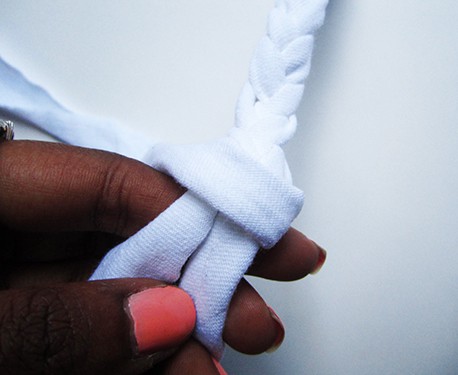
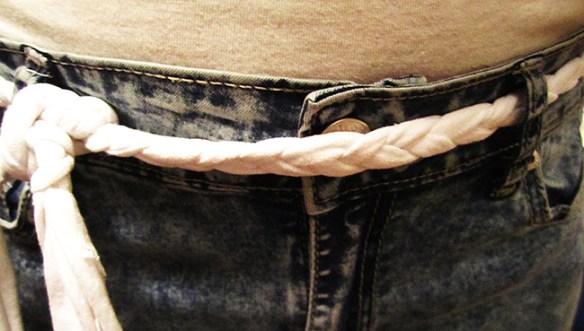
At the end of the braid take an end strip wrap it around the braid and pull it through the wrapped part to create a knot.
Remove the duck tape and cut the top section into 3 strips. Stretch each of the strips to help remove any rough edges.
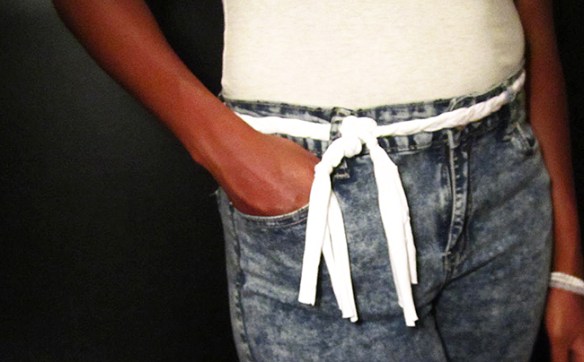
Put the belt around your waist and tie.
You can also try this DIY with different colored materials or as a braided headband :).
-Shanel
