What to Pack for a Vacation | Travel Outfit Ideas to Save Space
Reply
I really liked how this hanging plant turned out, it’s a simple way to add a dash of colour to the dreary winter days. I had wanted a hanging plant for a while but wasn’t able to find rope strong enough in my craft supplies, so I decided to improvise and use chain ( which I had so much of). Check out the video to learn how to make your own.
Hope you enjoy 🙂
This DIY belt is a cute accessory that’s super easy to make. Watch the video to learn how!
Inspired by fall, these DIY leaf earrings are a great way to up cycle leather or material scraps. I really like how light they are, and you can make them in many colours!
Watch the video below to learn how to make your own DIY leaf earrings.
The Supplies
Leather scrap
Scissors
Jump rings
Fish eye earring hooks
Leather hole punch
The Steps
Take your leather piece and cut out the leaf shape
Use your first piece as an outline to cut out the second earring
To give the earring more detail I cut five small slits starting from the bottom moving upwards on each side of the earring. Repeat on the on the other earring
Take the leather hole punch and make a small hole at the top of the earring. Repeat on the other side
Open up your jump ring and put one jump ring through each of the holes
Add a fish eye earring hook to each jump ring
Close the jump rings
And you’re done!
I hope you fall for these earrings as much as I did!
![]()
This DIY Wrap Dress is super simple, and I love it because it can be worn so many different ways! You can layer it over an everyday outfit and wear it as a vest, or use it as a cover-up for the beach. Yay versatility! I plan on making more in a few different colours.
I decided to try something new and use Snapchat to record the tutorial, let me know what you think!
The Supplies
Stretchy fabric
Scissors
The Steps
Cut the material into a rectangle. The shorter the width of your material the shorter it will be on you.
Fold the material in half.
At the folded end about 4 inches from the top cut out a semi circle.
Open the material up and you’ll have a circle in the middle.
Put your arm through one side of the circle and then through the other side.
Wear however you like!
-Shanel

I have been doing a lot of reflection, contemplation and I’ve recently been dabbling into meditation and through all of this I’ve come to realize the importance of vision. The way I see it, vision is – taking the time to think about what is truly important to you and literally picturing “it”. “It” can be that event you want to happen, characteristics or habits you want to adapt, or whatever you would like to attract in your life.
You can apply vision for big goals or even minuscule things, for example I was tired of carrying my laptop in my purse so I decided I wanted a pleather or leather nap sack and I pictured it in my head. I went to Winners and sure enough I walked in and there was one pleather knapsack in the price range and style I wanted! That is just a small materialistic example but I have had other more significant events happen in my life where I envisioned them before they happened.
Visualization isn’t magic, you obviously also need to take action to make your visions come to life, but having a clear vision can help keep you on track to achieving your goals. A great way to be reminded about your visions or goals is through a vision board. There’s no “right” way to create your board but but continue reading for my tips on how to DIY your own vision board!
The Supplies*

A blank board or piece of paper
Magazines, some printed images, and text
Scissors
Glue, tape or pins
*You can also create a digital version of a vision board and save it as your desktop or phone background.
The Steps
Take a few deep breaths and think about why you are creating this vision board and it’s theme. If you don’t have a specific goal, event, or you’re not sure what you want, a good exercise is to take a piece of paper and write down “What do I want?” go with the flow and jot down whatever comes to mind. You can then base your vision board around your answers. I decided to create a vision board for the things I want and the habits I want to adapt for 2016. You can create a vision board for a shorter period of time or specific events or goals.

Gather images and text from magazines, the Internet, or photos you already have. These images should inspire, motivate, and make you feel good.

Cut out the images and arrange them on your board. Once your happy with the layout glue, pin, or tape them down. I personally like to have a bit of space between images.

Lastly, leave your vision board in a place where you can see it clearly so you can briefly take time to remember and reflect on your visions.
What are some goals you would like to achieve this year?
A big thank you to Emilie from Facade for snapping these pics!
– Shanel

As the later half of fall approaches and temperatures tend to get chillier, it’s the perfect opportunity to layer-up your outfits and step up the chicness with cute overcoats. I put together this everyday layered fall look with pieces you can find on www.shopspring.com. Here are my top 3 tips on how to layer your fall outfit.
Start With a Basic
Basic long and short-sleeved tees can go a long way, so I always have a few different colours stocked in my closet. Start with a basic plain shirt and then work your layering up from there. This Aether V-Neck shirt is the perfect base piece for layering because it’s soft an made from breathable materials.
Over-sized and Chunky Sweaters are Your Friend
Over-sized and chunky sweaters over fitted shirts instantly make for a cool layered look. This French Connection knit is long, cozy, and adds an extra layer of warmth. You can also add a belt on top of a chunky sweater to give your outfit more shape.
Don’t Forget to Accessorize!
Accessories can also be used to add layers to your outfit. This double strapped Marc Jacob watch makes for some cute wrist candy! You can always throw on some necklaces or chokers to add to your layers.
What is your go-to layering piece?

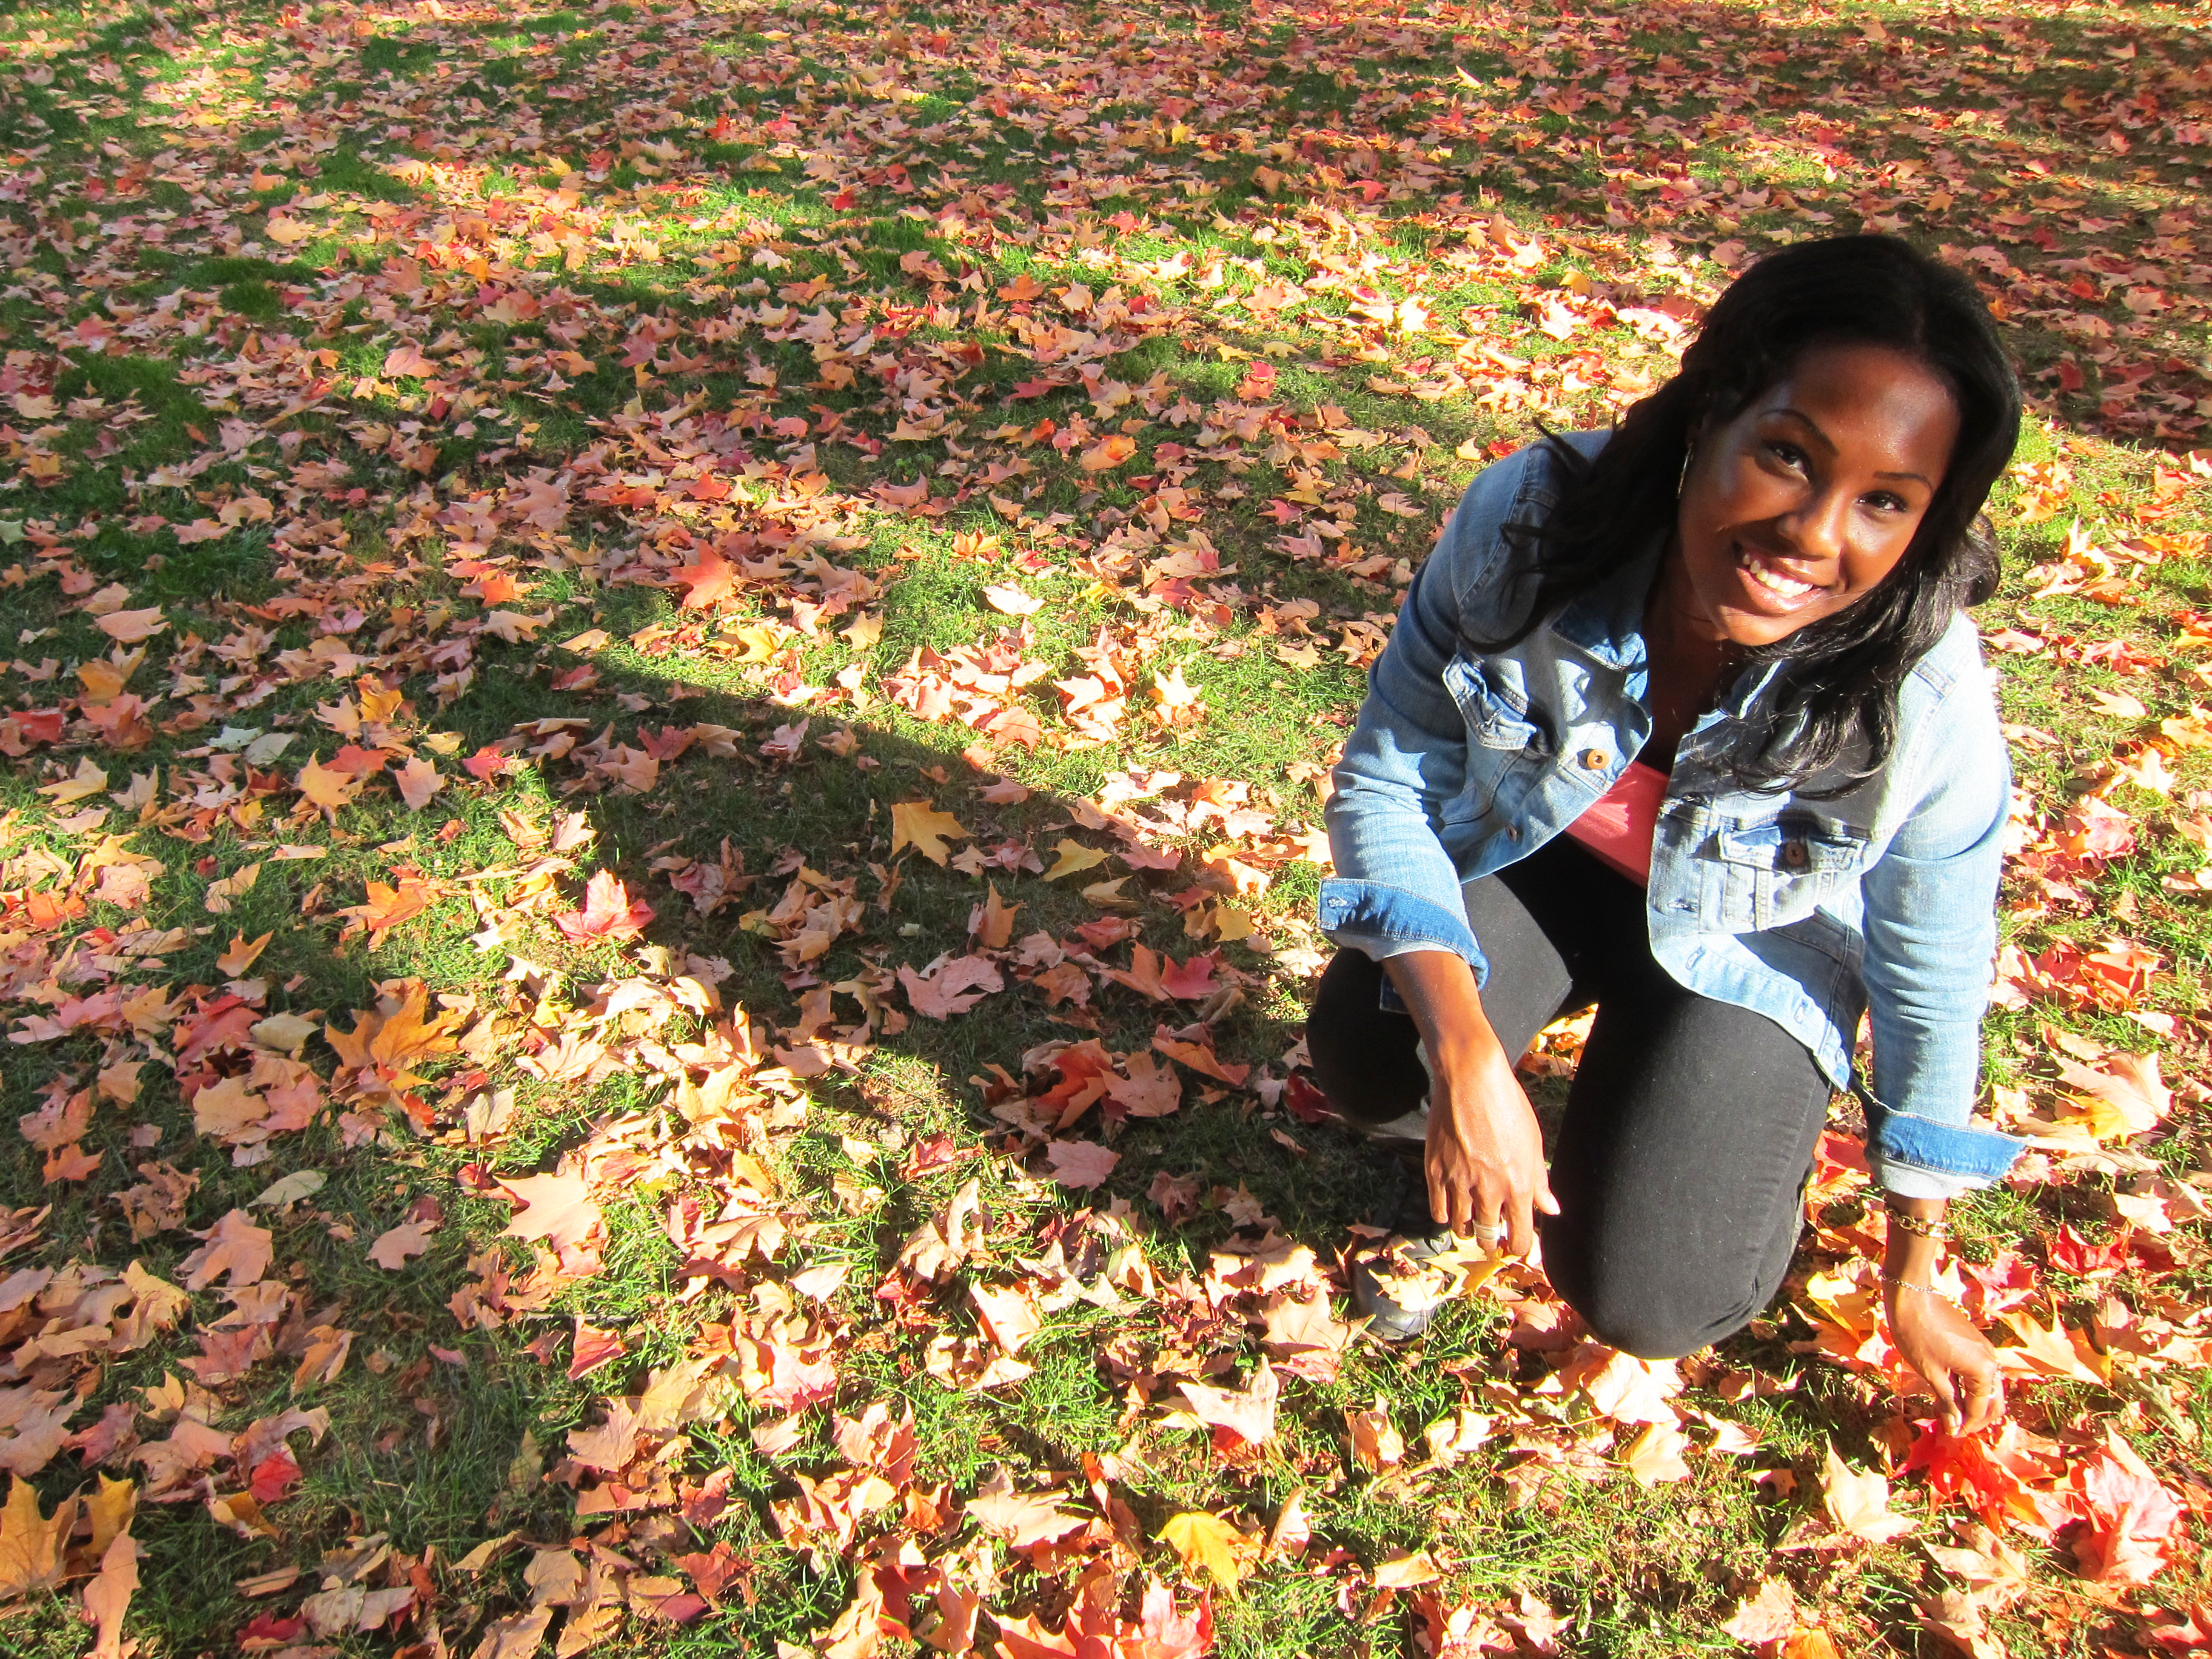
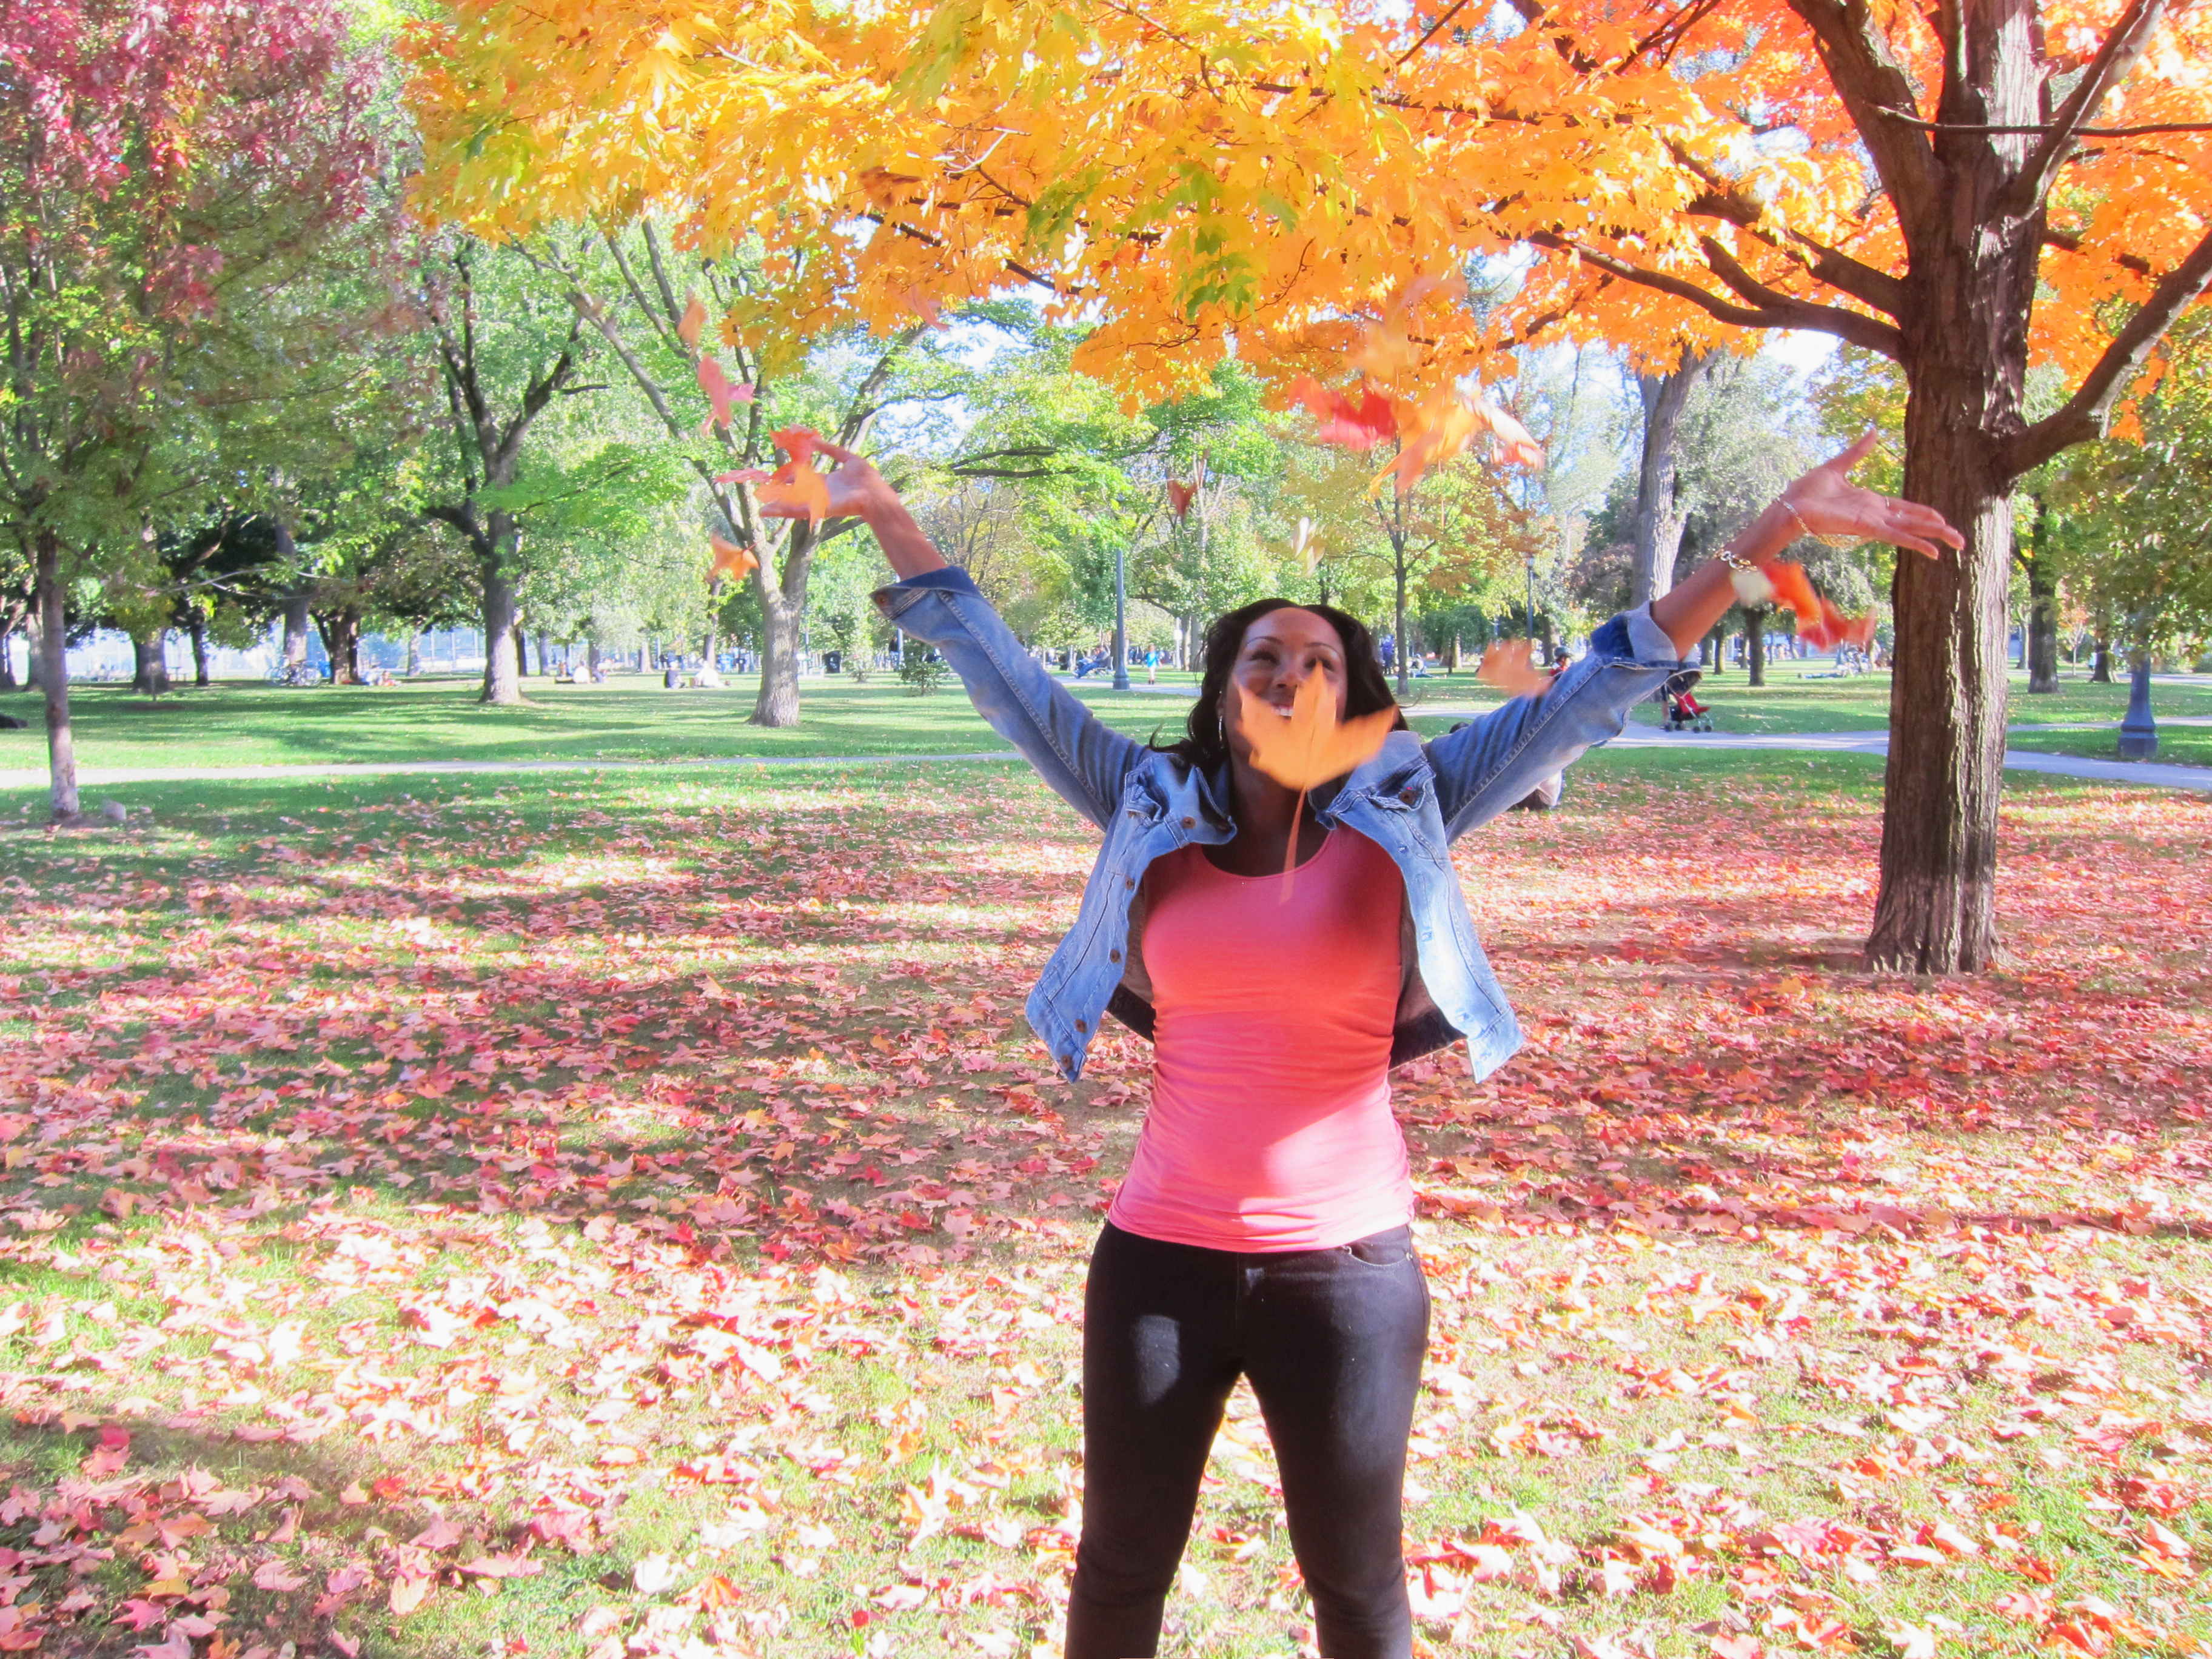
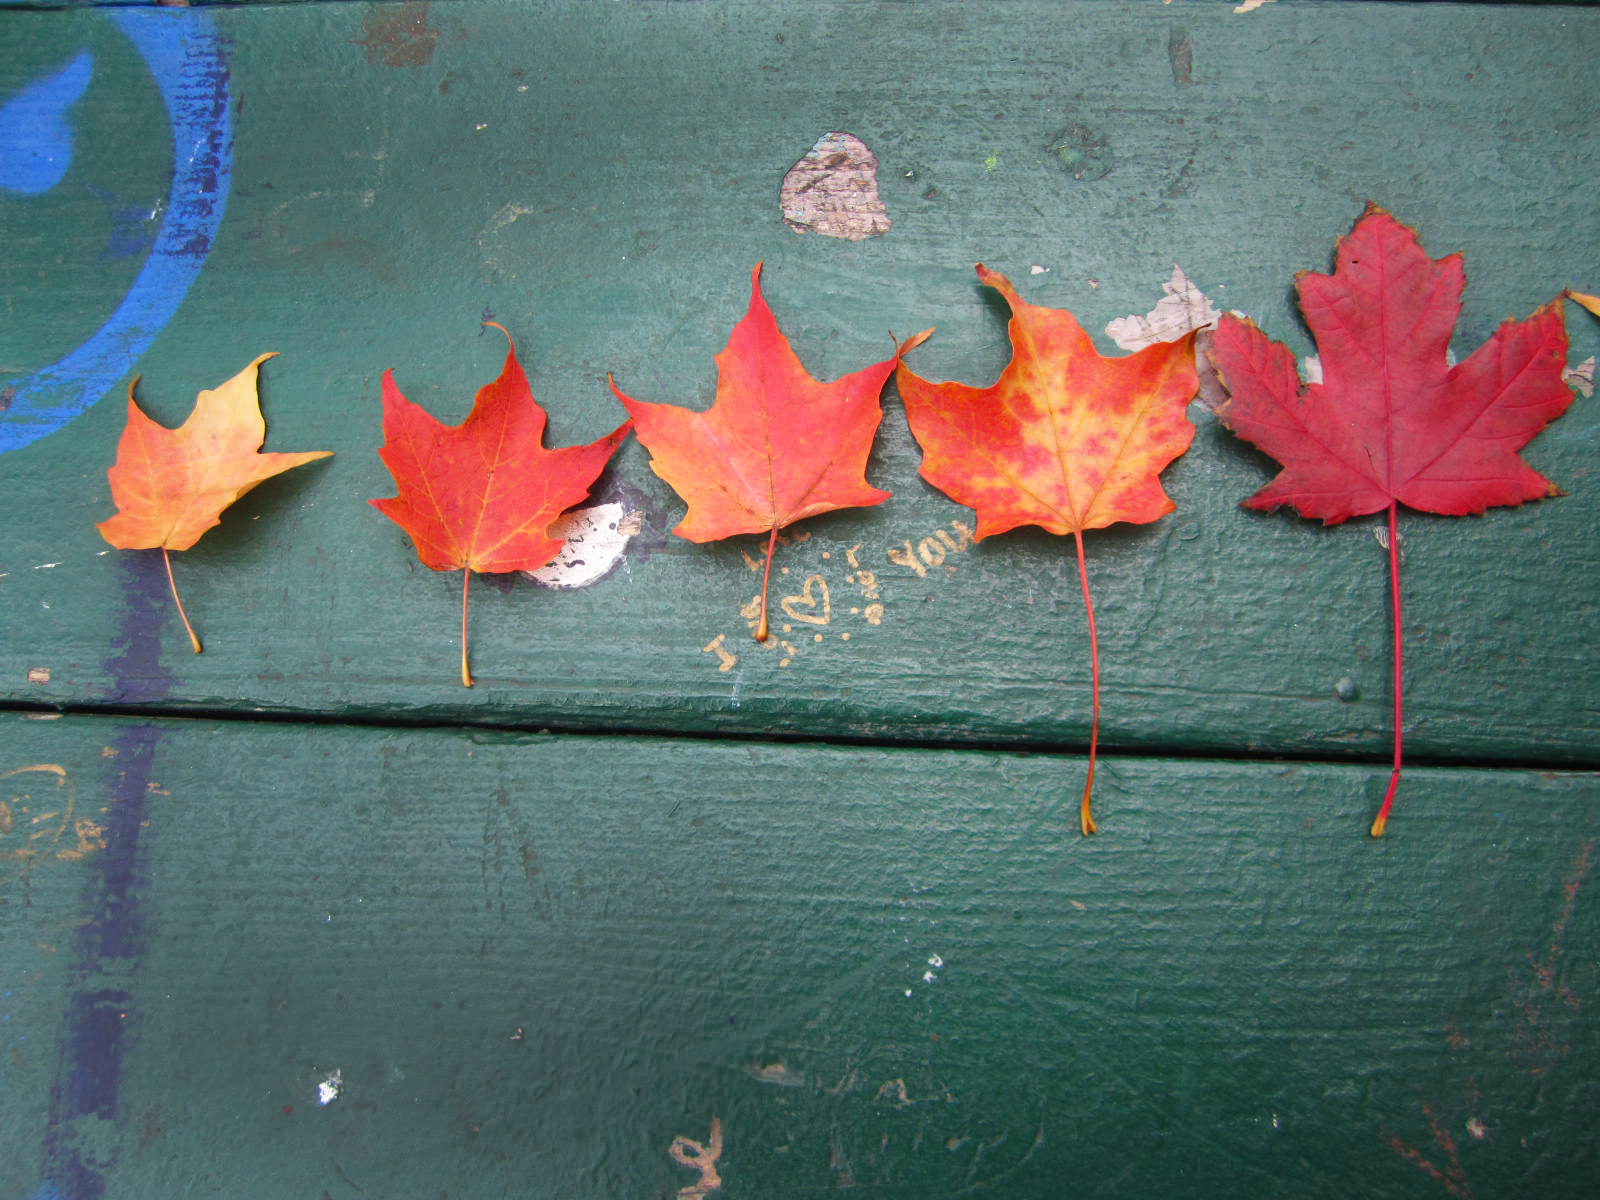
 Fall has always been my favourite season, it’s so scenic. I love walking down the street admiring all the beautiful changing colours of the trees, and suddenly a gust of wind blows and the leaves surround me falling delicately to my feet. It makes me happy just thinking about it.

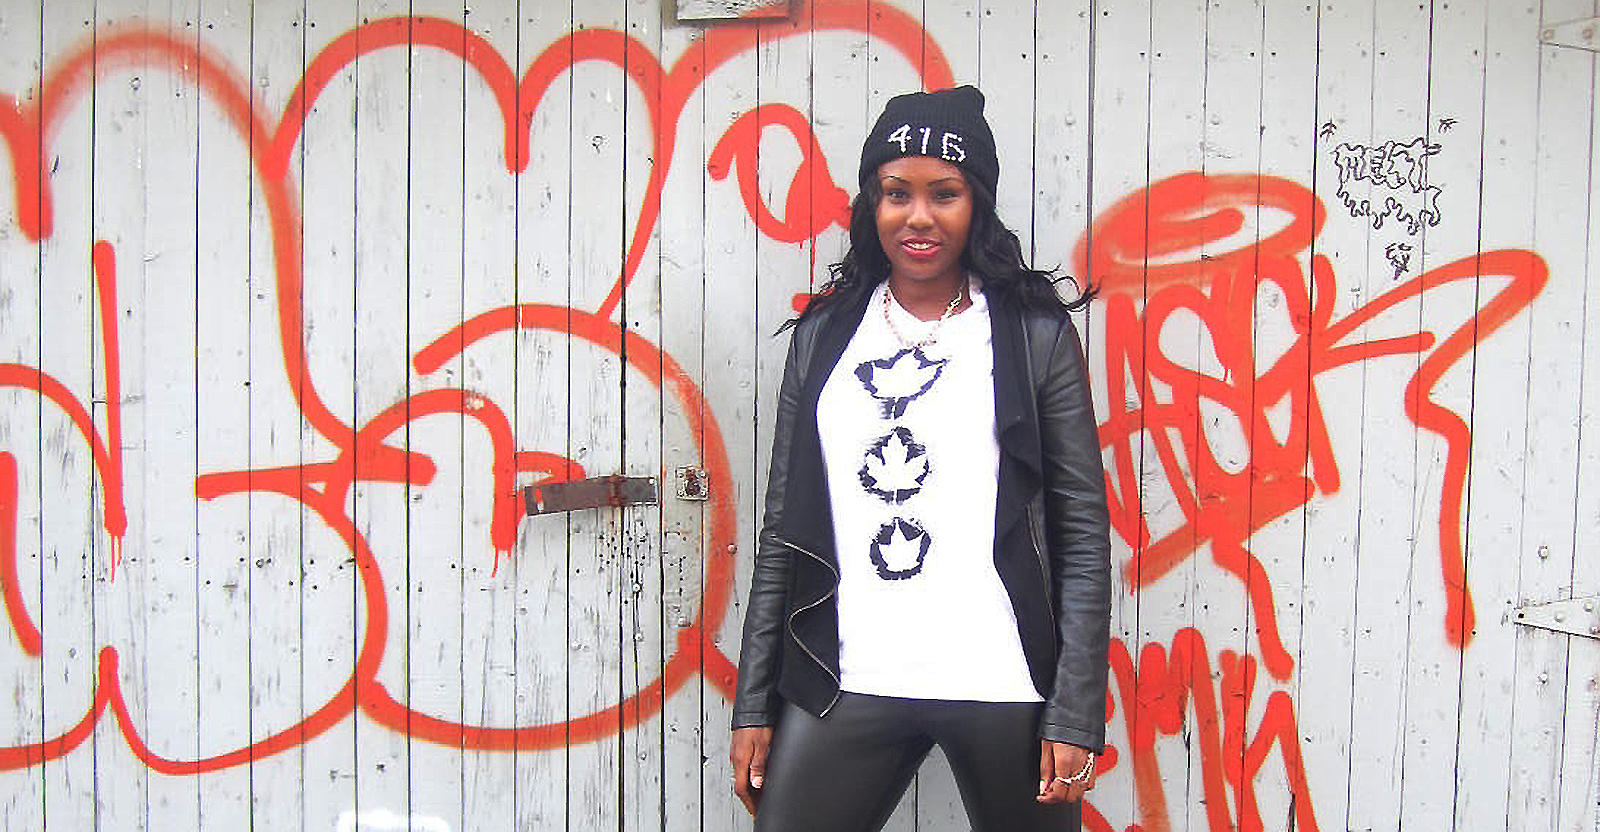
This leaf print DIY shirt is a great way to enjoy fall and all it’s beauty, and as a Canadian it made me feel a bit patriotic with the maple leaf being a part of our flag.
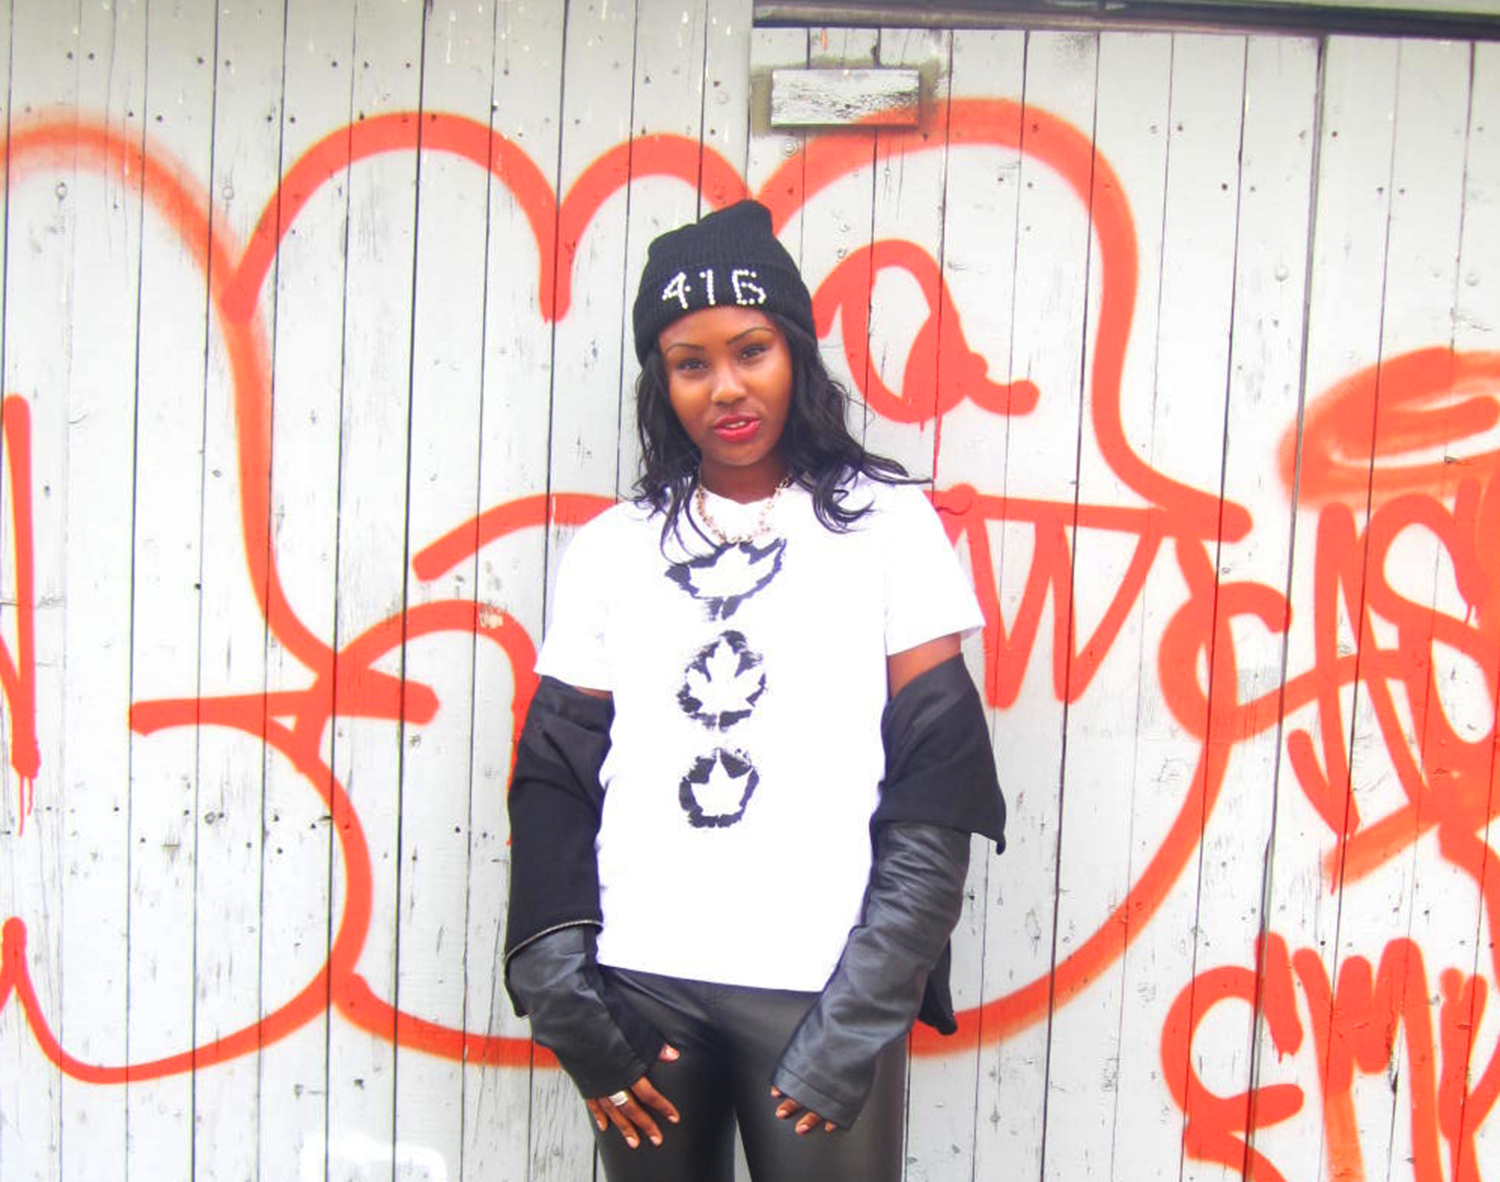

The inspiration for this DIY came to me when I attended one of my favorite events, Friday Night Live at the ROM. FNL has returned (another reason why I love fall!) and it runs until November 27th. Every FNL has a theme and last weeks was Thank You Canada. As a sponsor of the event Ford provides fun costumes and props that go along with each weeks theme. My friend Justine and I had a blast dressing up in “Canadian attire” and throwing leaves around. This Fridays theme is Dig it! It’s all about archaeology you can check the FNL event schedule here.
 Justine & I having fun at #FNL
Continue reading for the DIY
The Supplies

A Shirt
Leaves
Fabric Paint
A Paint brush
Piece of cardboard
A tray
The Steps
The first thing you will need to do is collect some leaves of varying sizes. This was a lot of fun! I went to a park named Trinity Bellwoods and found some leaves that had just fallen off the trees. The fresher the leaf the better, don’t collect the dried leaves as they are more prone to cracking and breaking when you paint them.
If you’re not going to do the DIY within a few days, store the leaves in a zip lock bag and keep them in a book so they don’t dry out and they will be nice and flat when you’re ready to use them.
Put the piece of cardboard inside the shirt, so the paint doesn’t seep through to the other side.
Layout the leaves on the shirt from largest to smallest, or whichever way you prefer.

Pour some paint onto a tray and dip the paint brush in. Hold the leaf in the middle and paint all around the edge of the leaf.

Repeat for the other leaves.

Remove the leaves and let the paint dry, and voila you’re done!


Some exciting things have happened since I last wrote, so I wanted to share and update. It’s crazy to think that these amazing opportunities happened all because I decided to start this blog. As I’ve said before, I started Think Outside the Cloth as a hobby and creative outlet from my then 9 to 5. It brought me back to the things I loved doing when I was younger like being creative and making pretty things with my hands, but a lot more has come out of it. I’ve been able to meet and network with many other bloggers and influencers through networking events. I also recently hosted the 2nd conNEXTion blogger networking event with Kristen (Twenties and Fabulous) and Stephan (Why I Love Toronto). Also, because of Think Outside the Cloth I began experimenting and hand-making jewelry for friends and myself. I recently completed an accessory business boot-camp named Fashion Your Future (FYF) with Toronto Fashion Incubator (TFI) and I made it into the top 10 accessory designers! It’s a super exciting time.

Me & my accessory sketches
Read more about TFI’s Fashion Your Future below.

I started crafting and making different types of jewelry after the DIY body chain tutorial. I would wear pieces and received a lot of positive feedback from friends, family, and even strangers. I wanted to develop it into a business and begin selling pieces but I had no idea where to start. I began researching and there were so many resources which is great, but I also became overwhelmed with all the information. I was looking into business grants and programs, when I came across the Fashion Your Future Program in my email inbox. I attended the information session and learned the program is hosted by TFI (@torontofashion) and the Ontario government (@onteconomy). The program equips youth accessory designers with the skills and tools necessary to start an accessory business. I was already excited about FYF but then I also learned there was a possibility to receive a micro-grant and to show at the TFI Press & Buyers Trade Show at World MasterCard Fashion week. I didn’t think twice about signing up.
The FYF program newly launched this year and includes 3 phases. The first phase is a full-time boot camp. Each day we learned a different topic relating to starting an accessory business. We had speakers like Shay Lowe teach us business savvy techniques and costing, and Karen Palmer discuss point-of-view and creating a story within a collection. We also visited and met owners of local boutiques, and showrooms.
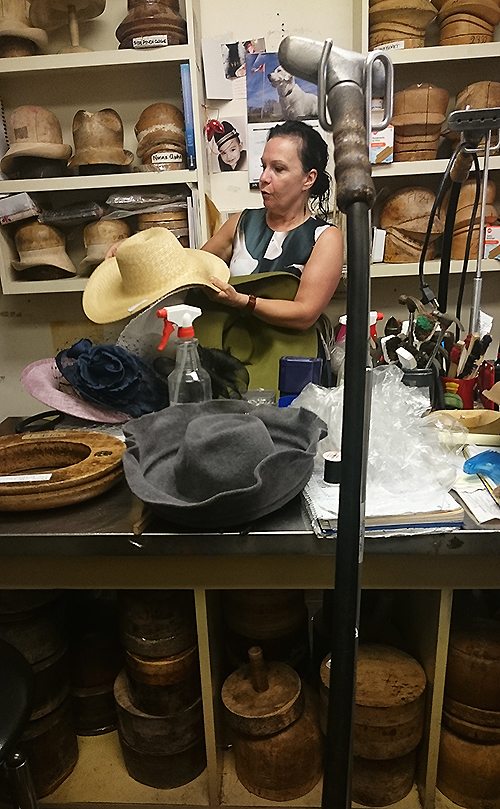
Owner & designer Karyn Gingras teaching the group about millinery at her store Lilliput Hats
 Visiting Canadian Children’s brand Mini Mioche

Beautiful hand crafted body jewelry from the Armed shop
It was really amazing to hear the different stories of how the businesses came to be, and all the owners were eager to help and provide guidance. The program also included some assignments where we had to sketch and create story boards for our collection. There was a moment in class where I was drawing and I remember thinking I can’t recall the last time I picked up a pencil or drew something! I loved every minute of it because I was surrounded by all these creative and talented people while learning and being creative.
 Piecing together my story board
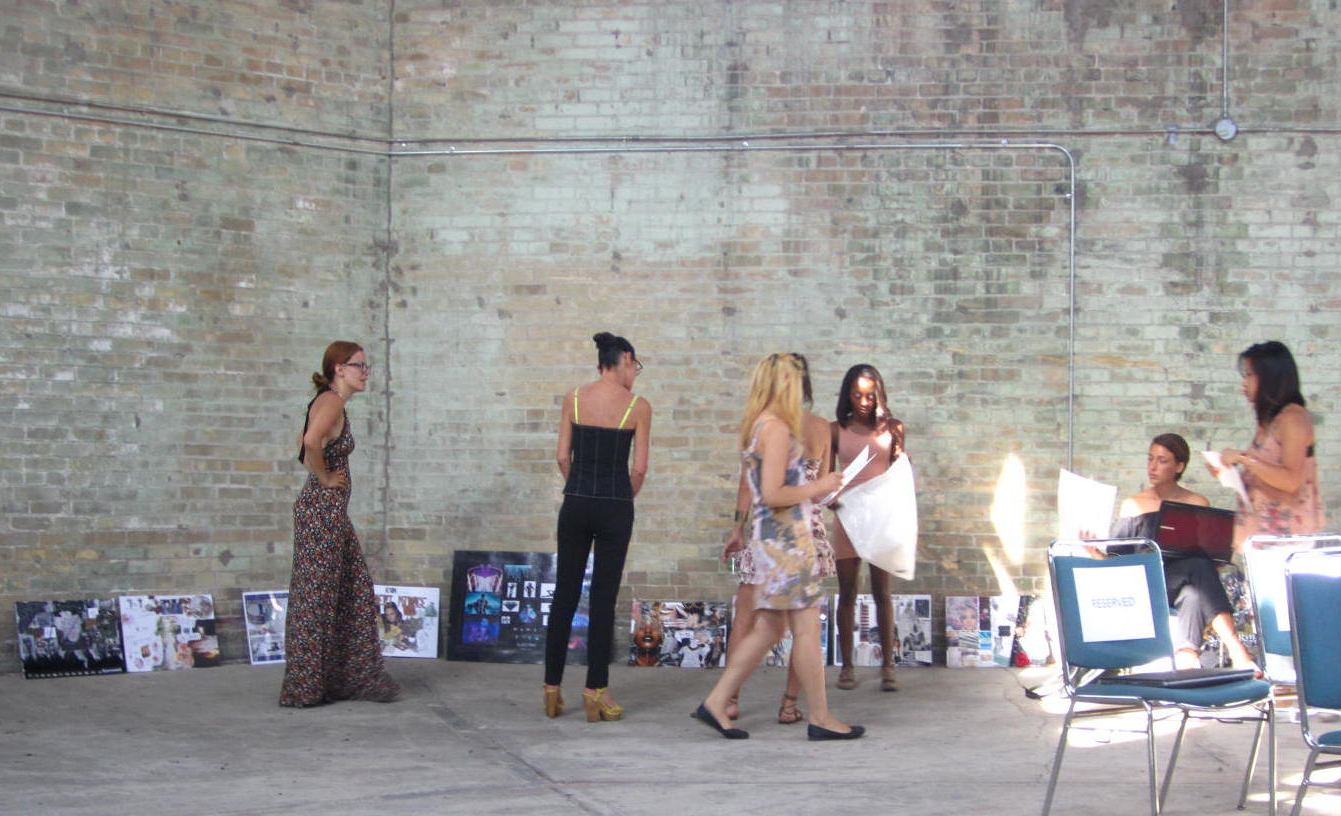 The group handing in their story boards
I just completed the first part of the program where the top 10 were selected from the boot camp based on assignments, attendance and a presentation to a panel of judges. I am so happy and thankful to have made it into the top 10! I am beginning the second phase of the program where I will be working with a mentor to create a 10-15 piece sample collection. Judges will review the collection and then the top 10 become the top 3. The top 3 will get to showcase their collection at the Press & Buyers Trade Show at World MasterCard Fashion Week! It’s an amazing opportunity for new designers, so please send me your positive vibes :).
I’ve already learned so much since completing this program and I can’t wait to learn more. Before being paired with my mentor, I got to meet with 6 other potential accessory mentors. I asked each of the accessory designers what advice they would give to someone starting an accessory business and the common theme among their answers was to FOCUS. So I’ve decided to do just that, focus on building and creating the collection and launching my jewelry line, so I won’t be blogging as consistently. Don’t worry, I won’t stray too far! You can stay caught up with me on Instagram @Thinkoutsidethecloth and Twitter @Outsidethecloth.

You can wear these looks any time during year, but with sun, fun and longer days these accessories are the perfect way to top off your summer outfit. Here are my favorite summer accessories and some suggestions on where you can find them.
Henna Tattoos

If you follow me on Instagram you probably already know I adore henna tattoos. The use of henna for body art has been used for centuries, and can be traced back to ancient India. Used as an art form for Indian weddings and other ceremonial celebrations, henna is now worn by people of all cultures. The intricate designs can last up to 2 weeks and are traditionally put on the hands and feet, but you can have it applied almost anywhere on your body.
Where you can get it: In Toronto there are often henna artists with tents set up at street festivals. You can also search on online classifieds such as Kijiji and Craigslist for local henna artists, or if you have a steady hand, you can purchase some henna paste and do it yourself.
Choker Necklaces

Choker necklaces are a simple accessory which can pair well with a lot of outfits, they’re especially cute with strapless items. I’m loving that the black tattoo necklaces have made a come back.
Where you can get it: I found my choker necklace at the dollar store (Dollarama), but I have also seen them at accessory stores like Clarie’s.
Anklets & Foot Chains
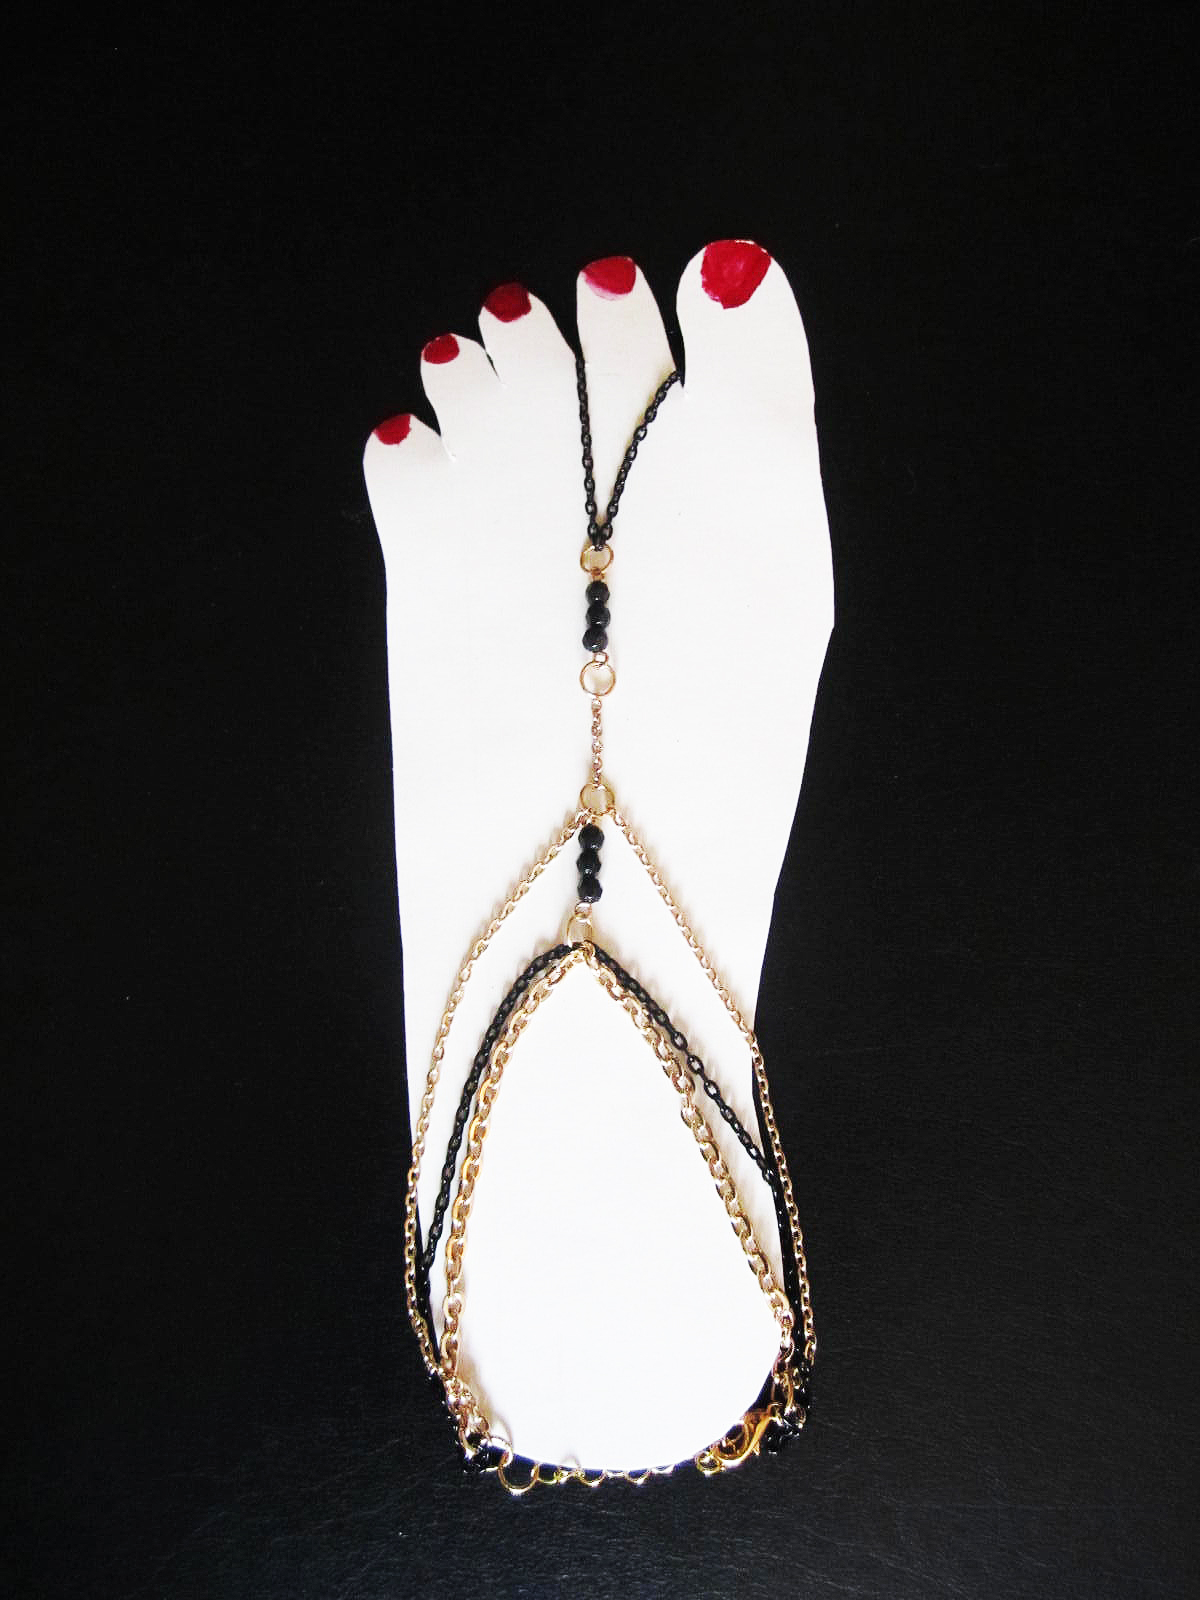
Anklets and foot chains are great because it’s a chance to accessorize the lower half of your body. Both are perfect for wearing at the beach, and if you want to step it up you can also pair them with your favorite flats or heels.
Where you can get it: There are many hand-made foot chain styles to choose from on Etsy. Also, Forever 21 has a selection of anklets.
Metallic Tattoos

Metallic tattoos are a quick and easy way to add some shine and shimmer to your skin. They’re great for places like the beach, or when you don’t want to wear a lot of jewelery but you still want to accessorize. Simply cut out the design you like and place it face-down on clean and dry skin. Using a sponge or cloth add some water to the back and hold in place for about 30 seconds. Remove the paper and you’ve got some skin bling.
Where you can get it: Flash Tattoos is a popular brand. A quick Google search of “metallic tattoos” will also generate many websites and stores which also carry them.
What are some of your favorite summer accessories?

