Fashion Your Future & Some Exciting News!

Featured

Some exciting things have happened since I last wrote, so I wanted to share and update. It’s crazy to think that these amazing opportunities happened all because I decided to start this blog. As I’ve said before, I started Think Outside the Cloth as a hobby and creative outlet from my then 9 to 5. It brought me back to the things I loved doing when I was younger like being creative and making pretty things with my hands, but a lot more has come out of it. I’ve been able to meet and network with many other bloggers and influencers through networking events. I also recently hosted the 2nd conNEXTion blogger networking event with Kristen (Twenties and Fabulous) and Stephan (Why I Love Toronto). Also, because of Think Outside the Cloth I began experimenting and hand-making jewelry for friends and myself. I recently completed an accessory business boot-camp named Fashion Your Future (FYF) with Toronto Fashion Incubator (TFI) and I made it into the top 10 accessory designers! It’s a super exciting time.

TFI photo
Me & my accessory sketches

Read more about TFI’s Fashion Your Future below.

TFI Fashion Your Future Poster

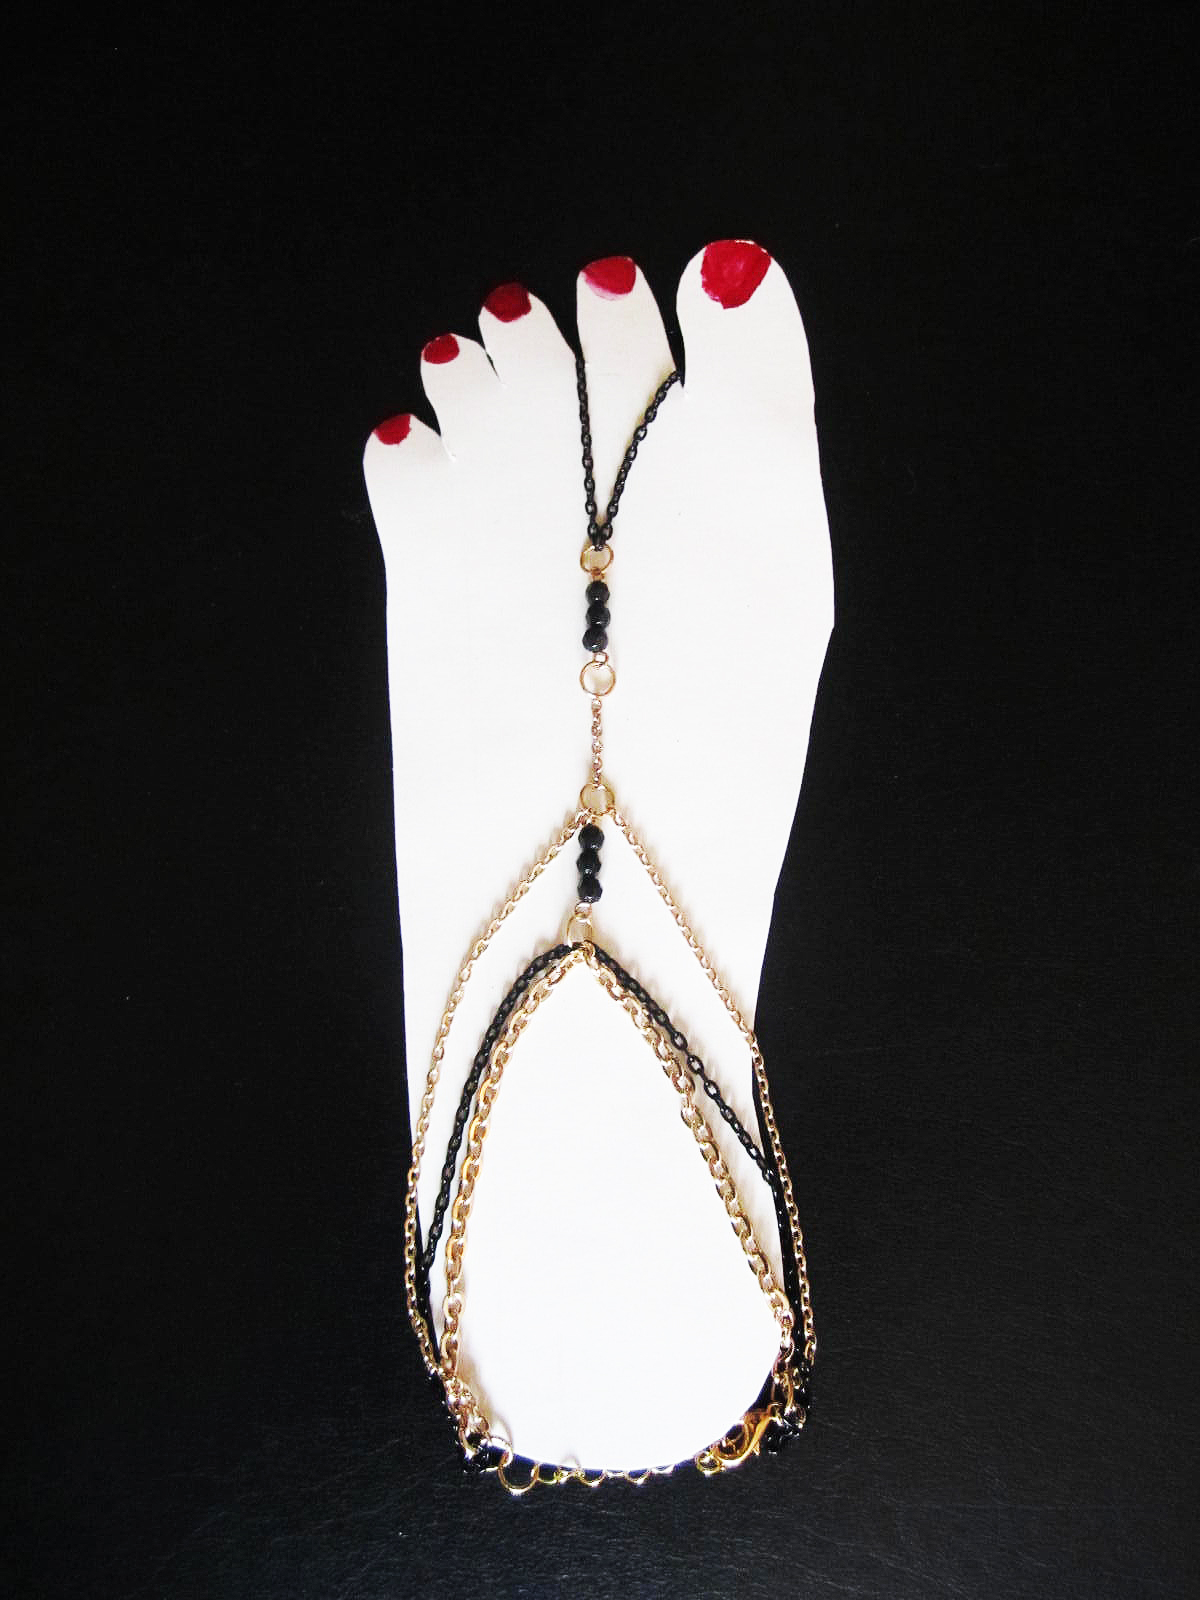
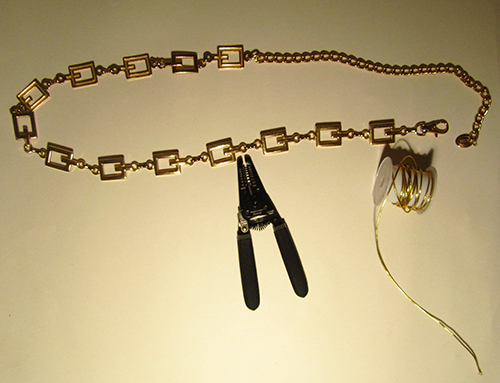
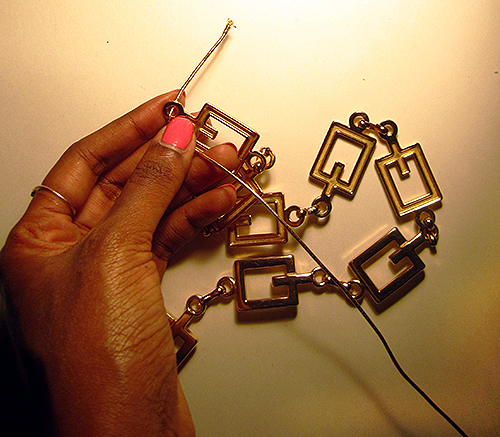
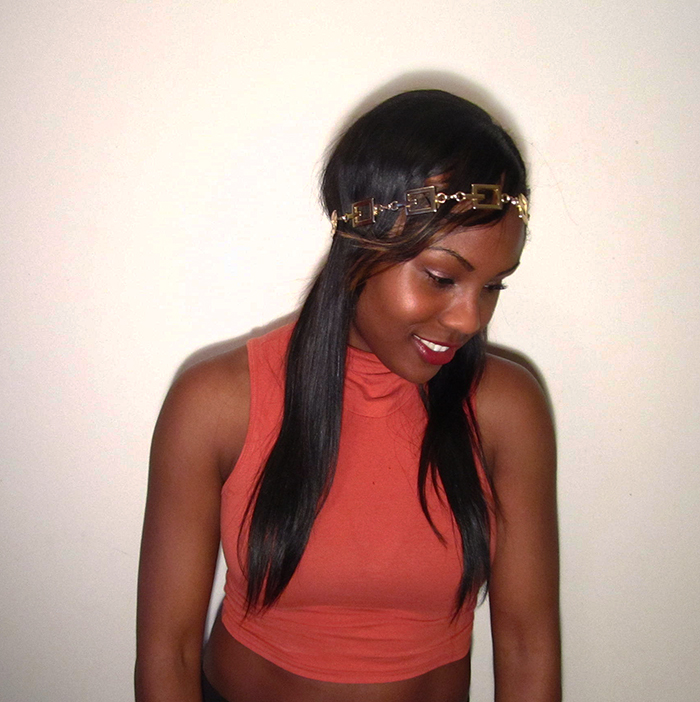
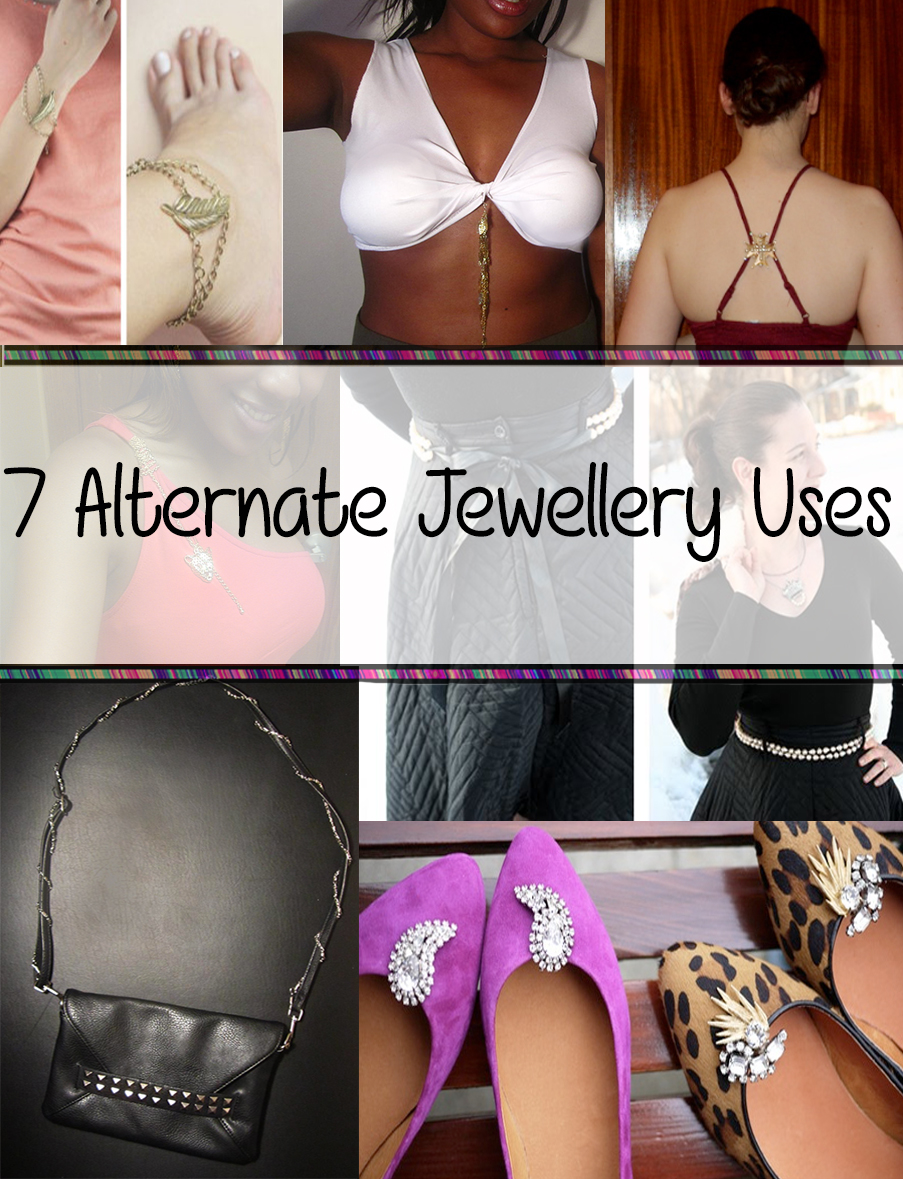
I started crafting and making different types of jewelry after the DIY body chain tutorial. I would wear pieces and received a lot of positive feedback from friends, family, and even strangers. I wanted to develop it into a business and begin selling pieces but I had no idea where to start. I began researching and there were so many resources which is great, but I also became overwhelmed with all the information. I was looking into business grants and programs, when I came across the Fashion Your Future Program in my email inbox. I attended the information session and learned the program is hosted by TFI (@torontofashion) and the Ontario government (@onteconomy). The program equips youth accessory designers with the skills and tools necessary to start an accessory business. I was already excited about FYF but then I also learned there was a possibility to receive a micro-grant and to show at the TFI Press & Buyers Trade Show at World MasterCard Fashion week. I didn’t think twice about signing up.

The FYF program newly launched this year and includes 3 phases. The first phase is a full-time boot camp. Each day we learned a different topic relating to starting an accessory business. We had speakers like Shay Lowe teach us business savvy techniques and costing, and Karen Palmer discuss point-of-view and creating a story within a collection. We also visited and met owners of local boutiques, and showrooms.

Karyn Gingras Lilliput Hats
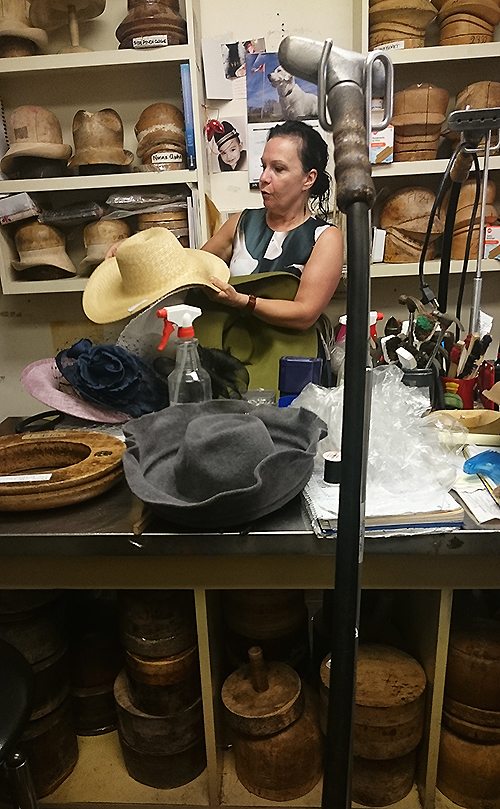
Owner & designer Karyn Gingras teaching the group about millinery at her store Lilliput Hats

Mini MiocheVisiting Canadian Children’s brand Mini Mioche

Upandarmedjewelry
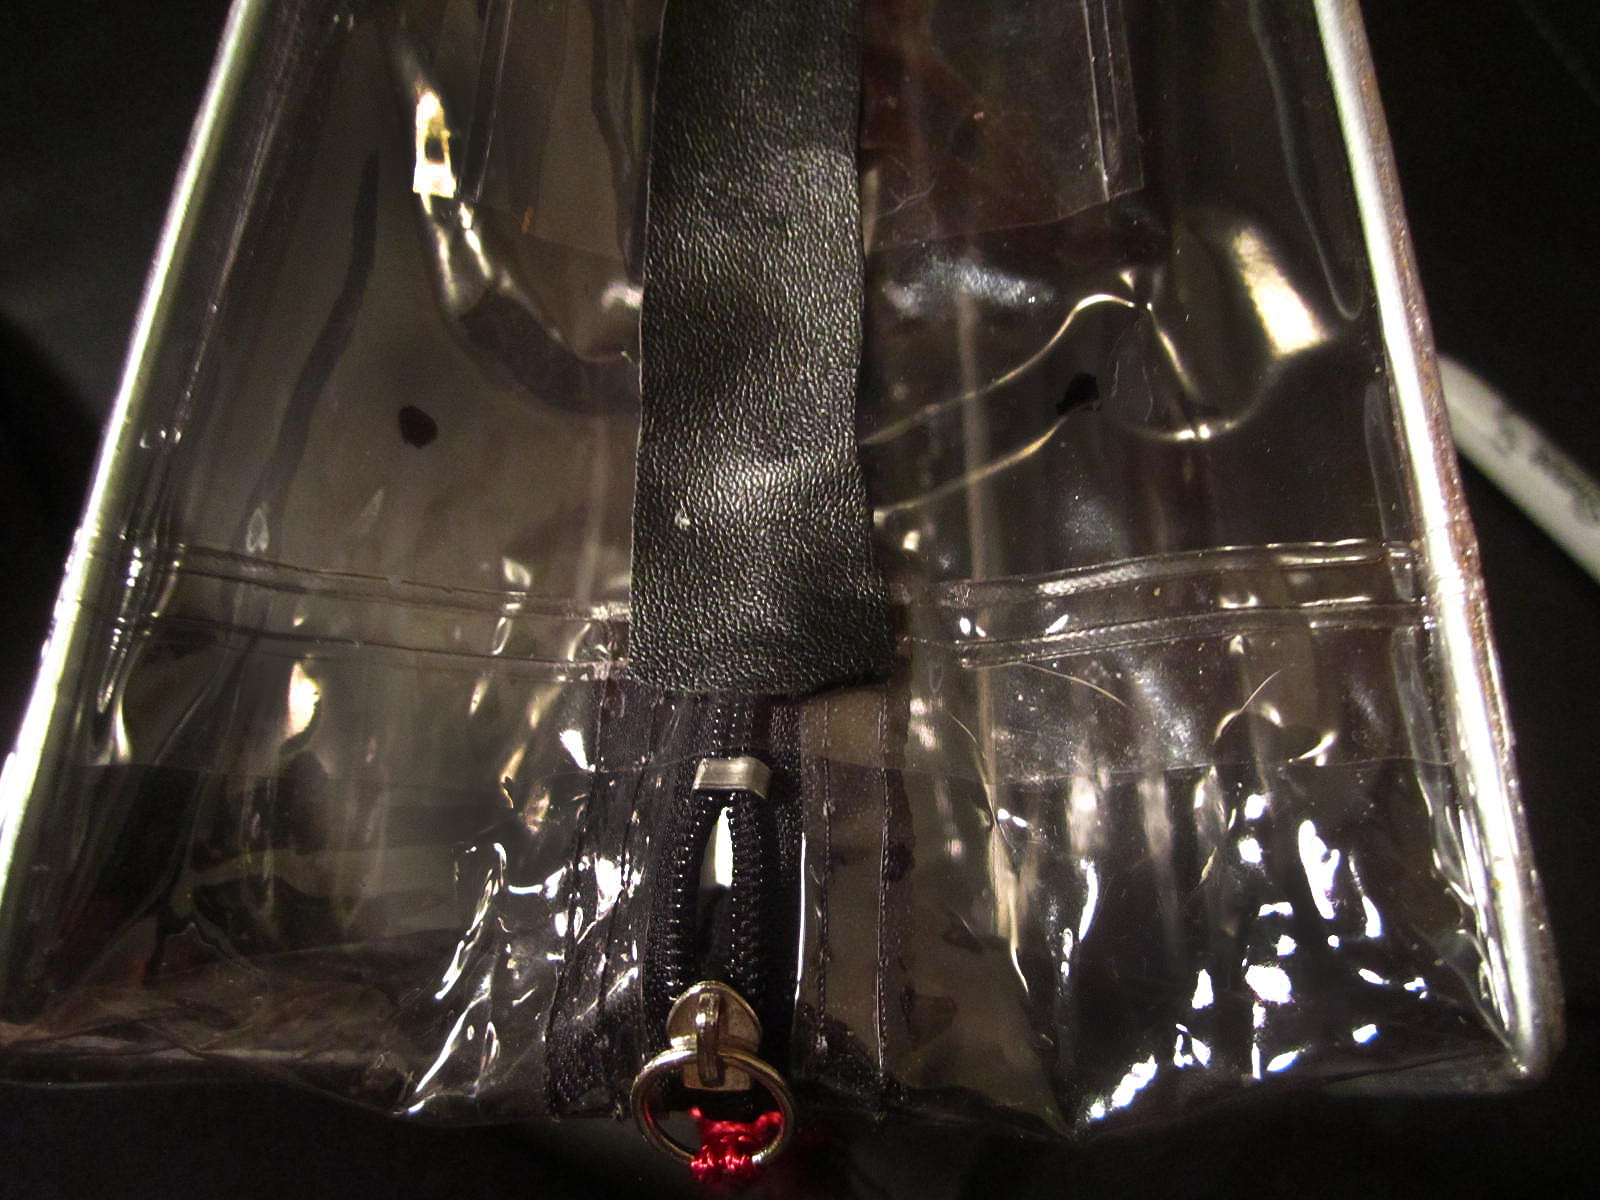
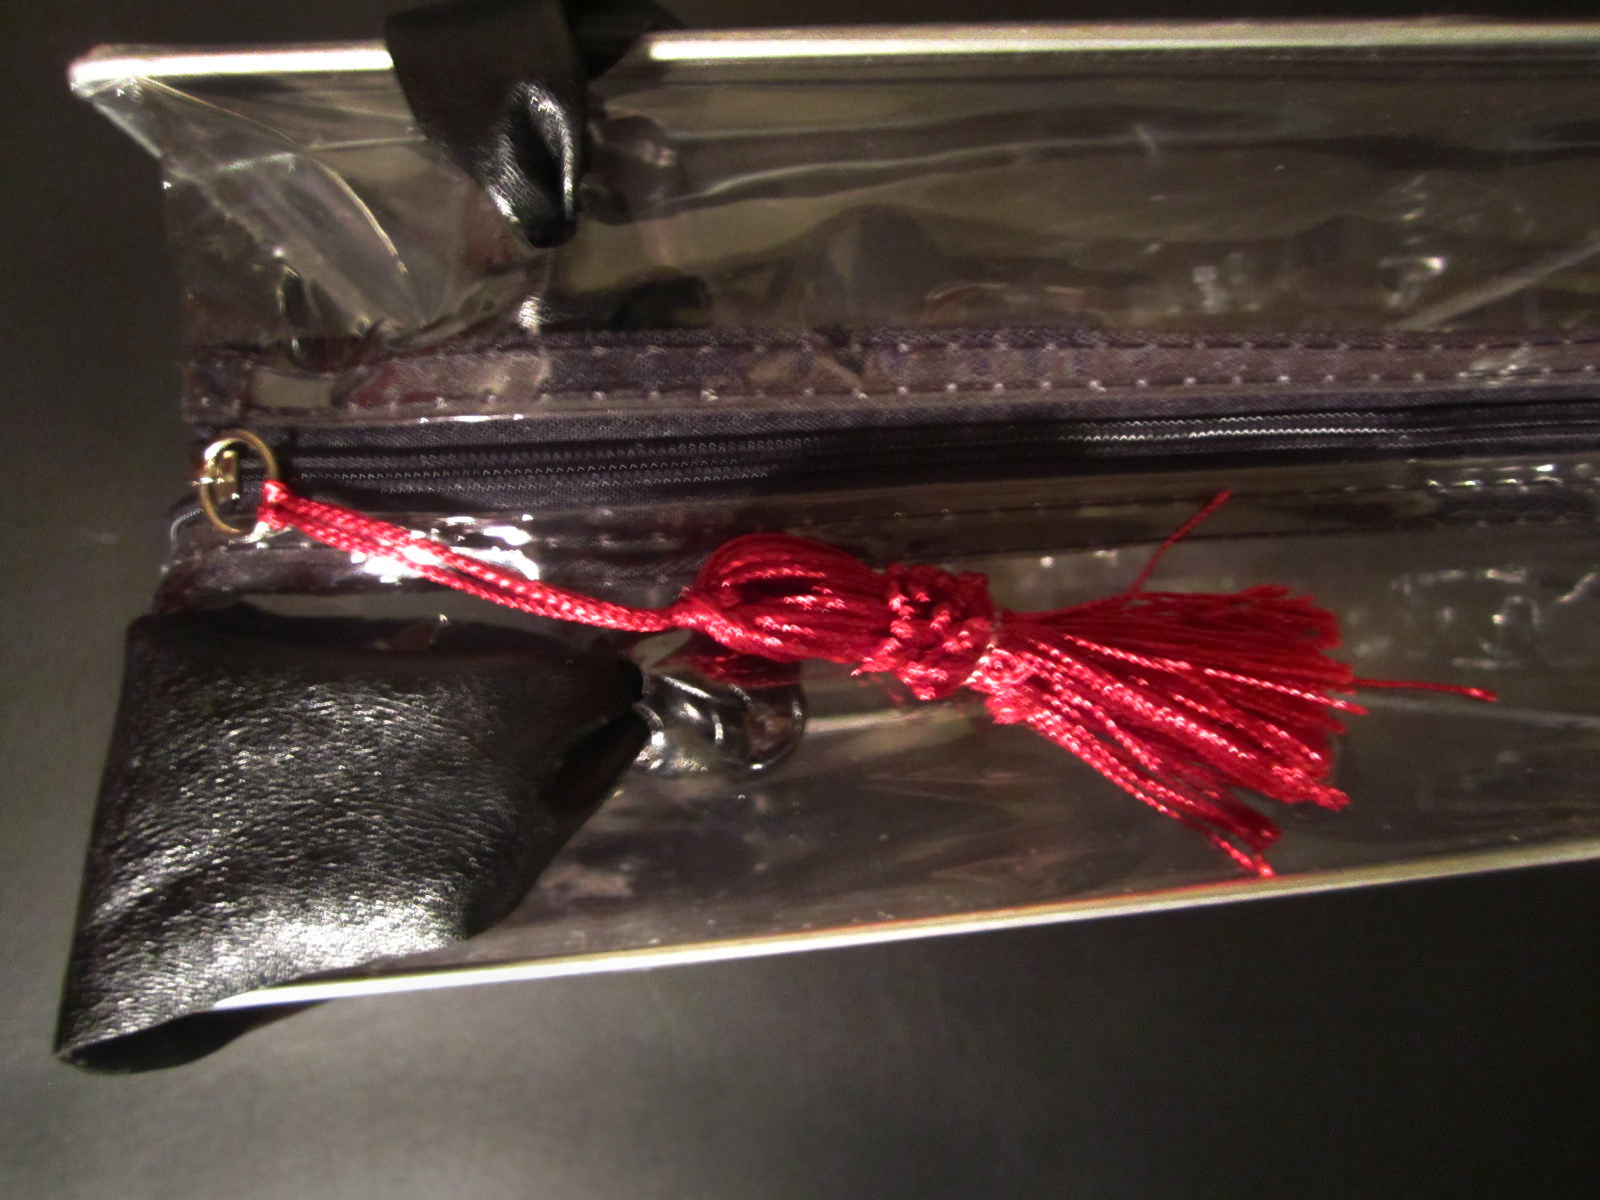
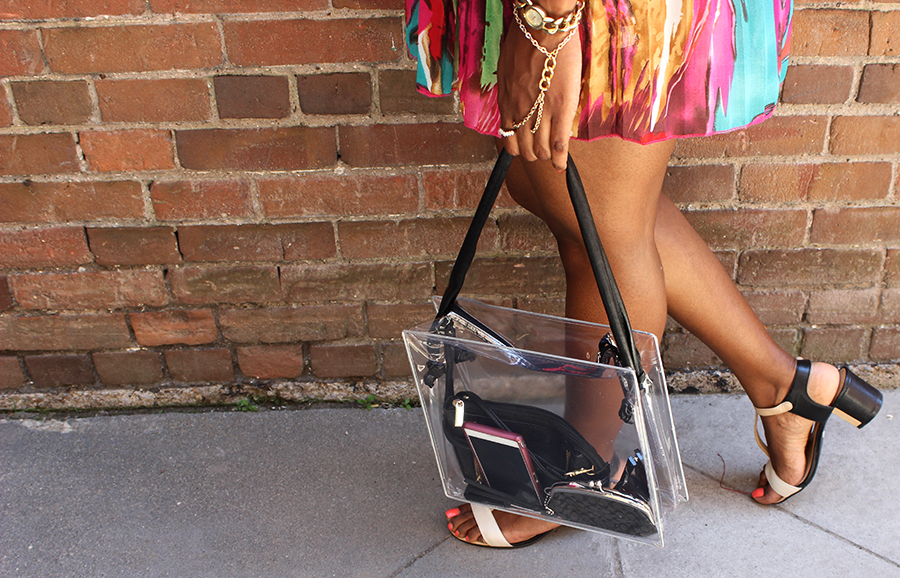
Beautiful hand crafted body jewelry from the Armed shop

It was really amazing to hear the different stories of how the businesses came to be, and all the owners were eager to help and provide guidance. The program also included some assignments where we had to sketch and create story boards for our collection. There was a moment in class where I was drawing and I remember thinking I can’t recall the last time I picked up a pencil or drew something! I loved every minute of it because I was surrounded by all these creative and talented people while learning and being creative.

Stroy Board ProcessPiecing together my story board

StoryBoards
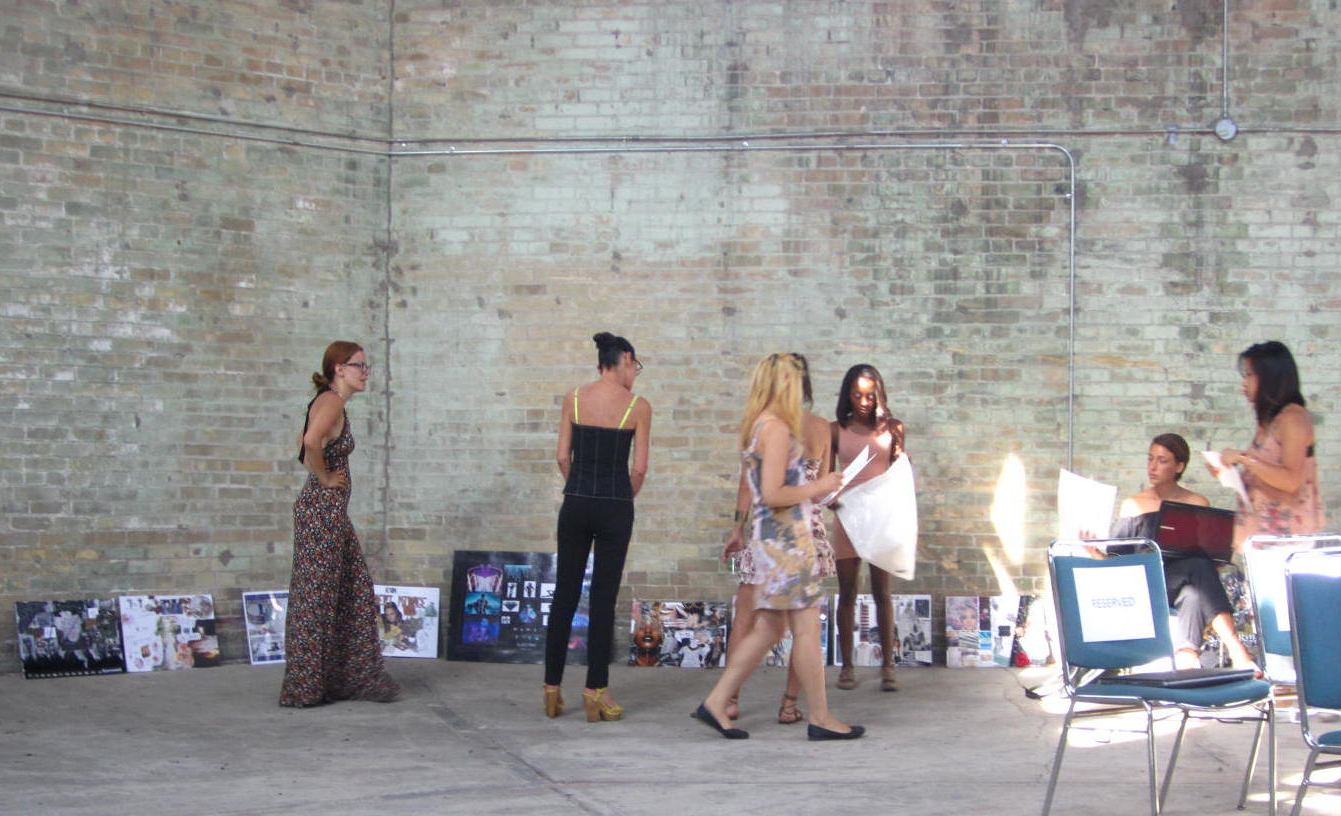
The group handing in their story boards

I just completed the first part of the program where the top 10 were selected from the boot camp based on assignments, attendance and a presentation to a panel of judges. I am so happy and thankful to have made it into the top 10! I am beginning the second phase of the program where I will be working with a mentor to create a 10-15 piece sample collection. Judges will review the collection and then the top 10 become the top 3. The top 3 will get to showcase their collection at the Press & Buyers Trade Show at World MasterCard Fashion Week! It’s an amazing opportunity for new designers, so please send me your positive vibes :).

I’ve already learned so much since completing this program and I can’t wait to learn more. Before being paired with my mentor, I got to meet with 6 other potential accessory mentors. I asked each of the accessory designers what advice they would give to someone starting an accessory business and the common theme among their answers was to FOCUS. So I’ve decided to do just that, focus on building and creating the collection and launching my jewelry line, so I won’t be blogging as consistently. Don’t worry, I won’t stray too far! You can stay caught up with me on Instagram @Thinkoutsidethecloth and Twitter @Outsidethecloth.

Shanel Signaure

My Top Summer Accessories

Featured

You can wear these looks any time during year, but with sun, fun and longer days these accessories are the perfect way to top off your summer outfit. Here are my favorite summer accessories and some suggestions on where you can find them.

Henna Tattoos

DSC_0800

If you follow me on Instagram you probably already know I adore henna tattoos. The use of henna for body art has been used for centuries, and can be traced back to ancient India. Used as an art form for Indian weddings and other ceremonial celebrations, henna is now worn by people of all cultures. The intricate designs can last up to 2 weeks and are traditionally put on the hands and feet, but you can have it applied almost anywhere on your body.

Where you can get it: In Toronto there are often henna artists with tents set up at street festivals. You can also search on online classifieds such as Kijiji and Craigslist for local henna artists, or if you have a steady hand, you can purchase some henna paste and do it yourself.

Choker Necklaces

Black Chocker Necklace

Choker necklaces are a simple accessory which can pair well with a lot of outfits, they’re especially cute with strapless items. I’m loving that the black tattoo necklaces have made a come back.

Where you can get it: I found my choker necklace at the dollar store (Dollarama), but I have also seen them at accessory stores like Clarie’s.

Anklets & Foot Chains

IMG_7301

Anklets and foot chains are great because it’s a chance to accessorize the lower half of your body. Both are perfect for wearing at the beach, and if you want to step it up you can also pair them with your favorite flats or heels.

Where you can get it: There are many hand-made foot chain styles to choose from on Etsy. Also, Forever 21 has a selection of anklets.

Metallic Tattoos

Metallic Tattos

Metallic tattoos are a quick and easy way to add some shine and shimmer to your skin. They’re great for places like the beach, or when you don’t want to wear a lot of jewelery but you still want to accessorize. Simply cut out the design you like and place it face-down on clean and dry skin. Using a sponge or cloth add some water to the back and hold in place for about 30 seconds. Remove the paper and you’ve got some skin bling.

Where you can get it: Flash Tattoos is a popular brand. A quick Google search of “metallic tattoos” will also generate many websites and stores which also carry them.

What are some of your favorite summer accessories?

Shanel Signaure

DIY Clear Tote Bag

Featured

DIY Clear Hunter Bag
Photo by Kristen Berk

This DIY clear tote bag was inspired by the clear Hunter tote which I spotted while scrolling through Nasty Gal’s Instragram. A few days after, I had just finished putting on my new bed sheets and I was about to throw out the packaging when a light went off in my head. I realized it was the perfect base to create a DIY version of the clear Hunter Tote!

Clear Hunter ToteImage Source: Nasty Gal Instagram

Ladies, you know the pain of having your bag feel like a big black hole that items seem to disappear into? You have to dig and shift your stuff around to find that one thing? That’s why I really love this bag! Because it’s clear I can see everything I no longer have to frantically search for my lip gloss. If you’re not comfortable with all the contents of your bag showing you can put a smaller purse or clutch inside the clear bag for items you want covered.

ClearbagDIY

Clear Tote Purse Bag DIY

Brick Wall Clear Bag Tote

Here’s how I made it.

The Supplies

DIY Clear Purse Supplies

Transparent bed sheet case
2 Strips of material or ribbon
Hand hole punch
Marker
Glue

The Steps

On the top side of the bag I used the marker to draw a small dot for the location of the straps. I used the length of my thumb as measurement.Clear Purse DIY 1

Using the length of my thumb again, I drew another small dot on the other side of the bag.Clear Purse DIY3

I repeated the last two steps for the other side of the bag, so there were 4 dots total.

I took the hole punch and punched a hole where each of the 4 dots were drawn.Clear Purse DIY 4

I took a strip of material and measured it around my shoulder to see the best length for the straps, I made sure there was about an extra two inches of length (you have to knot the ends of the straps which takes away from the length). Once I had the length I wanted I cut another piece of material to the same size.

I pushed each of the straps into each hole on one side of the bag.DIY Clear Hunter Bag 6

On the inside of the bag I triple knotted the end of the strap so that the knot could not fit through the hole. I repeated the same step for the other hole.DIY clear purse 7

I took the straps making sure they were straight and I brought them over to the other side of the bag. I repeated the knotting process with the holes on the other side.DIY Clear Purse 8

I added a dab of glue to the inside of the knot and glued it to the side of the bag. I held the knot to the bag for about 30 seconds. I repeated the gluing process for the other 3 holes.

I let the glue dry and that was it!DIY Clear Tote Purse 8

DIY clear tote purse bag 2

Clear Tote Bag DIY

– Shanel

DIY Fringe Ankle Cuff

Featured

DIY Fringe Cuff

I’m loving all the fringes I am seeing pop up on everything from dresses, clutches, and shoes. Fringes are fun, flirty, and they can add cool movement and lines to an outfit.

Since DIYing fringes involves a lot of cutting I decided on a simple DIY fringe ankle cuff. Doing this project made me wish I owned a shredder so I could shred fabric to make fringes on command. I would add fringes to everything!

This DIY fringe cuff pairs great with gladiator style sandals or heels. Here’s what you’ll need.

The Supplies

DIYFringeCuff supplies

Fabric
Scissors
Ruler
Pen or Marker
Glue gun
Velcro

The size of my fabric was 6 inches high and 9 inches long.

The Steps

First, I measured the fabric around my ankle making sure there was an inch overlap. I cut off any excess material.

I folded the material in half, and used the pen to mark the half way point. I then drew a straight line across the middle of the material.

DIYfringeanklecuff02

I cut the material in half so I had two sides.

DIYFringecuff half copy

I drew a line that was ½ an inch wide across the top of the material. The line was the point I cut all the fringes up to.

You can cut your fringes to whatever size you like. I used the width of my thumb as a guideline and I began cutting the fringes up to the drawn line.

DIYFringeCuff3

Repeat the last two steps for the other side.

DIYFringeCuff6

Cut 1 inch pieces of both sides of the Velcro. Glue one side of the Velcro on the front side of the cuff.

DIYFringleCuff7

Turn the cuff over, and glue the other side of the Velcro to the opposite end on the back side of the cuff.

Repeat gluing on the Velcro for the other cuff.

Wear it!

IMG_7788

Shoes: Material Girl

-Shanel

Before & After: DIY Gold Headband

Featured

I channeled my inner goddess and decided to create a gold headband out of a belt. I had this gold link belt sitting in my closet for a while and I never quite found the right outfit to pair it with so it went unused, until now. A DIY gold headband is pretty simple and if you don’t have a link belt you can always substitute with a gold coloured chain.

Headbandcover

Here’s how I did it.

The Supplies

DIYheadbandsupplies1

Wire cutters
Gold link belt or chain. If you are using a chain make sure the holes in the chain are big enough to fit the elastic through
Gold coloured elastic*
Scissors
Glue

*You can purchase from a fabric or craft store.

The Steps

I took the belt and measured it around my head. I left about 3 inches of space in the back for the elastic.

I used the wire cutters to cut the belt to the length I wanted.DIYgoldheadband

Now it’s time to add the elastic. I looped the elastic through one end of the belt.DIYgoldheadband3

I looped the elastic all the way through so there were two sides. I measured the belt with the elastic around my head to ensure it fit comfortably. I then cut the elastic.
DIYgoldheadband4

Where the loop began I tied a knot around one end of the belt.
goldheadband5

To make the elastic stronger I began twisting it.DIYgoldheadband5

I twisted until both ends of the elastic had an inch left. I tied a knot to secure the twist making sure there was still space at the end of the elastic.
DIYgoldheadband6

I tied the ends of the elastics around the other end of the belt and cut off the the excess. I added a dab of glue to secure the knot.
DIYgoldheadband7

Voila!

DIYheadband8

-Shanel

DIY Ring Holder

Featured

I hope everyone had a great Holiday! Now that Christmas is over I always feel the need to declutter and clean, so that I meet the New Year with a clean and tidy space. The first thing I’m tackling is my big basket of accessories which I sometimes loose my rings in an abyss of bracelets and necklaces. But there is an easy solution – DIY Ring Holder!

I hope you saved your small gift boxes because this DIY Ring Holder is super easy and it’s a useful tool for storing all your rings and pretty little things.

DIYRingholder1

The Supplies

DIYringholdersupplies

Small box
Old shirt, or any material
Scissors

The Steps

Lay your material flat. If you’re using an old shirt or pants cut along a seam and open the material up so you have 1 layer.

Put the box on top of the material, and cut a strip which is the same width as the box. The strips of material should be anywhere from 10 to 12 inches in length.

DIYRingholder(2)

Tightly roll up the strip of material, and place the loose end down in the box. If the roll is too long for the box trim off some of the end.

DIYRingholder(3)

Repeat, cutting and rolling the strips of material until you have a few rolls which fit tightly in the box.

DIYRingholder4

Fill with your rings!

DIYRingHolder

If you’re also looking for an easy DIY Earring Organizer click here.

DIYringandearringholder

Do you have any traditions that you like to do before the year end?

-Shanel

DIY Pearl & Wire Ring

Featured

DIYwireandpearlring

Lately I’ve really been loving the combo of pearls and gold. I’ve always been drawn to gold accessories, I like that pearls add more of a delicate look and a touch of femininity.

I was practicing with crafting wire when I decided to put together this DIY pearl and wire ring. Continue reading to learn how to make it.

DIYpearl&wirering

The Supplies

Crafting wire I used 20 gauge (.032 inch) wire
Pearls
Scissors
Flat nose pliers
Glue
A thin stick a toothpick will do
A circular item that’s approximately the same size as your finger

DIYringsupplies

The Steps

Cut a 4-inch piece of crafting wire.

DIYPeal&Wirering Step1

Take the end of the wire and wrap it once clockwise around your circular item.

DIYpearl&wireringstep2

Test that it fits comfortably around your finger. Make adjustments if necessary.

DIYpearl&wireringstep3

Use the pliers to bend the wire downward.

DIYpearl&wireringstep4

Bend the wire to the right, so you have a 90 degree angle.

DIYpearl&wireringstep5

Wrap the remaining wire clockwise around the circular item.

DIYpearl&wireringstep6

Again, test that the ring fits on your finger.

DIYpearl&wireringstep7

Once you have your desired fit cut the remainder of the wire off.

Add a pearl and then a dab of glue. Move the pearl to the end of the ring. Repeat on the opposite end.

DIYwire&peralringstep

Let the glue dry.

All done 🙂

DIYpearl&wireringfinalstep

– Shanel

Necklace Organizer

Featured

coverphoto

For a quick and easy necklace organizer use a memo board and push pins to hang and display your necklaces.

For extra support for the push pins, glue a piece of cardboard to the back of the board.

nailpolish

I customized the frame by adding droplets of different coloured nail polish. You can also customize your board by adding a piece of patterned fabric to the corked area.

How do you keep your accessories organized?

– Shanel


DIY Flower Headpiece

Featured

headbandcover2

I first spotted the flower headpiece sometime during the spring, and I’ll be honest I wasn’t too crazy about it. As the the weather got warmer and I started seeing them on more heads, they grew on me (no pun intended). This flower headpiece is an easy DIY that makes a fun and flirty summer accessory.

Click to Take it-N-Make it ->>

7 Alternate Jewellery Uses

Featured

Alternatejewelleryuses

Think Outside the Cloth and try these 7 different ways to wear your jewellery. Get more looks from one piece, and add a little extra sparkle and shine to your clothing and accessories.

Click for the Tip ->>