I’m loving all the fringes I am seeing pop up on everything from dresses, clutches, and shoes. Fringes are fun, flirty, and they can add cool movement and lines to an outfit.
Since DIYing fringes involves a lot of cutting I decided on a simple DIY fringe ankle cuff. Doing this project made me wish I owned a shredder so I could shred fabric to make fringes on command. I would add fringes to everything!
This DIY fringe cuff pairs great with gladiator style sandals or heels. Here’s what you’ll need.
The Supplies
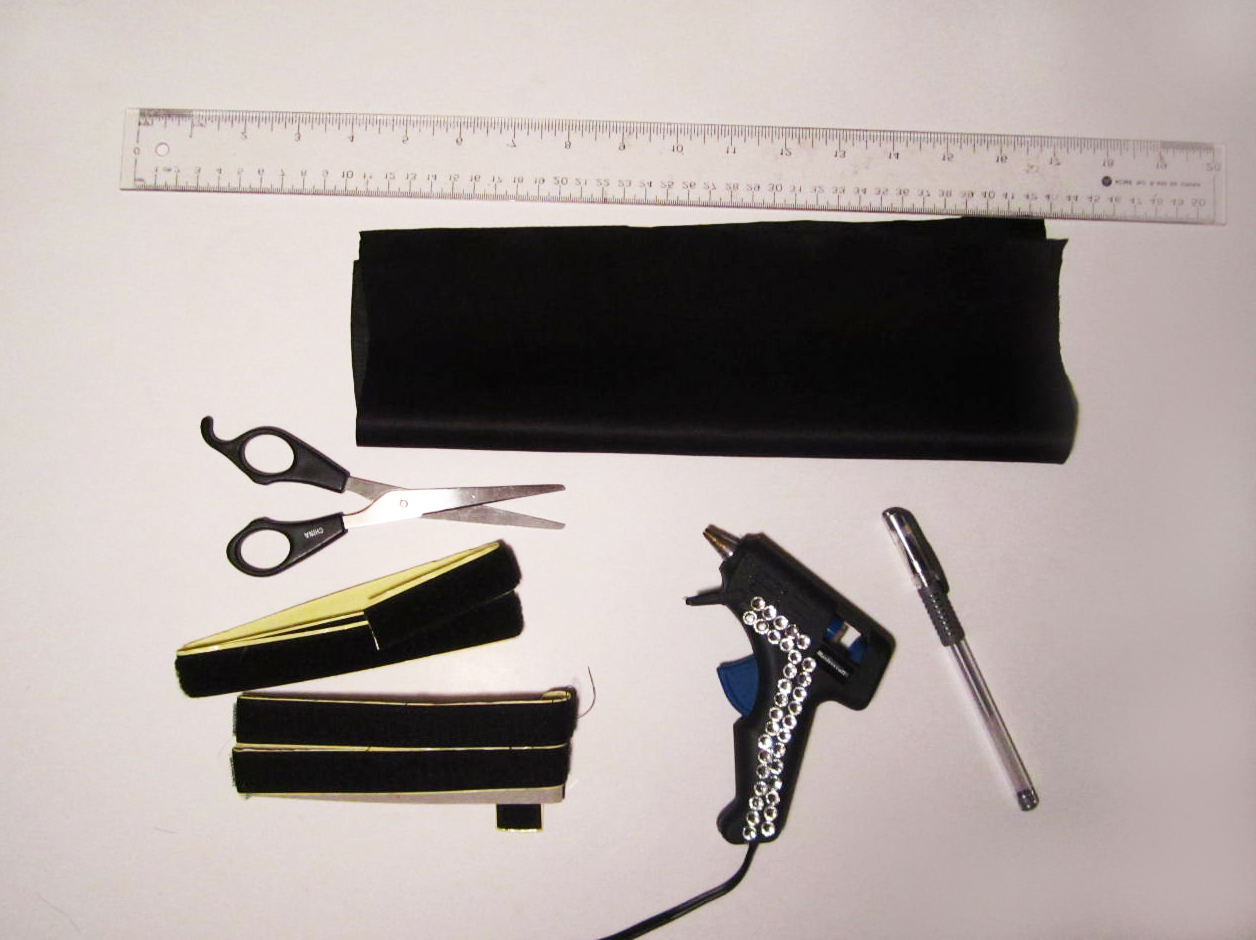
Fabric
Scissors
Ruler
Pen or Marker
Glue gun
Velcro
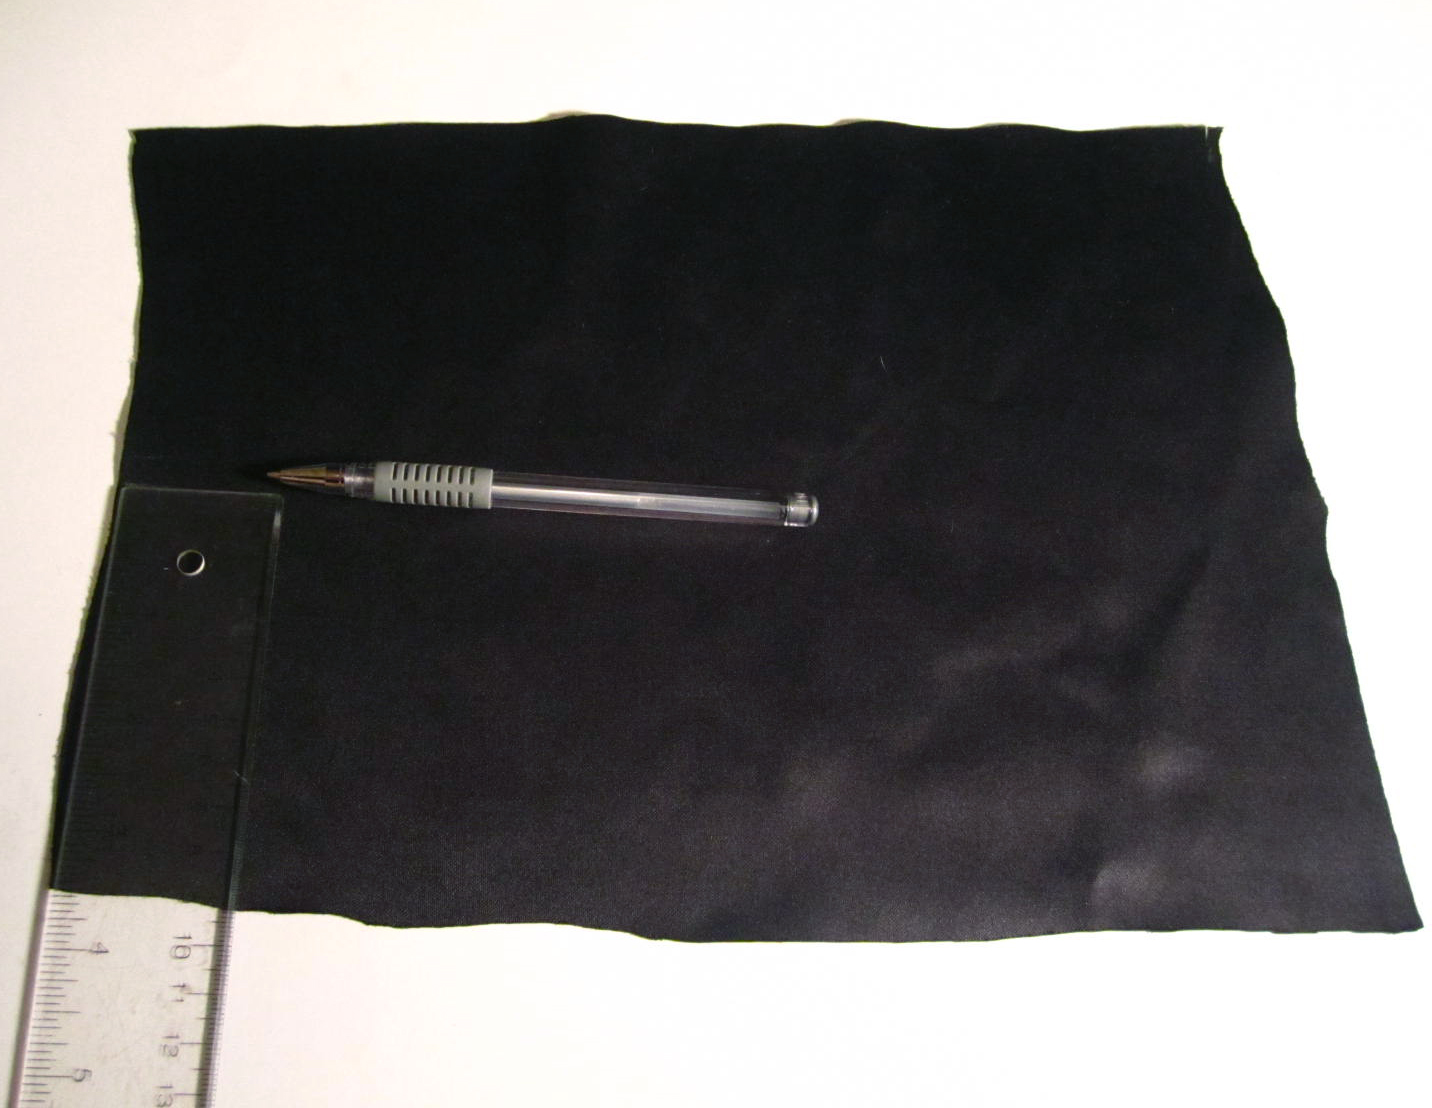
The size of my fabric was 6 inches high and 9 inches long.
The Steps
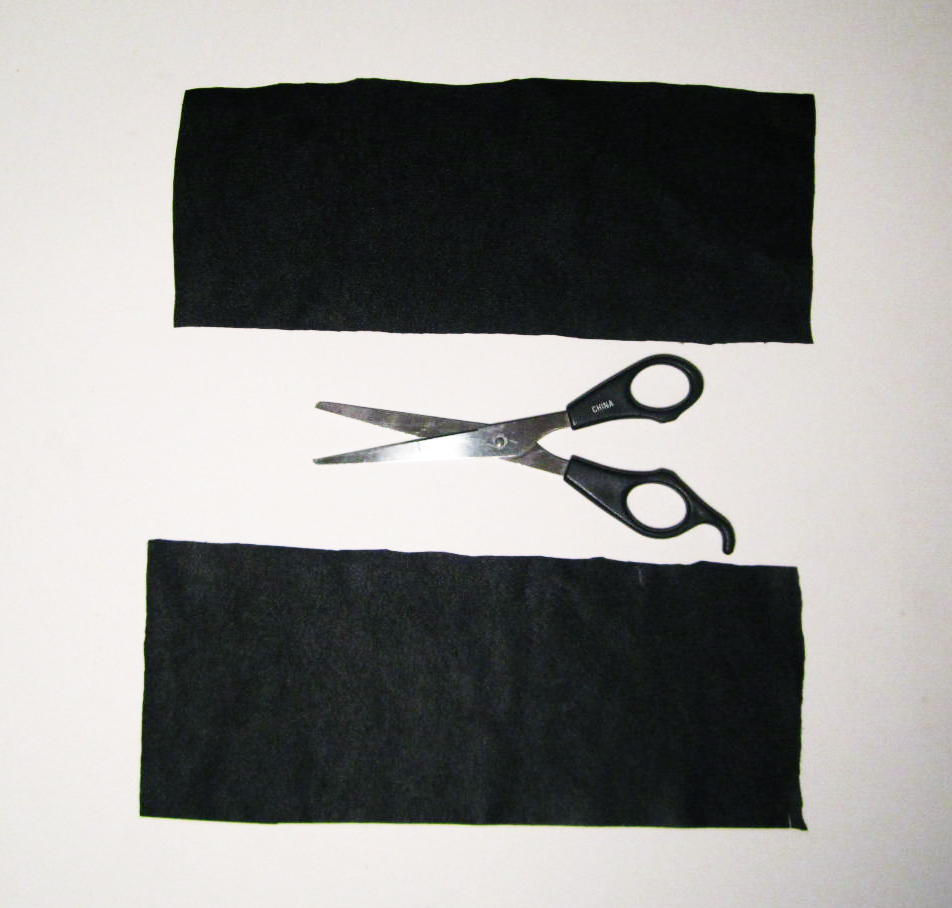
First, I measured the fabric around my ankle making sure there was an inch overlap. I cut off any excess material.
I folded the material in half, and used the pen to mark the half way point. I then drew a straight line across the middle of the material.
I cut the material in half so I had two sides.
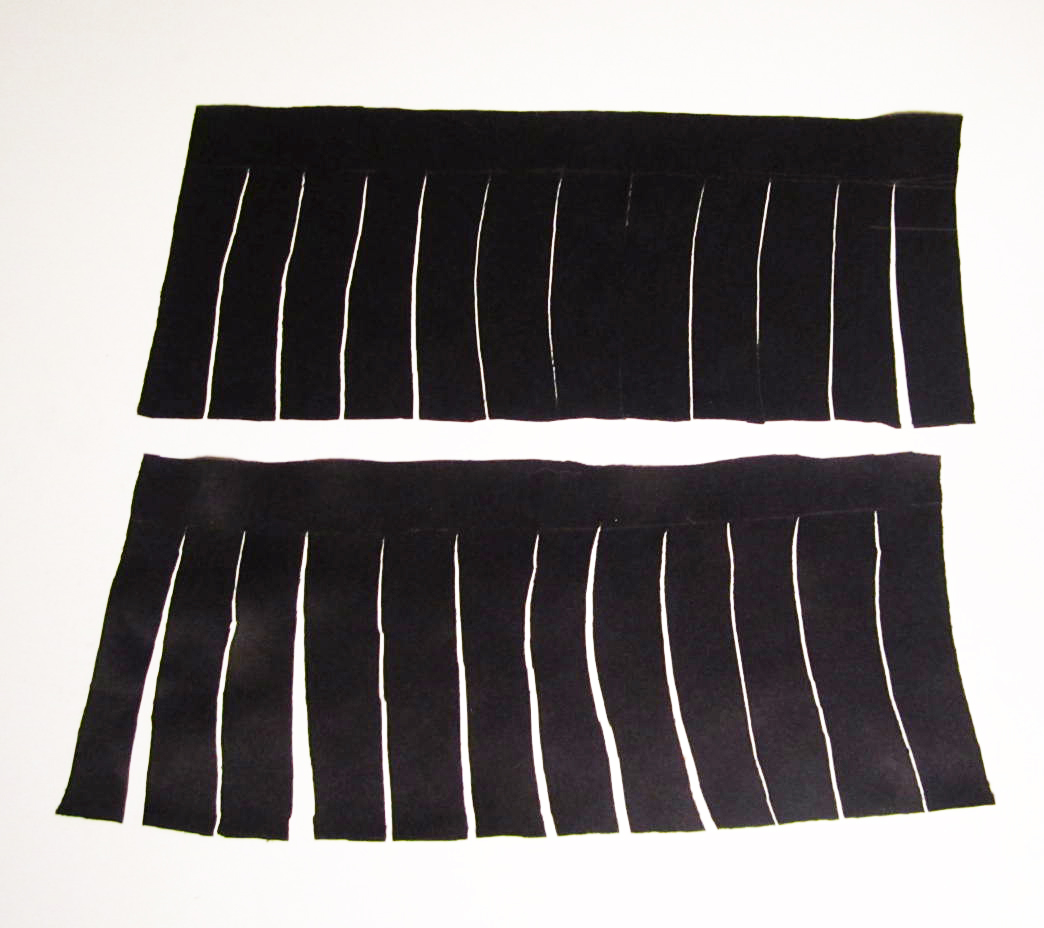
I drew a line that was ½ an inch wide across the top of the material. The line was the point I cut all the fringes up to.
You can cut your fringes to whatever size you like. I used the width of my thumb as a guideline and I began cutting the fringes up to the drawn line.

Repeat the last two steps for the other side.
Cut 1 inch pieces of both sides of the Velcro. Glue one side of the Velcro on the front side of the cuff.
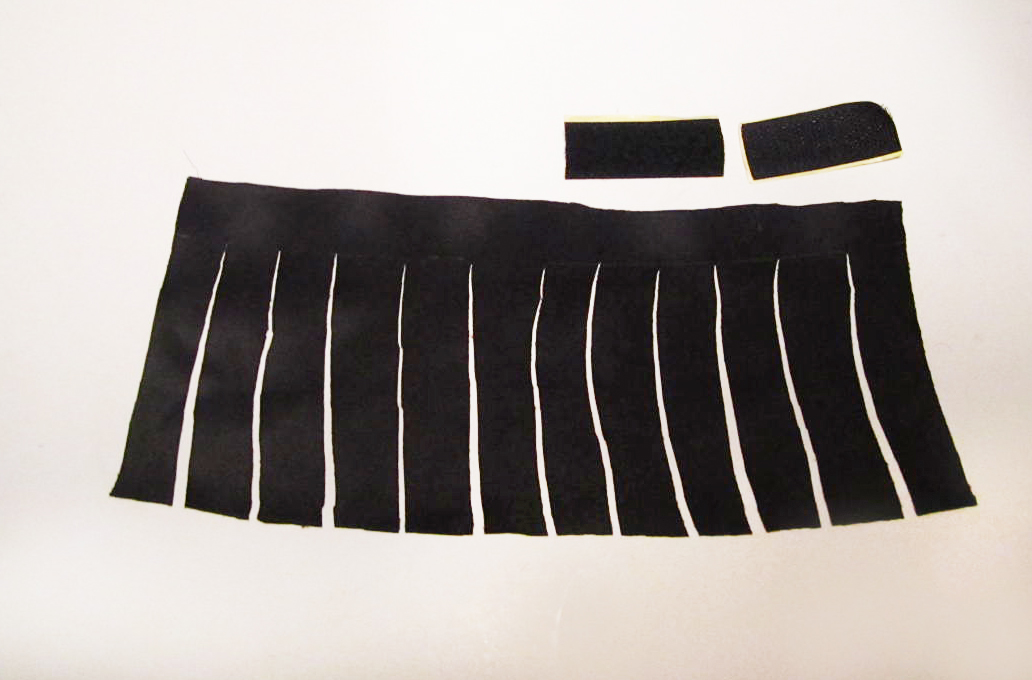
Turn the cuff over, and glue the other side of the Velcro to the opposite end on the back side of the cuff.
Repeat gluing on the Velcro for the other cuff.
Wear it!

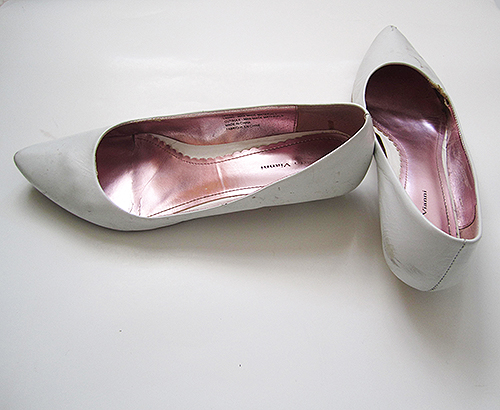
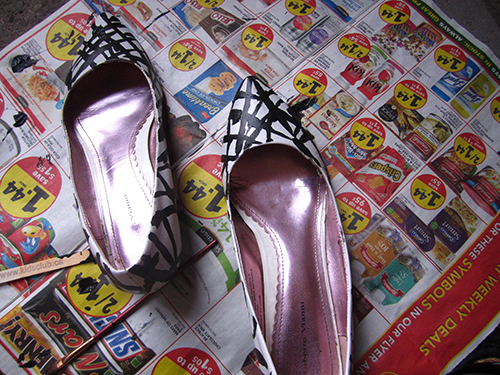
Shoes: Material Girl
-Shanel