This DIY belt is a cute accessory that’s super easy to make. Watch the video to learn how!
DIY Belt | Easy T-shirt Up-cycle
Featured
Reply
This DIY belt is a cute accessory that’s super easy to make. Watch the video to learn how!
Inspired by fall, these DIY leaf earrings are a great way to up cycle leather or material scraps. I really like how light they are, and you can make them in many colours!
Watch the video below to learn how to make your own DIY leaf earrings.
The Supplies
Leather scrap
Scissors
Jump rings
Fish eye earring hooks
Leather hole punch
The Steps
Take your leather piece and cut out the leaf shape
Use your first piece as an outline to cut out the second earring
To give the earring more detail I cut five small slits starting from the bottom moving upwards on each side of the earring. Repeat on the on the other earring
Take the leather hole punch and make a small hole at the top of the earring. Repeat on the other side
Open up your jump ring and put one jump ring through each of the holes
Add a fish eye earring hook to each jump ring
Close the jump rings
And you’re done!
I hope you fall for these earrings as much as I did!
![]()


Accessories and jewelry are my favorite thing to DIY, so I’m happy to share this DIY chain cuff earring! I was looking for some inspiration when I came across these DIY ear cuffs. I thought they were pretty neat because you can wear them anywhere on your ear, even if they are not pierced. I practiced making a few cuffs when I decided I wanted to glam it up, so I tried adding some chain. I love the way they turned out.
Continue reading for the DIY.
The Supplies

A ruler
Crafting wire I used 20 gauge wire
Round nose pliers
Flat nose pliers
Chain
Earring hooks
Scissors
The Steps
Cut a 2 inch piece of of crafting wire, bend the wire in half. Repeat.

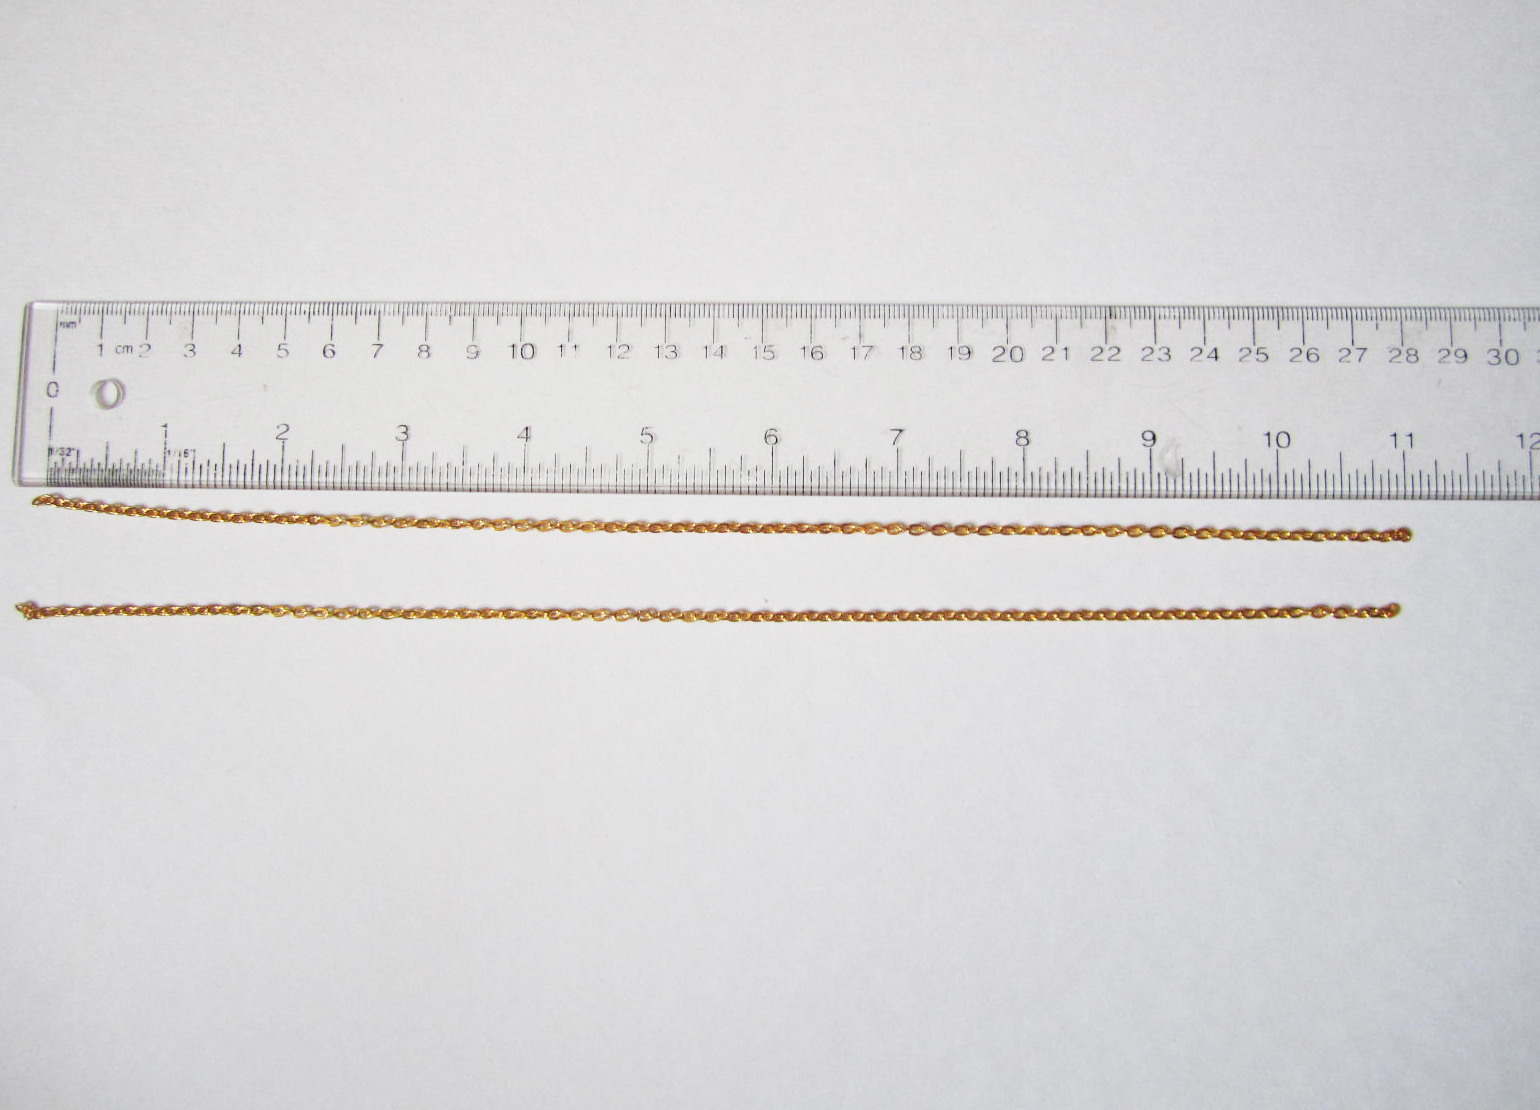
Cut 2 pieces of 11 inches of chain.
At the 5 inch point of the chain push the bent wire through. Repeat with the other piece of chain.
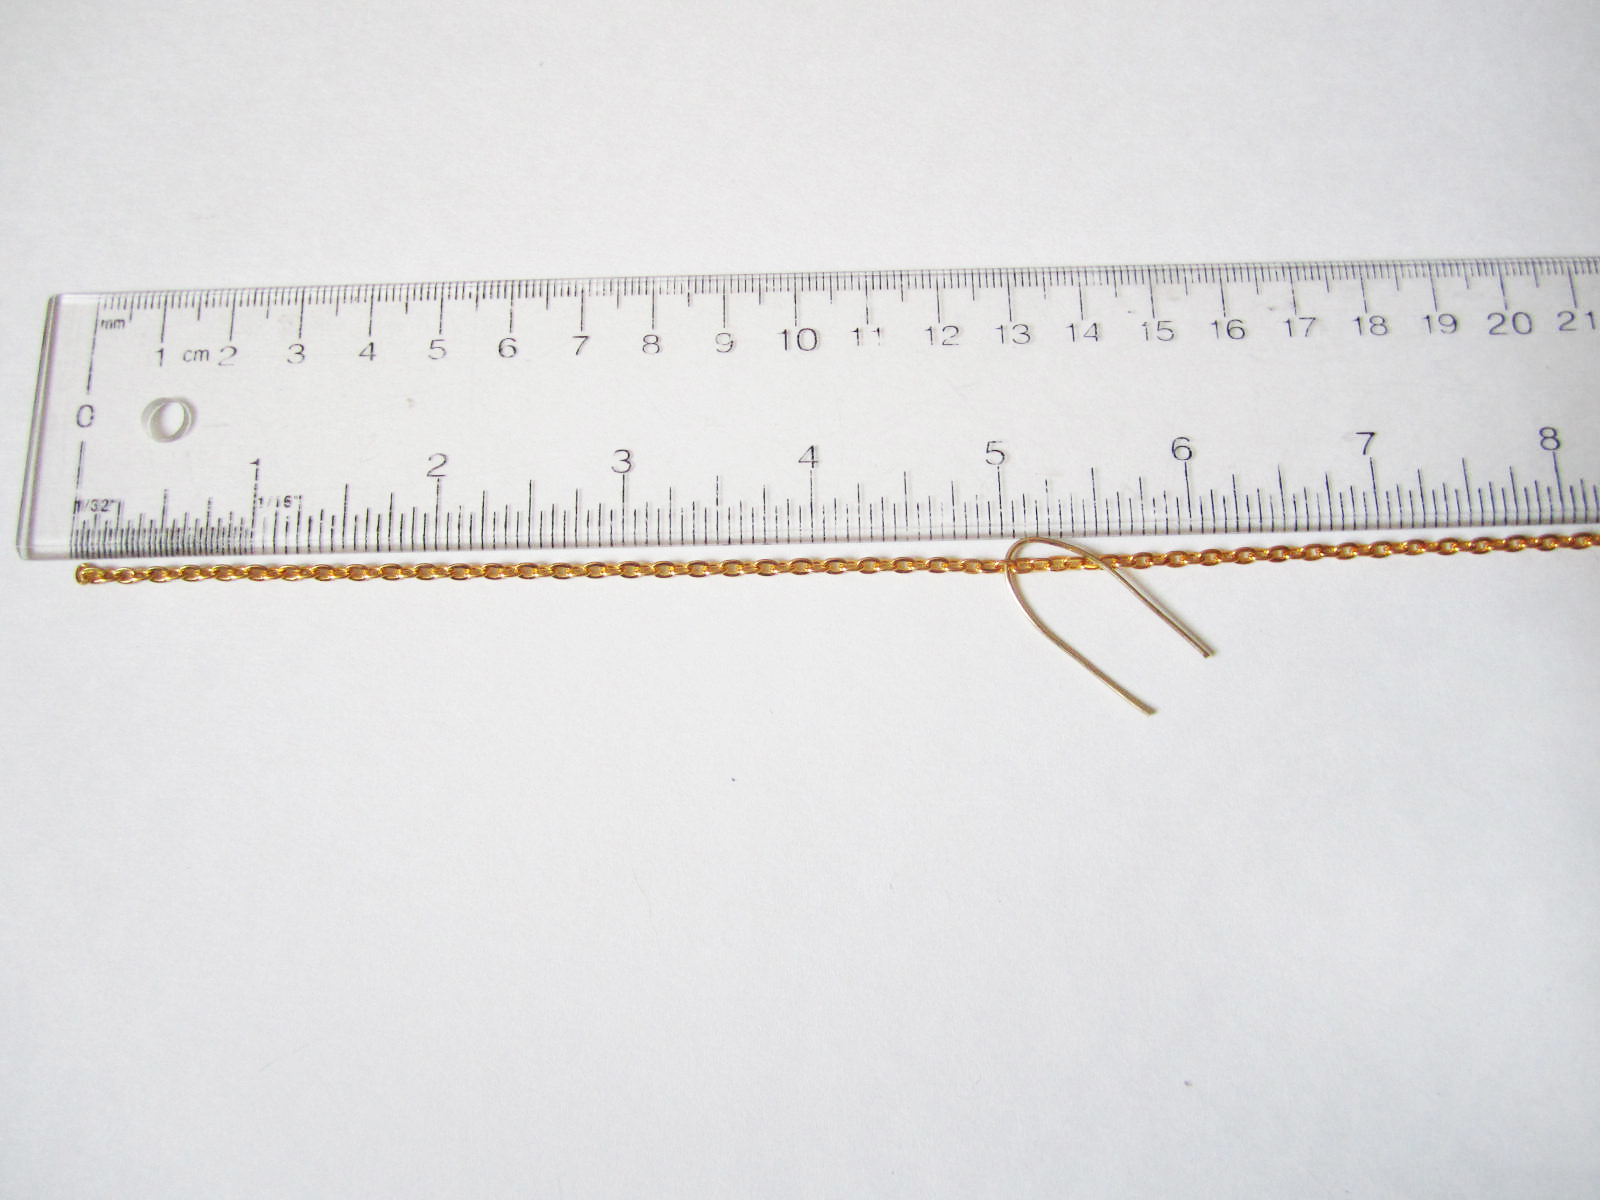
You should have two uneven pieces of chain hanging from the wire.
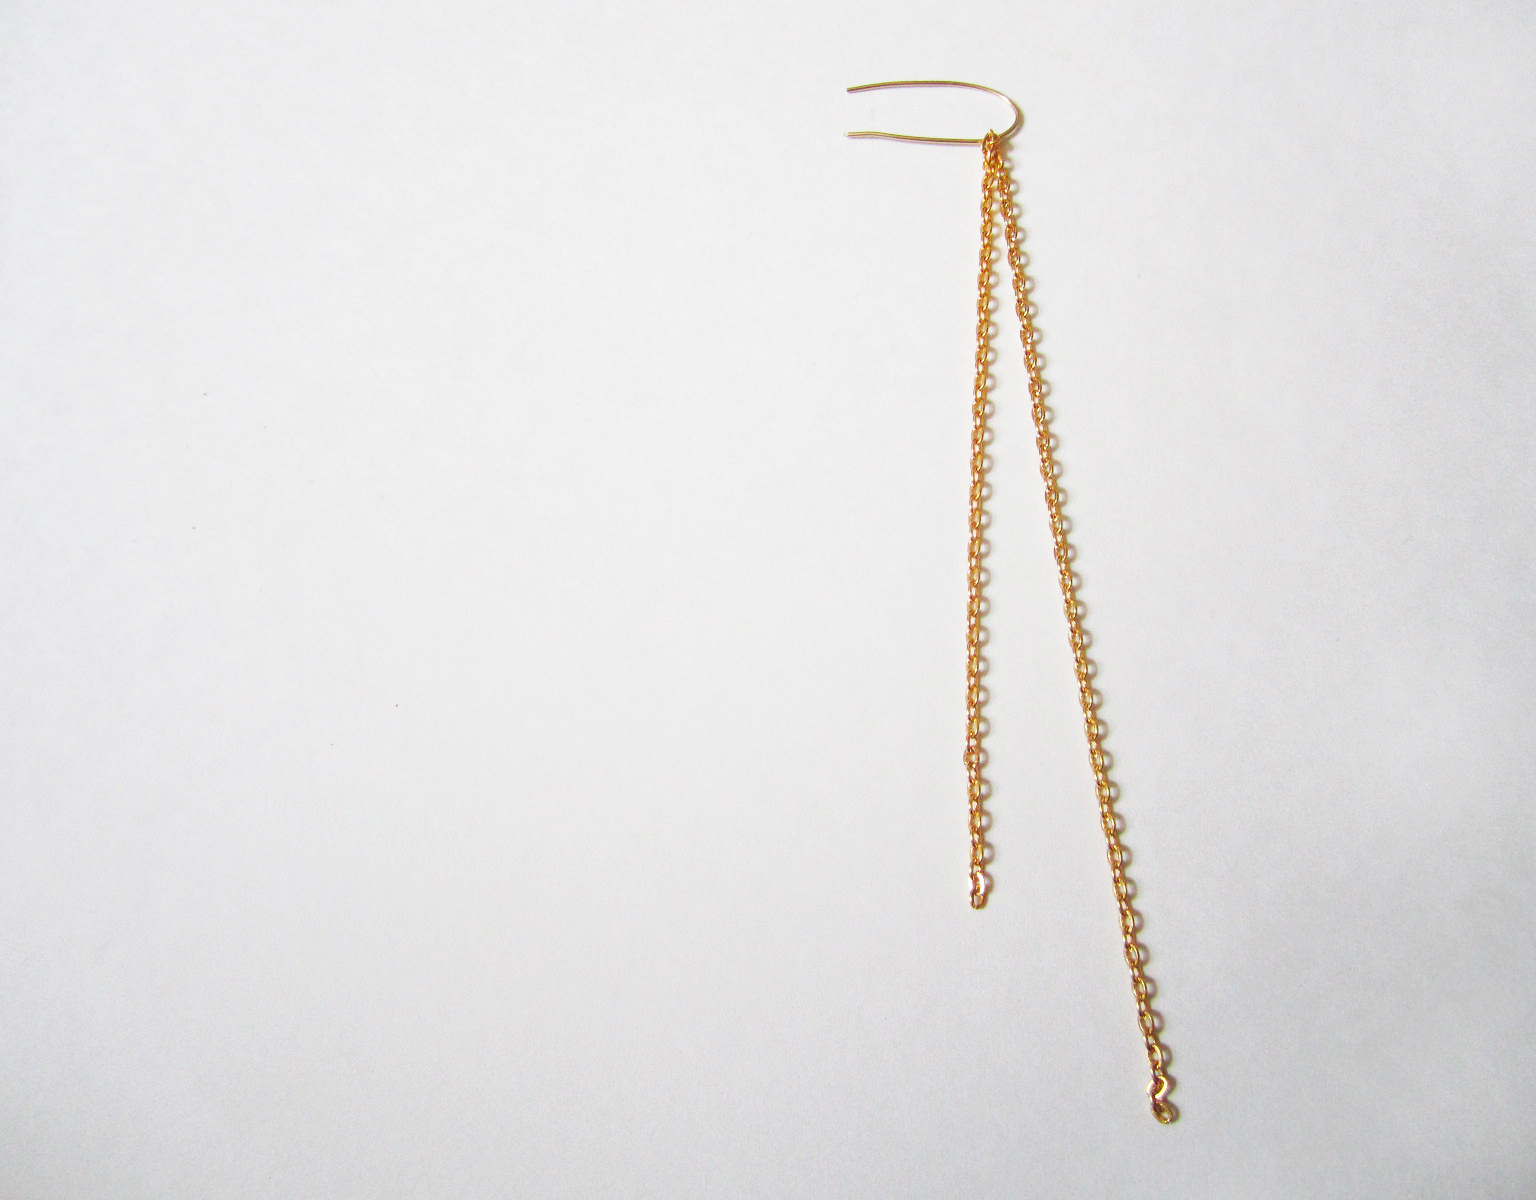
With the round nose pliers bend both ends of the wire inwards. Repeat.

Bring the chain forward to one side of the bent end of the wire. Repeat.
Take the flat nose pliers and at the half-way point of the wire begin to create the cuff by bending the wire around the pliers (as though you are folding it in half). Leave some room so that it will fit on your ear. Repeat for the other side.

Try the cuff on for size on the upper part of your ear. Adjust the wire until it fits comfortably.

At the end of the earring hook there is a small loop. Use the flat nose pliers and open up the loop. Bend the end of the loop towards yourself until it opens slightly. Repeat with the other earring hook.
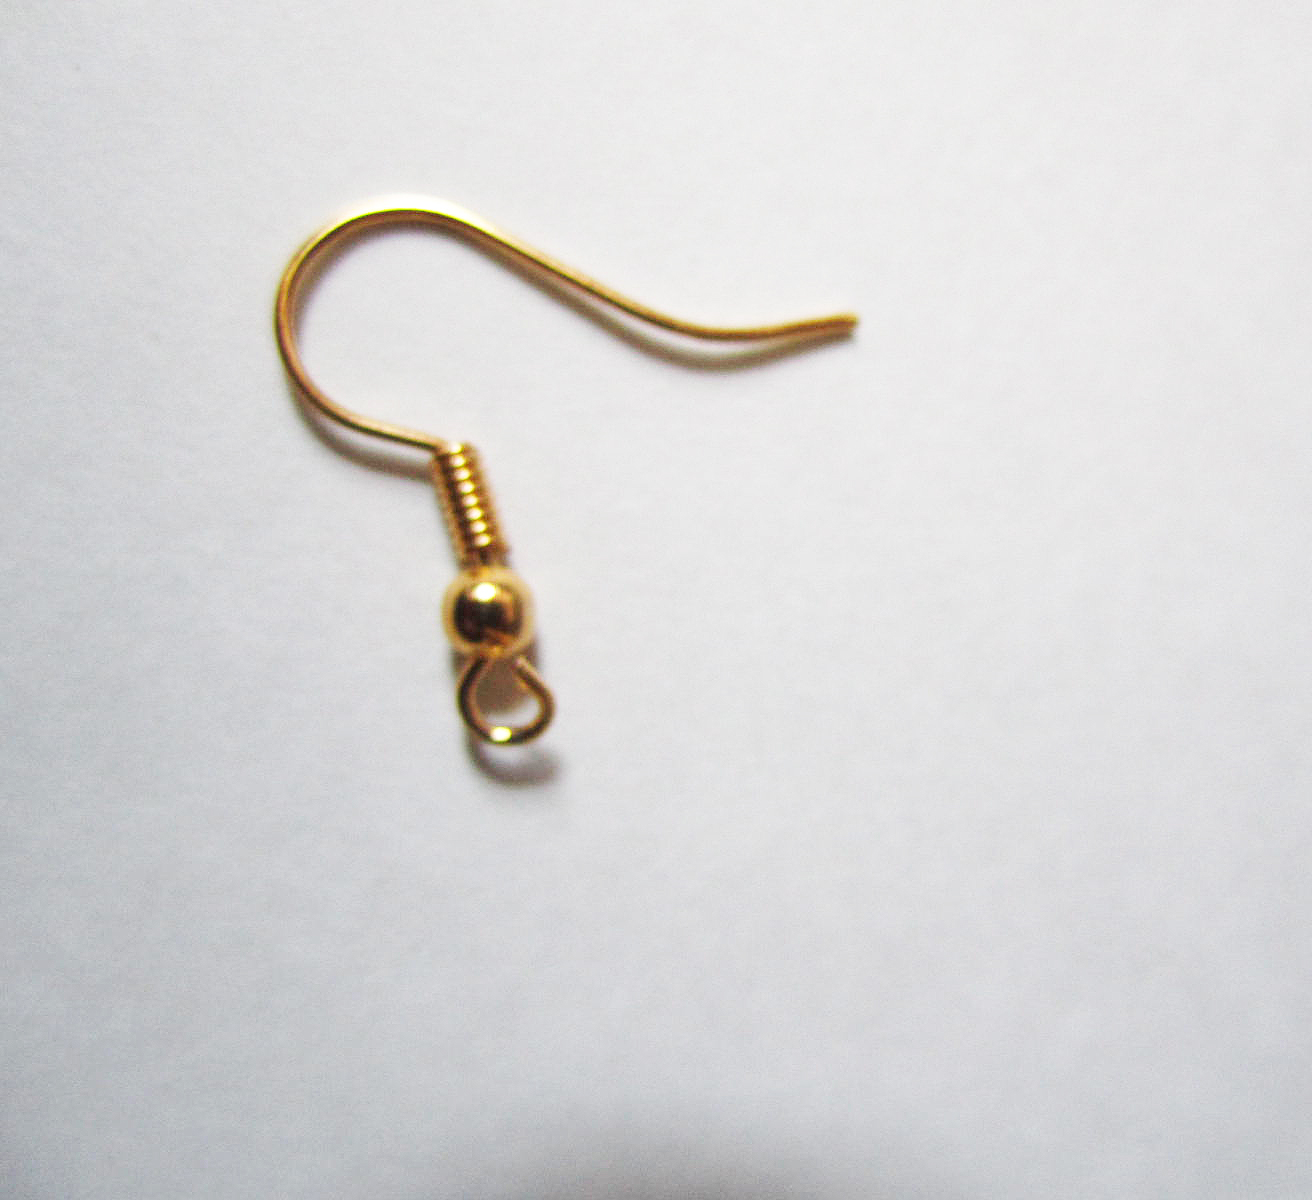
Add the short end of the chain and then the longer end of the chain to the loop. Close the loop by using the flat nose pliers and bending the loop away from yourself. Repeat.

You’ve just made yourself some cool new ear pieces!


Let’s Connect:
![]()
![]()
![]()
![]()
![]()

Photo by Ljubomir Pavkovic
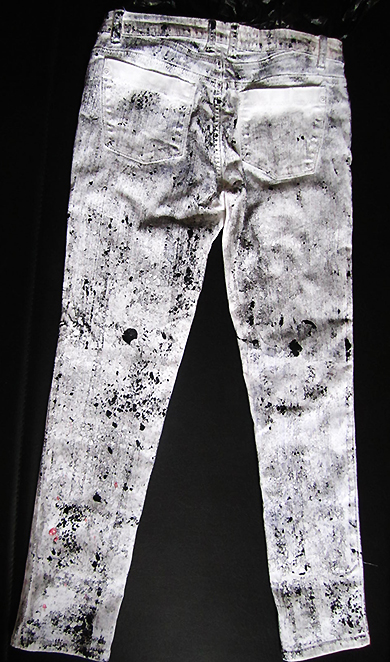
Fabric paint is a really great tool to work with, there are so many patterns and designs you can create to spruce up any piece of clothing. That’s why I was happy I had some on hand for these DIY paint print jeans.
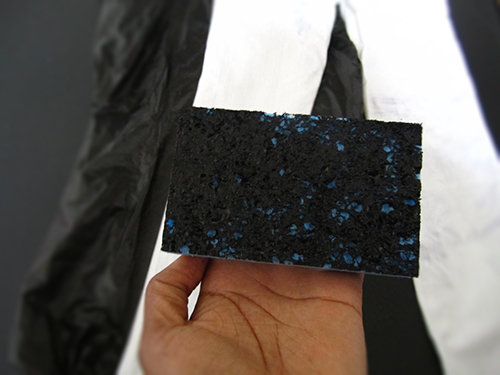
I had put on these white jeans and I was about to head out when I noticed there were blue stains all over the back. I had accidentally stored them under a pair of dark wash jeans, so some of the blue dye had rubbed off on them, whoops! I was a bit upset that my white jeans were now ruined, but with a bit of thinking I knew I could DIY them into something new. Continue reading for the DIY below.

Photo by Ljubomir Pavkovic
The Supplies

Jeans
Fabric Paint
A Tray
Sponge
Paint brush
Tape
2 Garbage bags
The Steps
Lay your pants on a flat surface, take a garbage bag and pull it through the pant leg (so that the paint doesn’t soak through to the other side), do the same for the other leg.
Put some fabric paint on the tray and dip the sponge into the paint. Take the brush and evenly distribute the paint onto the brush.
Take your sponge and press it paint-side down onto the pant starting from the bottom. Since the first application has fresh paint, press lightly and then gradually increase the pressure on the sponge.

Continue pressing the sponge down onto the pant until there is no more paint coming off the sponge.
Reapply paint to the sponge and evenly distribute with the brush. Again, press the sponge onto the pant.

Continue the last 2 steps until you’ve painted the front of the pants.

I decided I wanted to have a different colour around the pockets so I left the area unpainted. I added some pink paint to a brush and painted around the top part of the pockets.
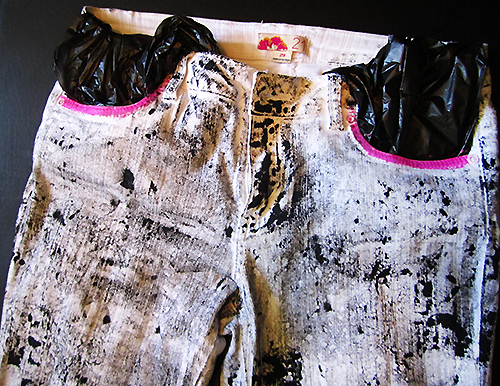
Let the paint dry completely. Flip the pants over and sponge paint the backside of the pants. If you would like to add a second colour to the back pockets like I did. Leave the area unpainted. Let the paint dry completely.
Add the tape across the back pockets and then tuck the garbage bags into the pockets. With the paint brush paint the second colour up to the tape line.
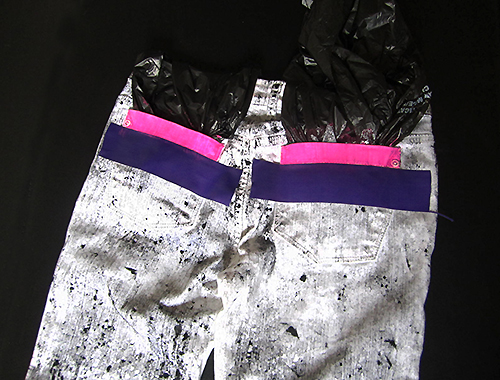
Let the paint dry and then remove the tape.

Voila, you’ve got yourself an almost new pair of pants.
-Shanel
Let’s Connect:
![]()
![]()
![]()
![]()
![]()
